Author: sae

  • Dance the Night Away: 12+ Stunning Hoco Hairstyles That Bring Instant Glam

    Dance the Night Away: 12+ Stunning Hoco Hairstyles That Bring Instant Glam

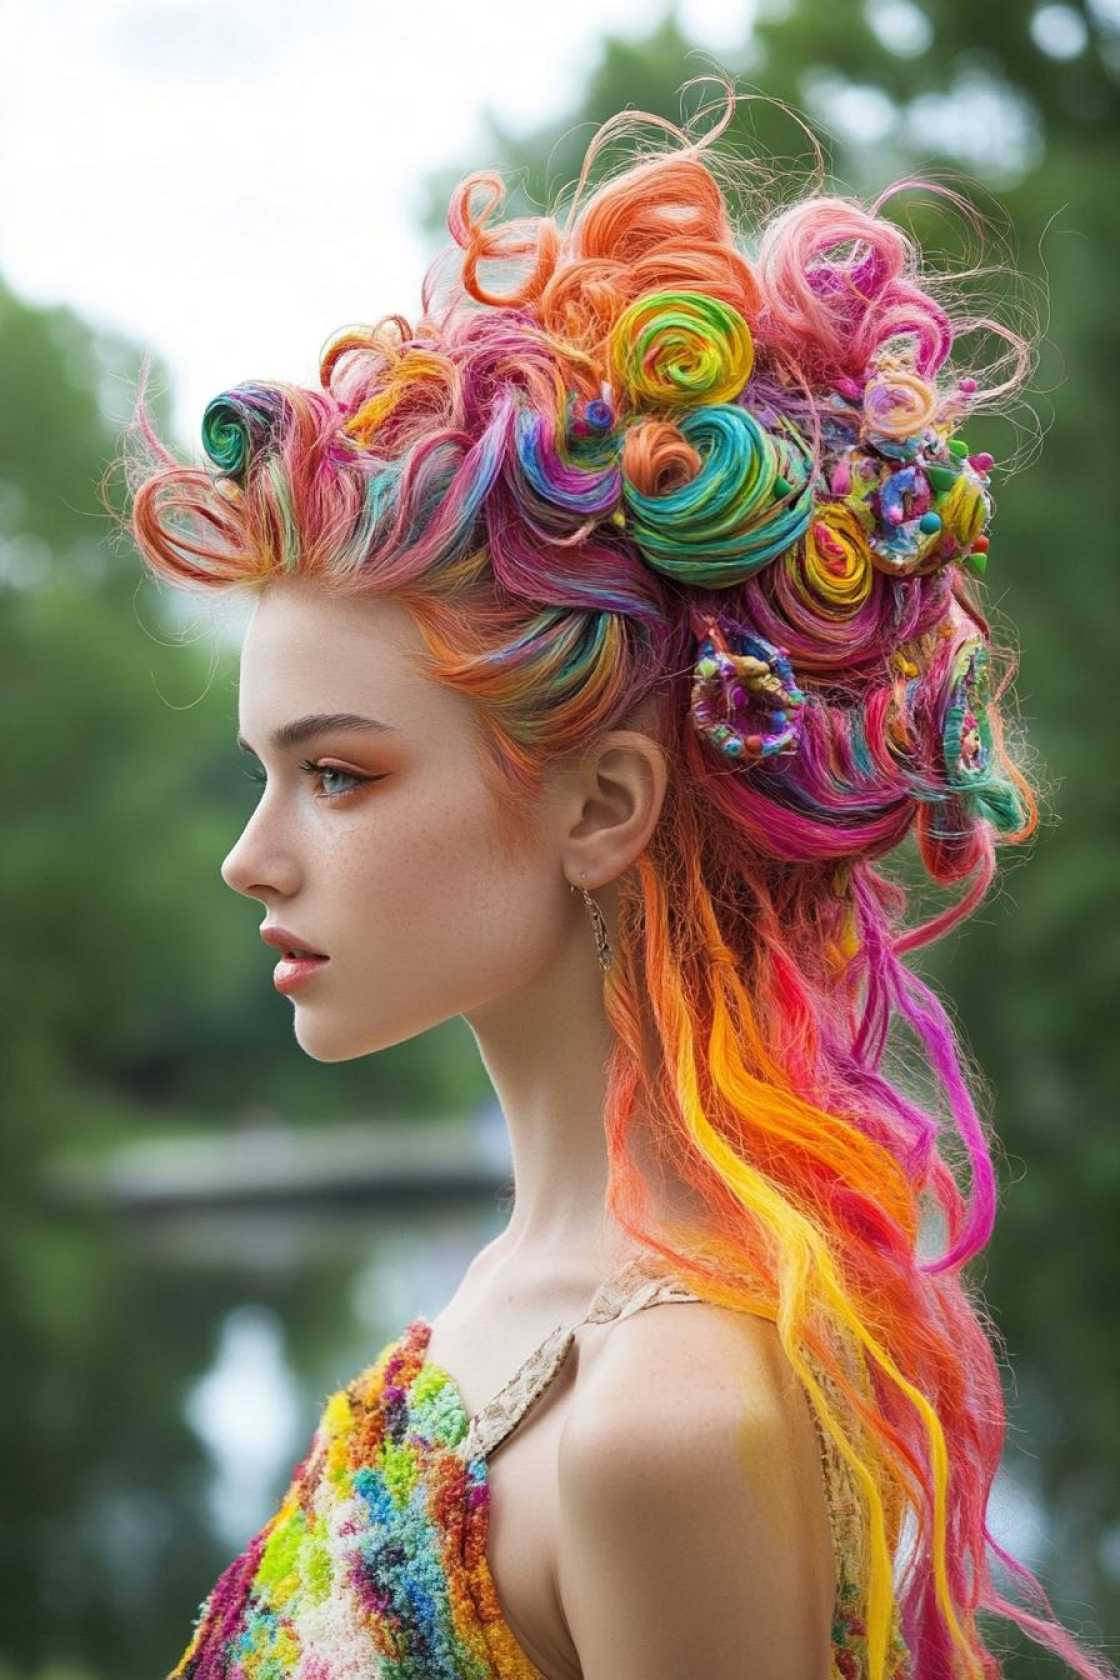
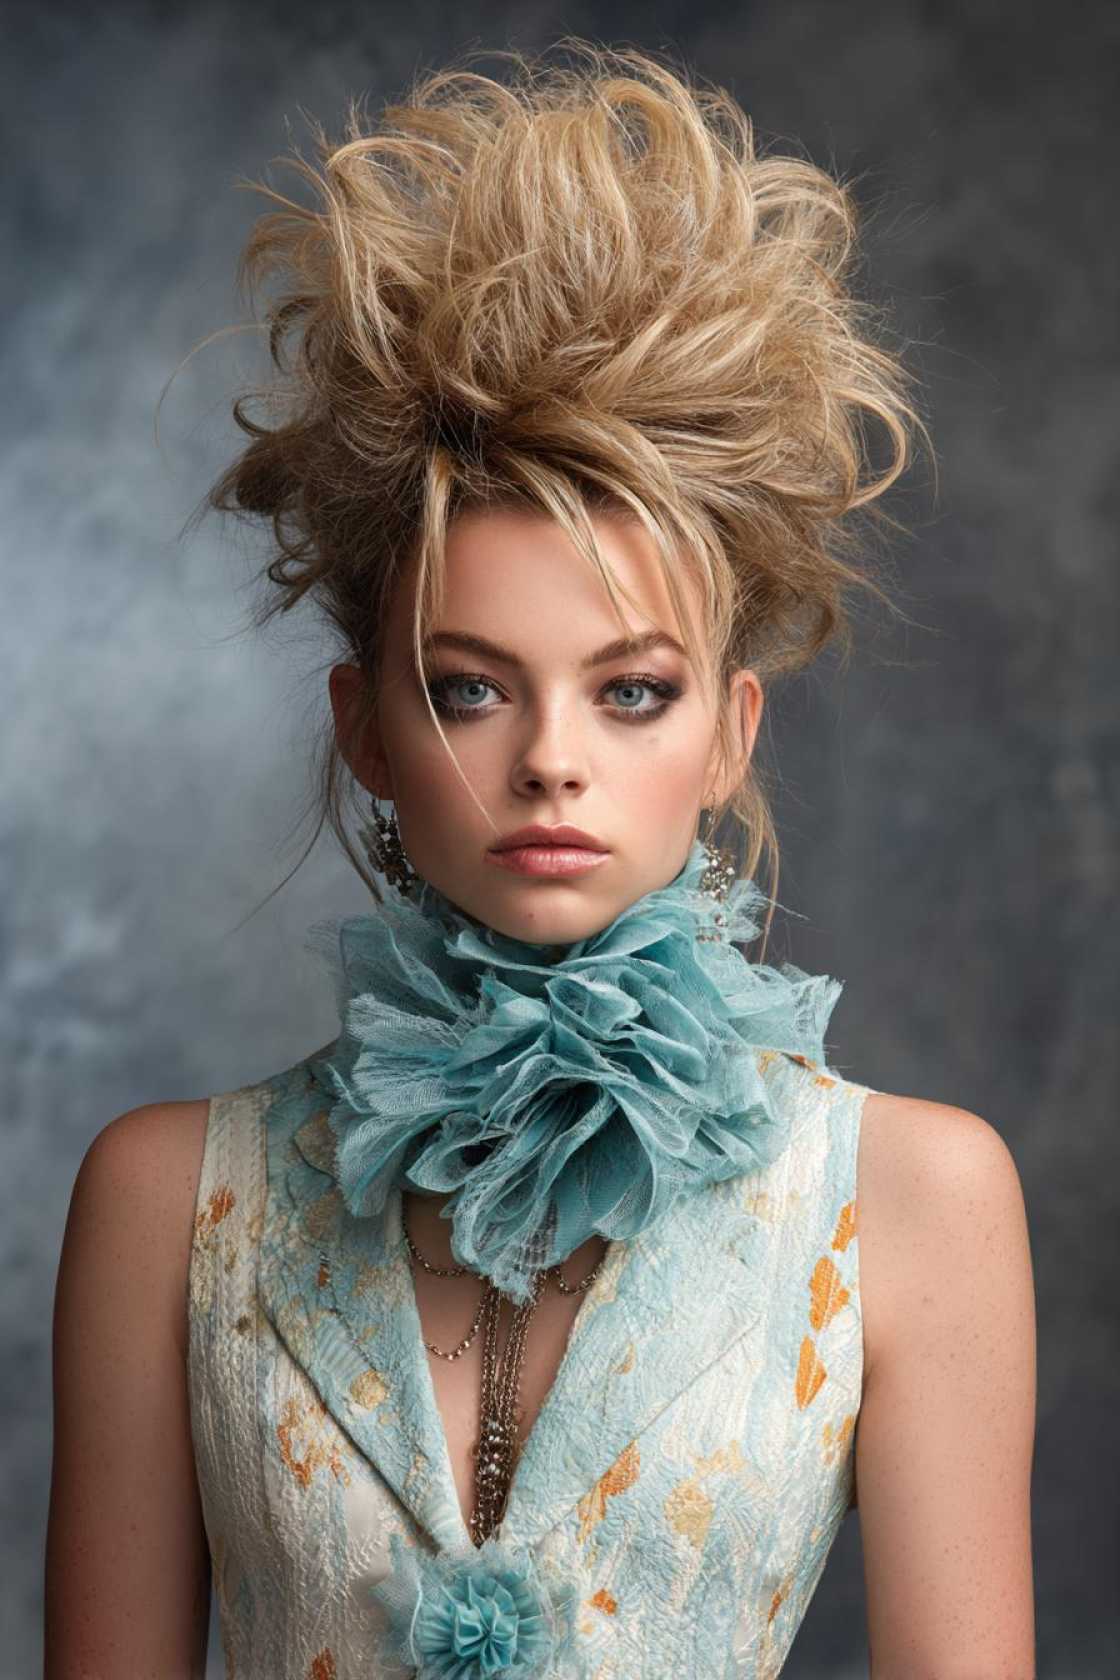
    Hoco hairstyles” are the ultimate way to complete your homecoming look. Homecoming is such a special night! I remember my own junior year, painstakingly trying to decide between a sleek updo and loose waves. It felt like such a big decision

    This is your chance to shine. Your hairstyle can truly transform your entire look. It’s the finishing touch that pulls everything together. Here at TressNails.com, I’m all about helping you feel your absolute best. I’ve gathered some amazing homecoming hairstyles. Get ready to find your perfect match!

    Let’s dive into these stunning ideas. You’ll be ready to dance the night away in no time.

    Why Your Homecoming Hairstyle Matters

    Your homecoming hairstyle is more than just pretty hair. It’s a confidence booster. A great style can make you feel amazing. It completes your outfit perfectly. I’ve always felt that if my hair looks good, I feel good. It’s like a secret weapon for feeling your best.

    Think of it as the crown jewel of your look. It frames your face. It complements your dress. It shows off your personal style. This is your moment to feel glamorous. My passion is helping you achieve that feeling. Your hair should make you feel like a star.

    Choosing the Perfect Homecoming Hairstyle for You

    Picking the right homecoming hairstyle can feel overwhelming. But don’t worry! I’m here to guide you. Consider your dress neckline first. A strapless dress looks stunning with an updo. A halter neck might call for a sleek ponytail or swept-back style.

    Your face shape is also key. Oval faces suit most styles. Round faces can benefit from height at the crown. Square faces often look great with softer, face-framing pieces. Don’t forget your hair texture! Fine hair might need volume boosters. Thick hair can handle intricate braids. Your personal style matters most. Are you classic? Boho? Glam? Let your hair reflect that!

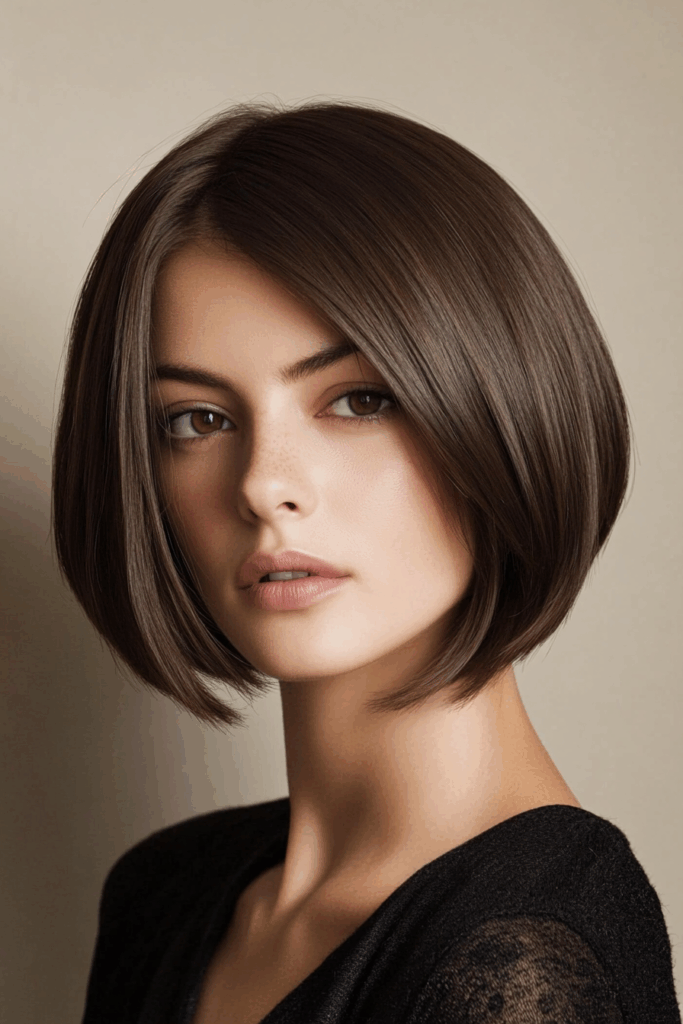
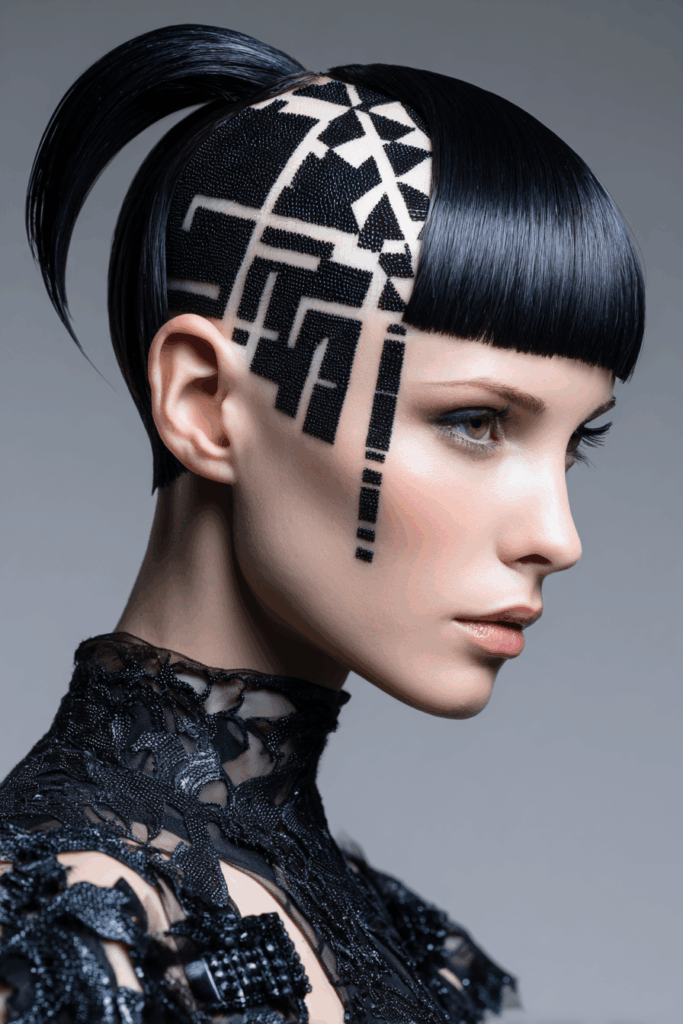
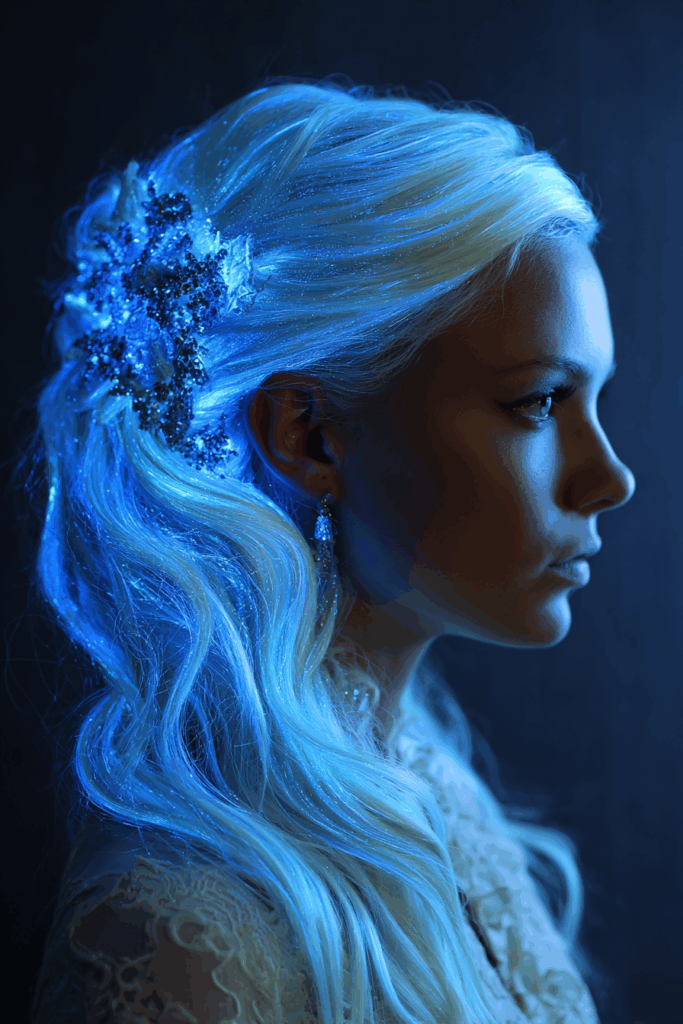
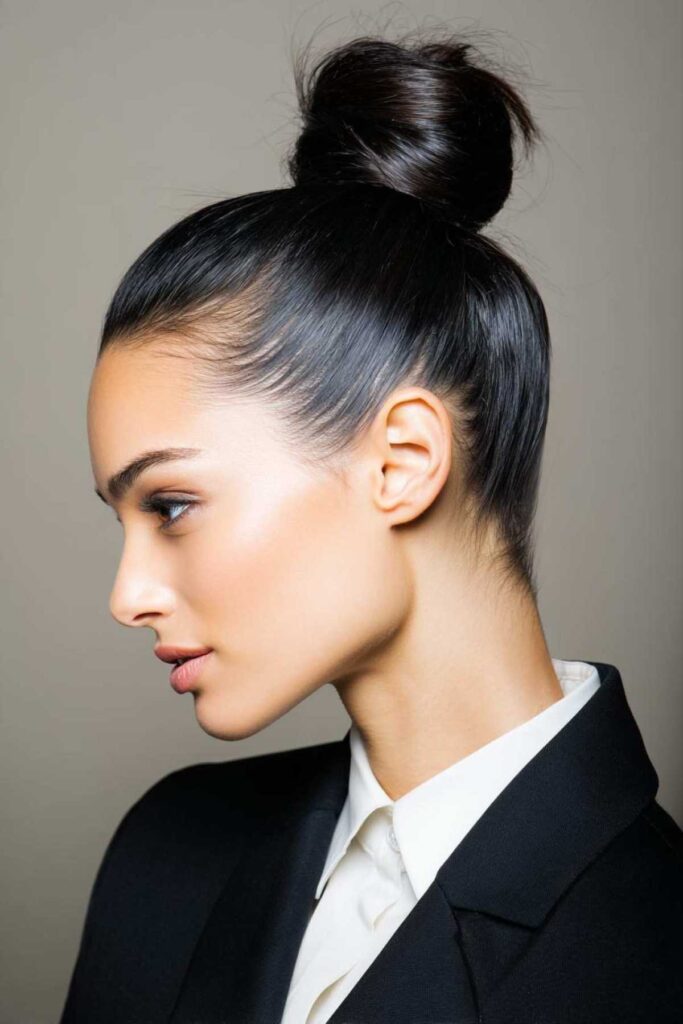
    13. The Classic Updo

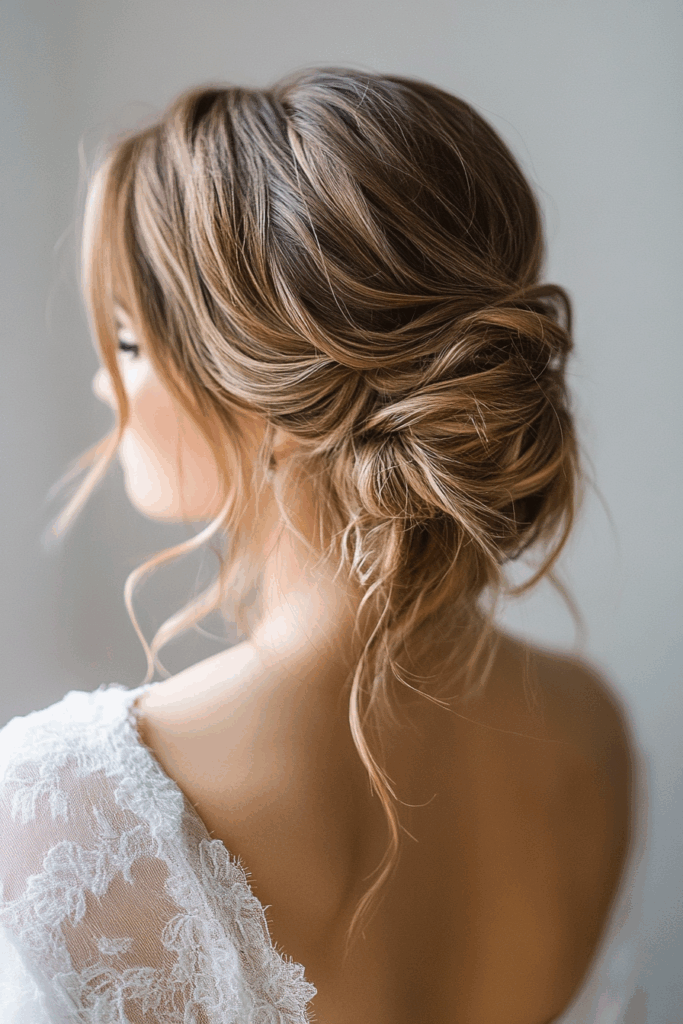
    This is a timeless choice for a reason. A classic updo screams elegance. It’s super versatile. It works with almost any dress style. It keeps your hair perfectly in place. You can go for a neat French twist. Or maybe a soft, romantic chignon.

    For extra grip, I always recommend a texturizing spray. It gives your hair some ‘stickiness’. This helps the pins hold better. It’s a simple step that makes a big difference. You’ll feel polished all night long.

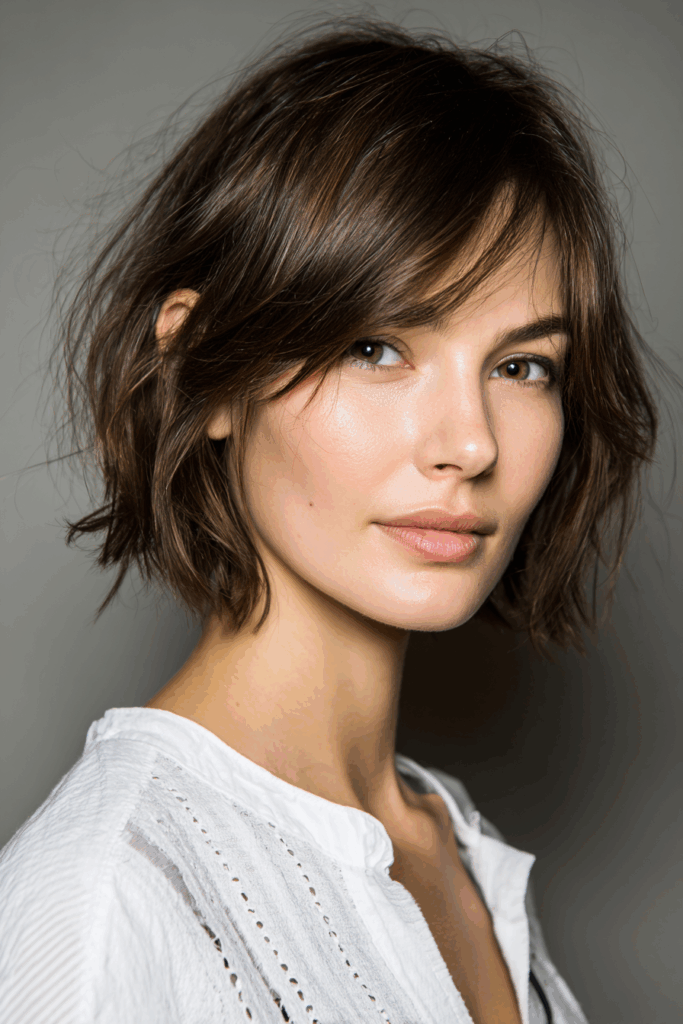
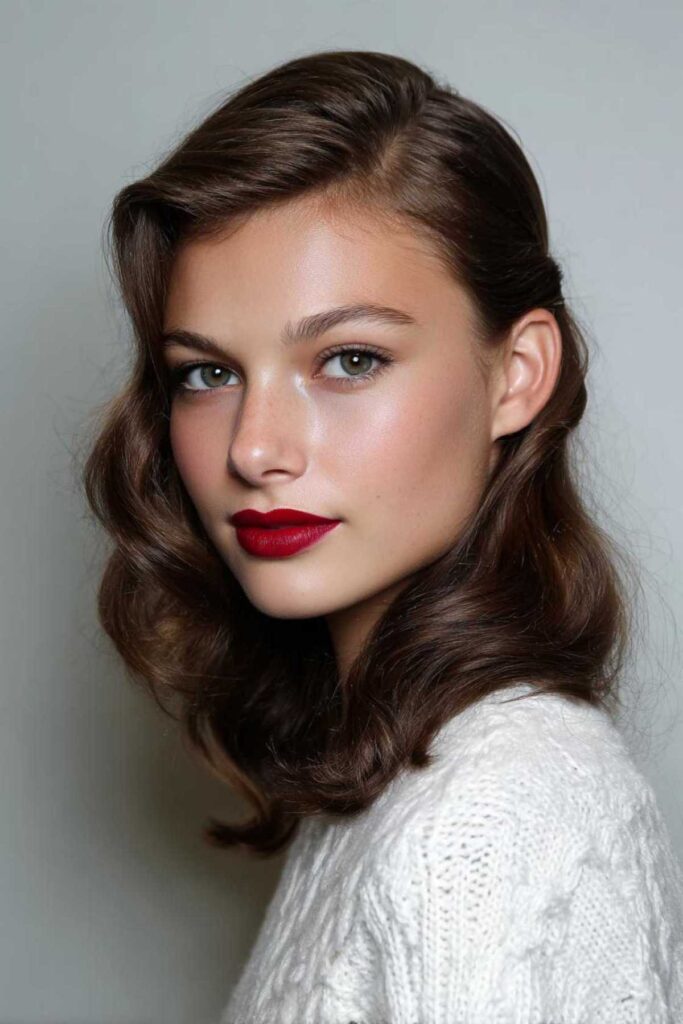
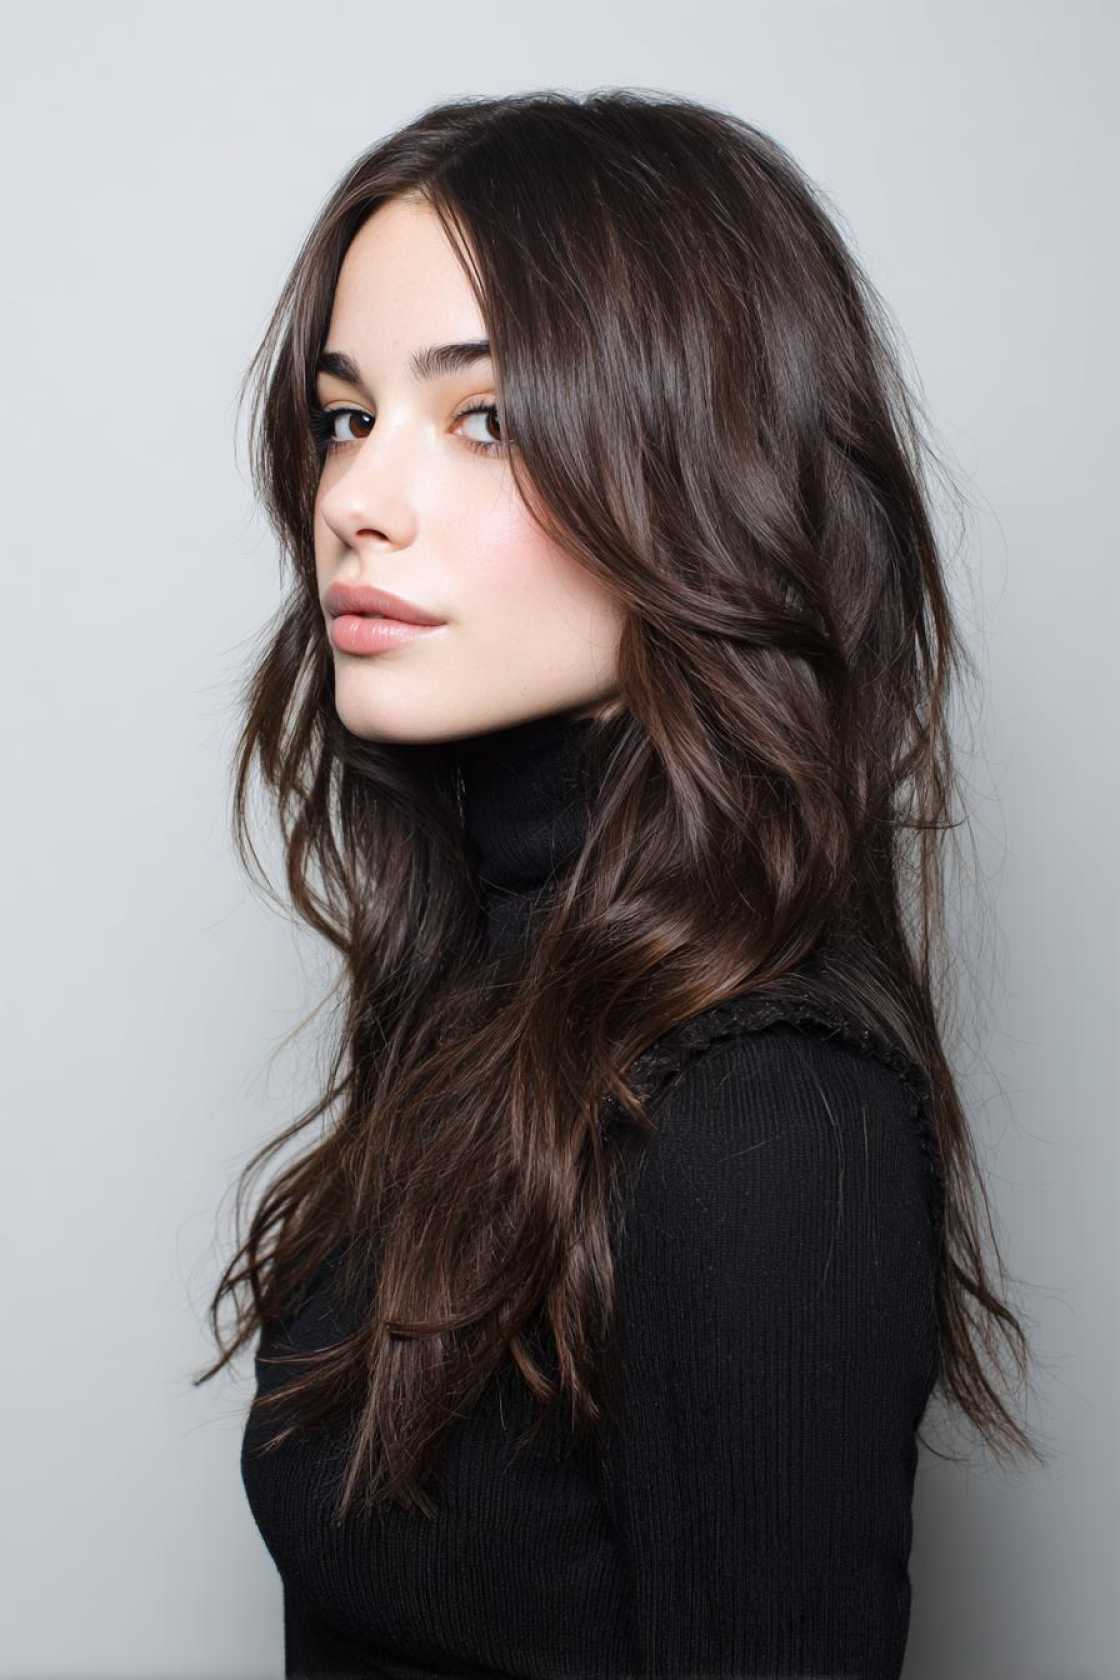
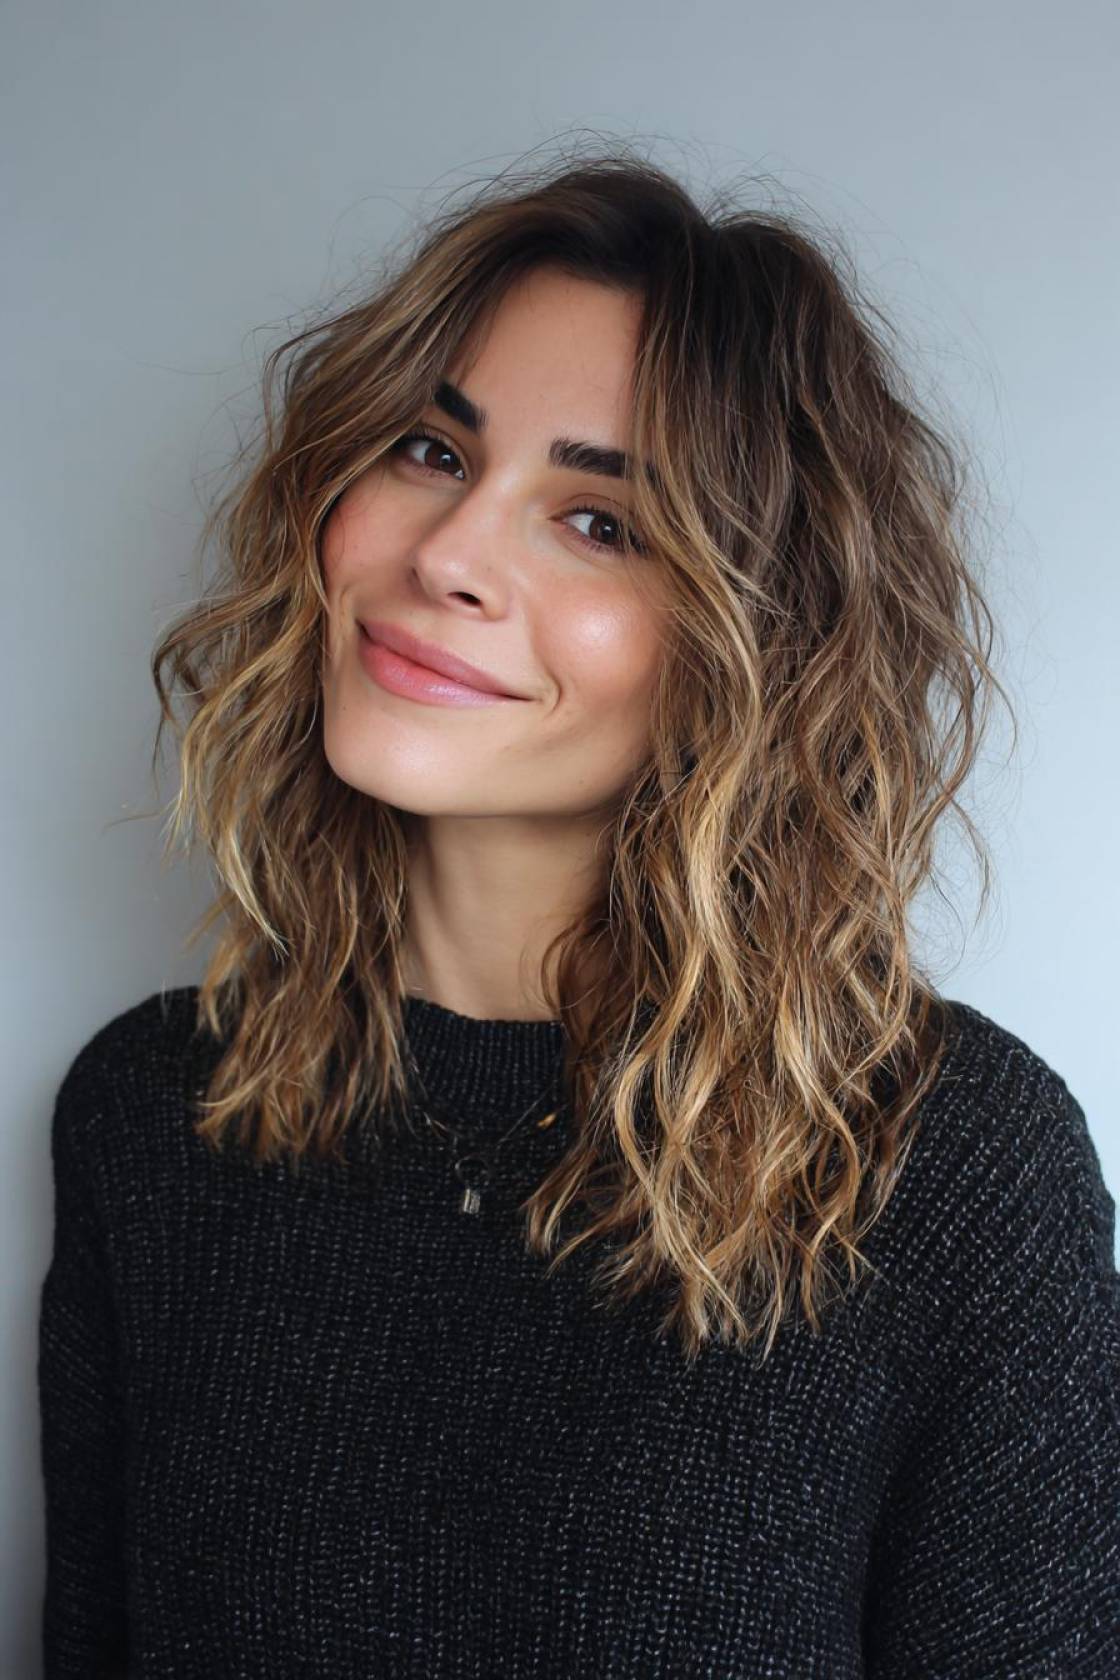
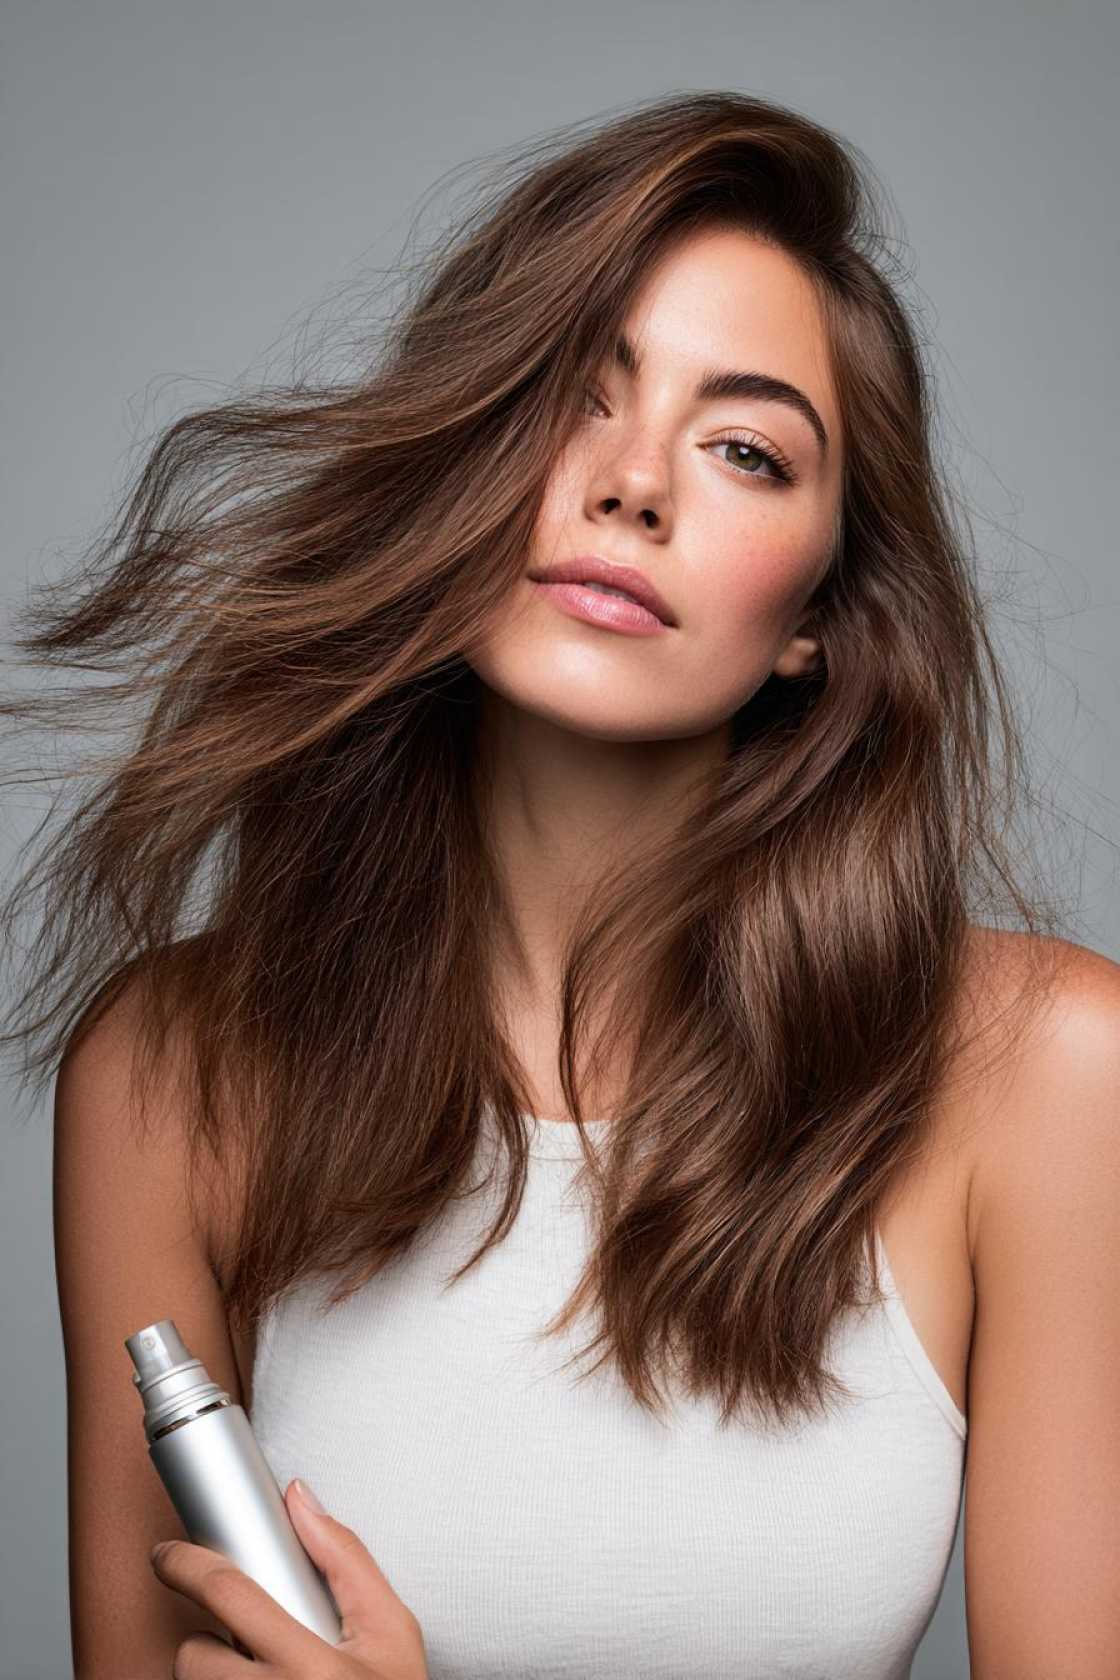
    12. Effortless Waves

    Loose, natural-looking waves are so chic. They have a relaxed yet sophisticated vibe. This style is incredibly versatile. It complements modern dresses beautifully. Think soft, cascading waves. They add movement and life to your hair.

    To keep those waves looking fresh, a light setting spray is your best friend. It holds the shape without making your hair stiff. A gentle mist will do the trick. Your waves will stay lovely for hours.
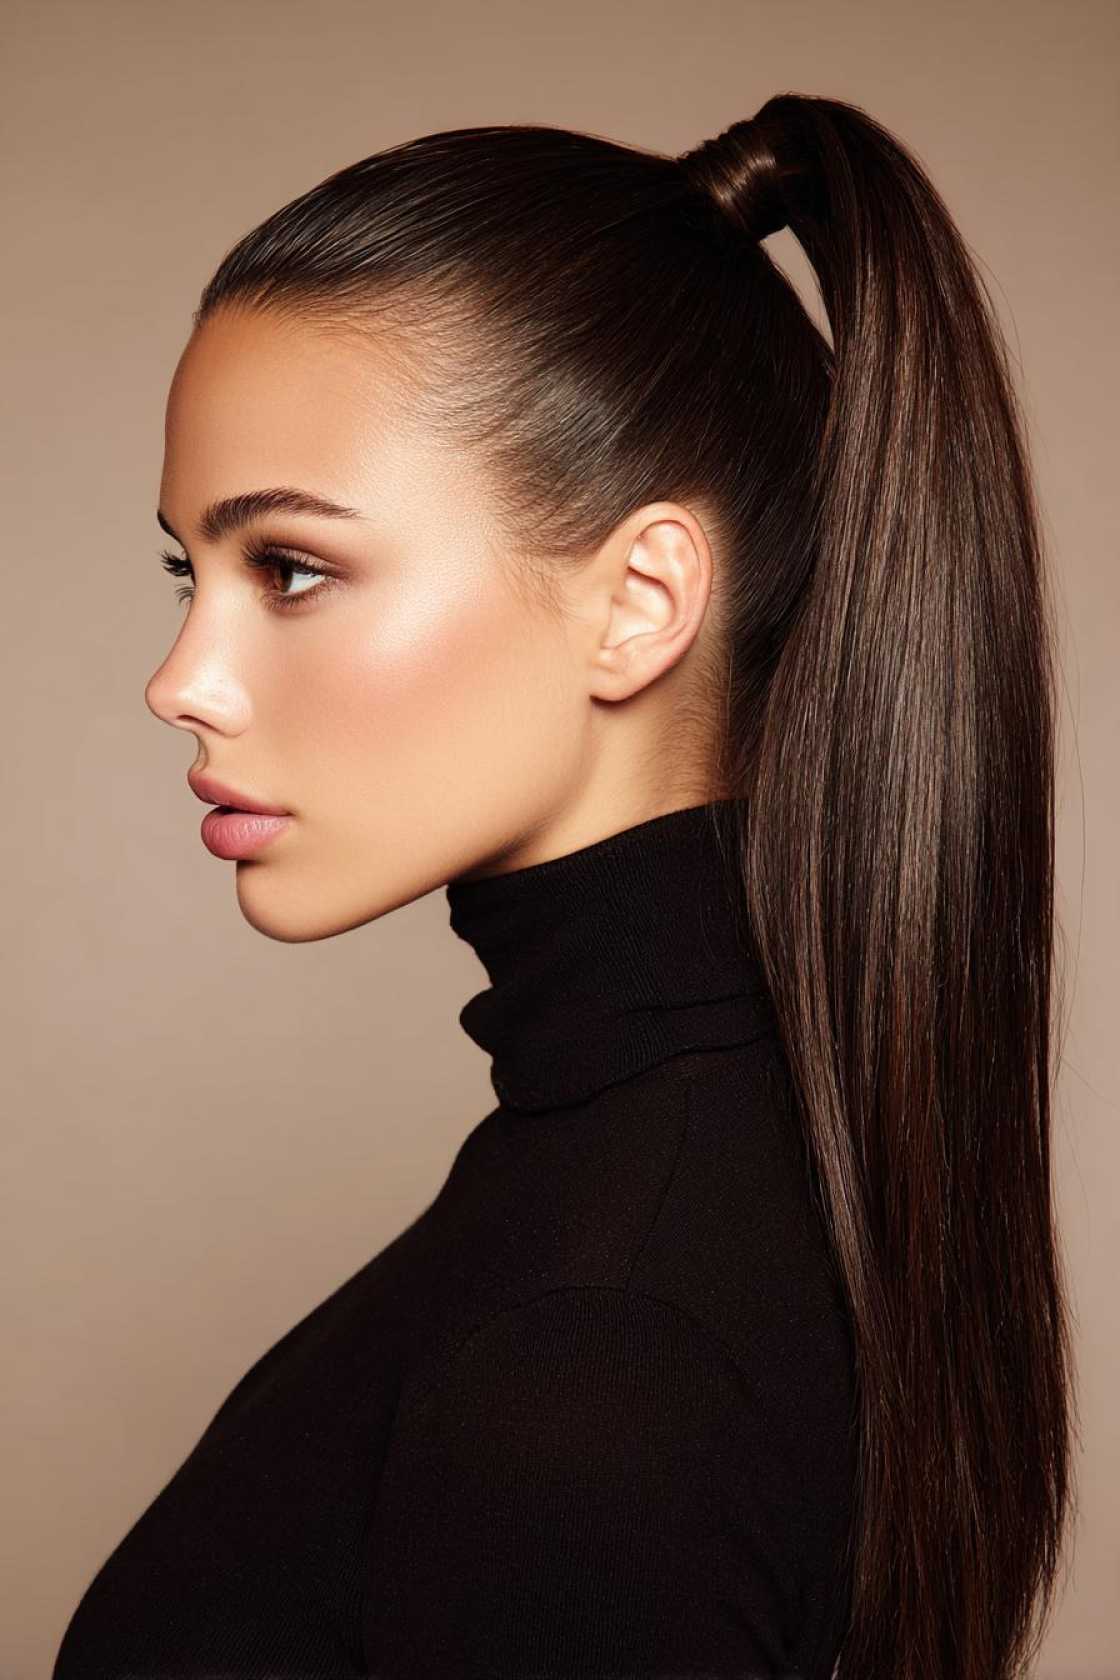
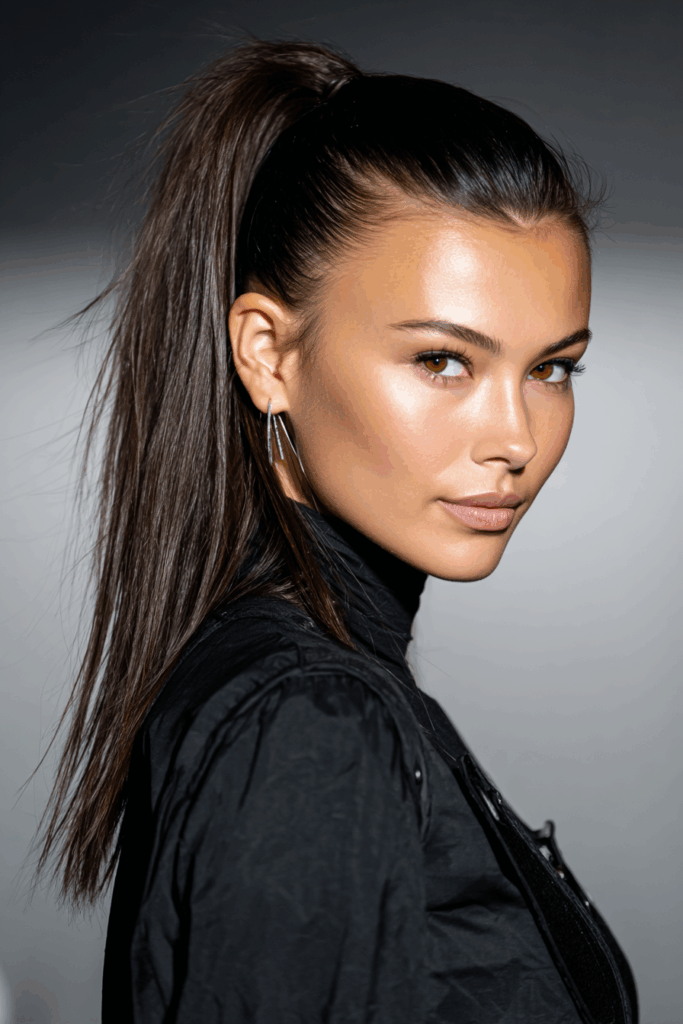
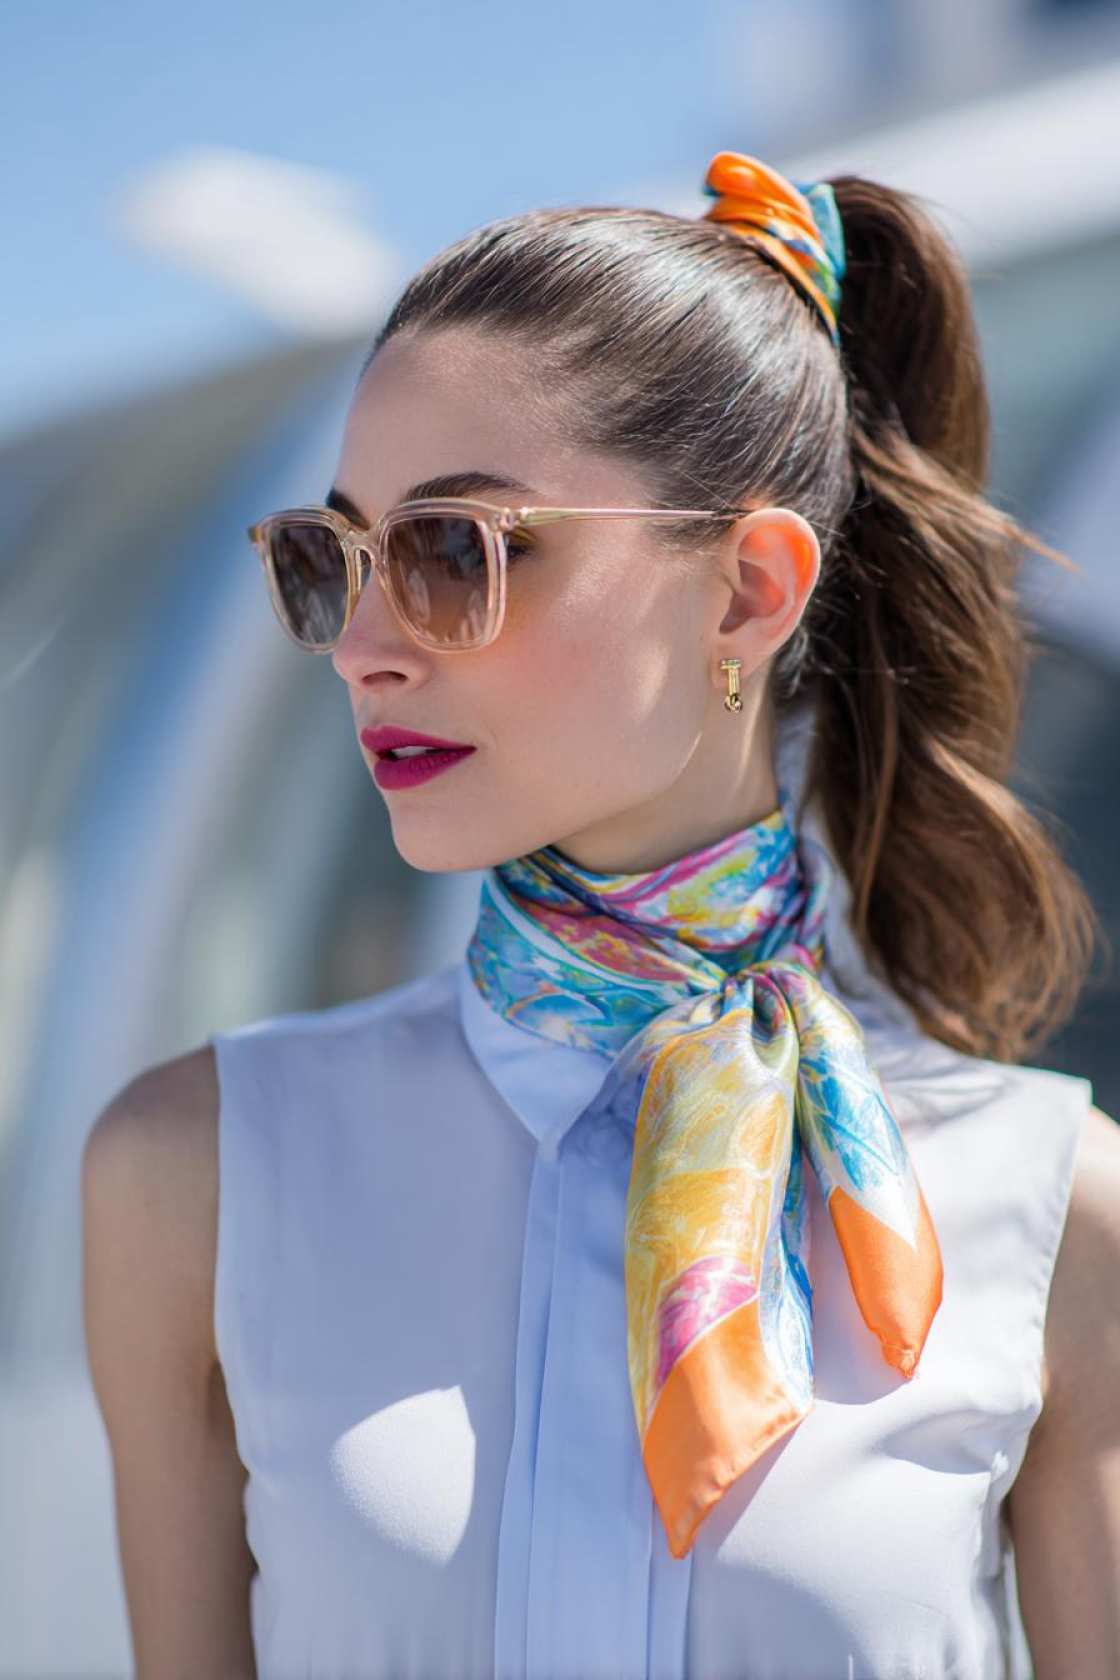
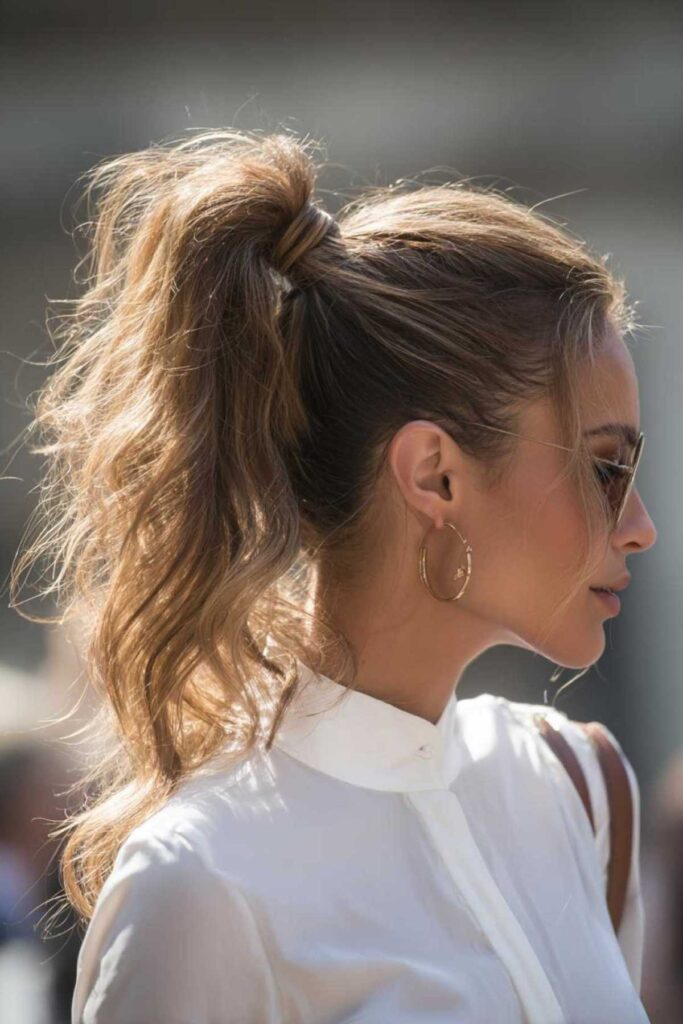
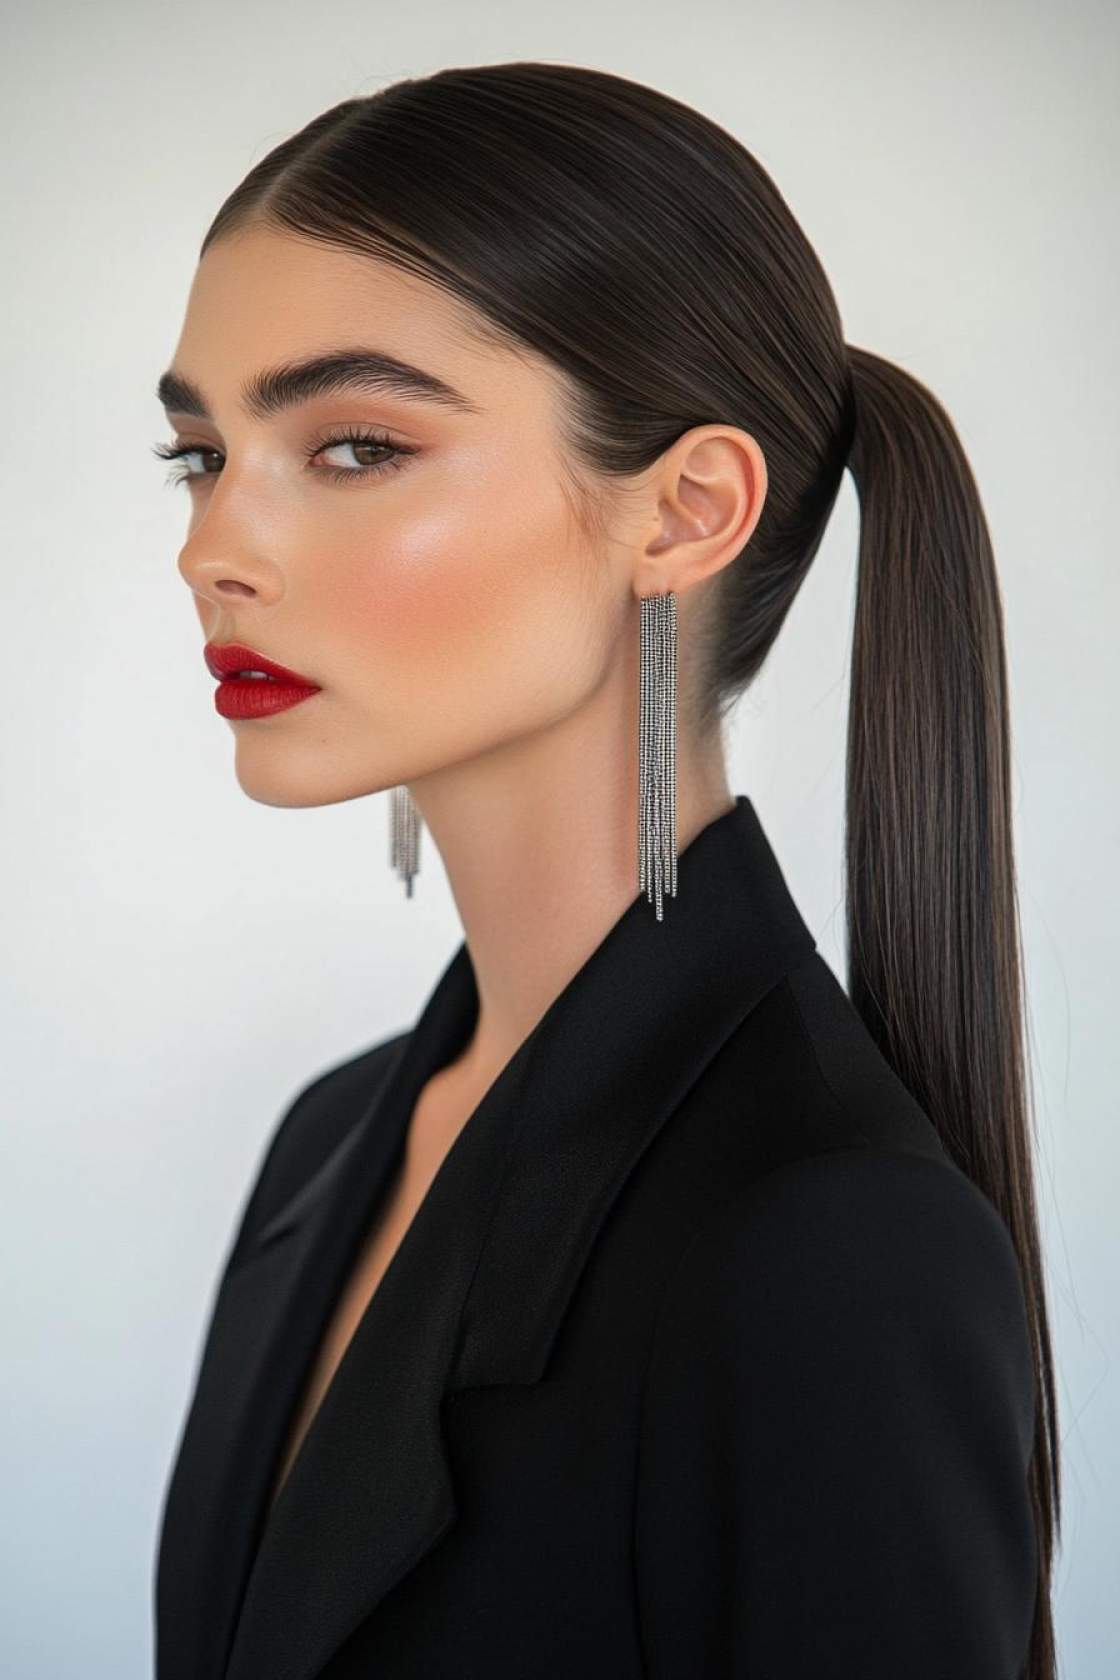
    11. Sleek Ponytail

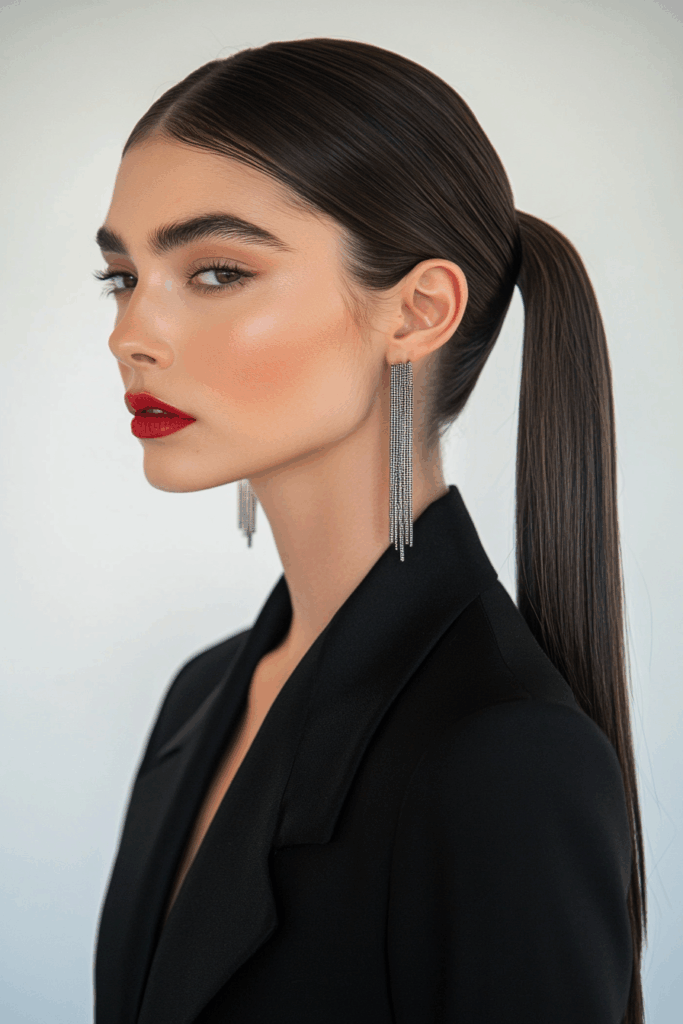
    A sleek ponytail is pure sophistication. It’s clean. It’s sharp. It has these amazing clean lines. This style pairs perfectly with statement earrings. They really pop against the smooth hair. It’s a powerful look.

    For that ultimate polished finish, I swear by a strong-hold hairspray. Spray it on your brush first. Then smooth down any flyaways. It gives you that runway-ready look. It’s a simple trick for maximum impact.
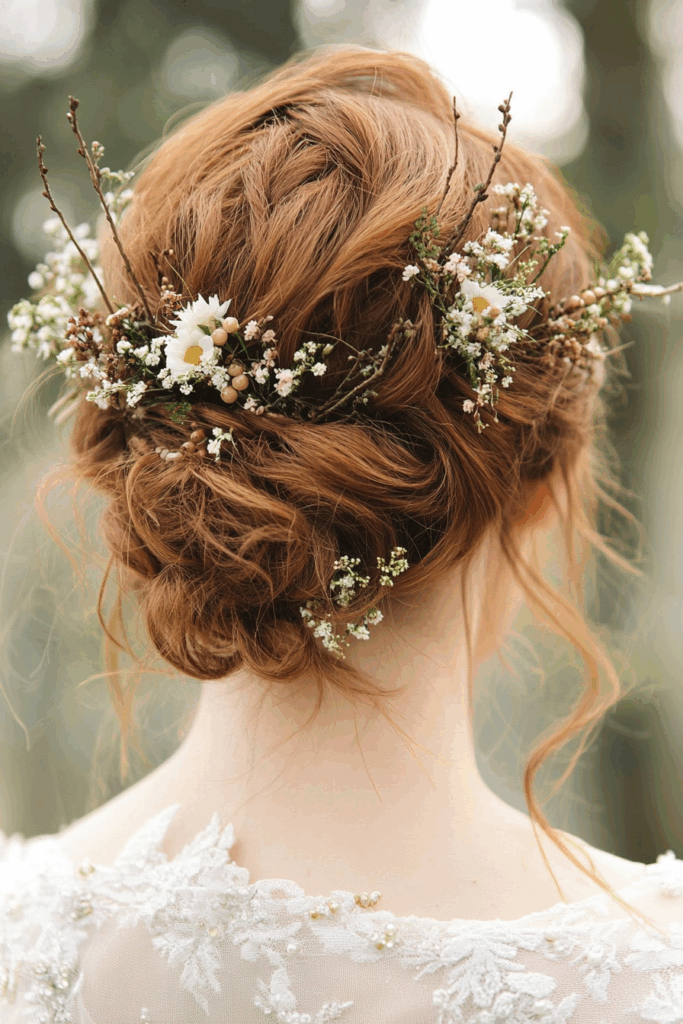
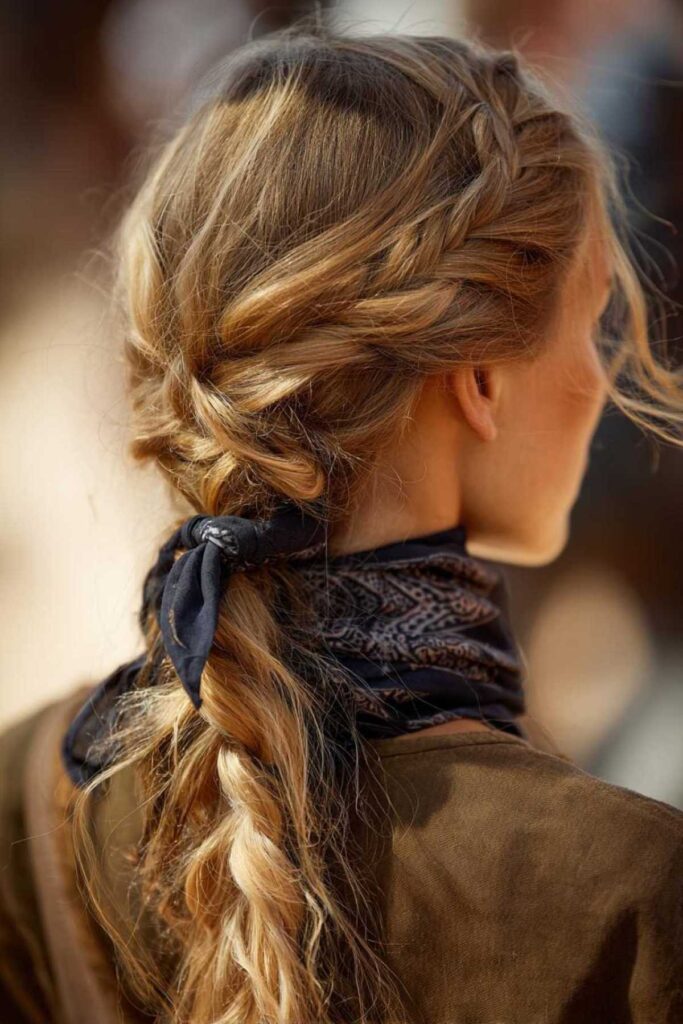
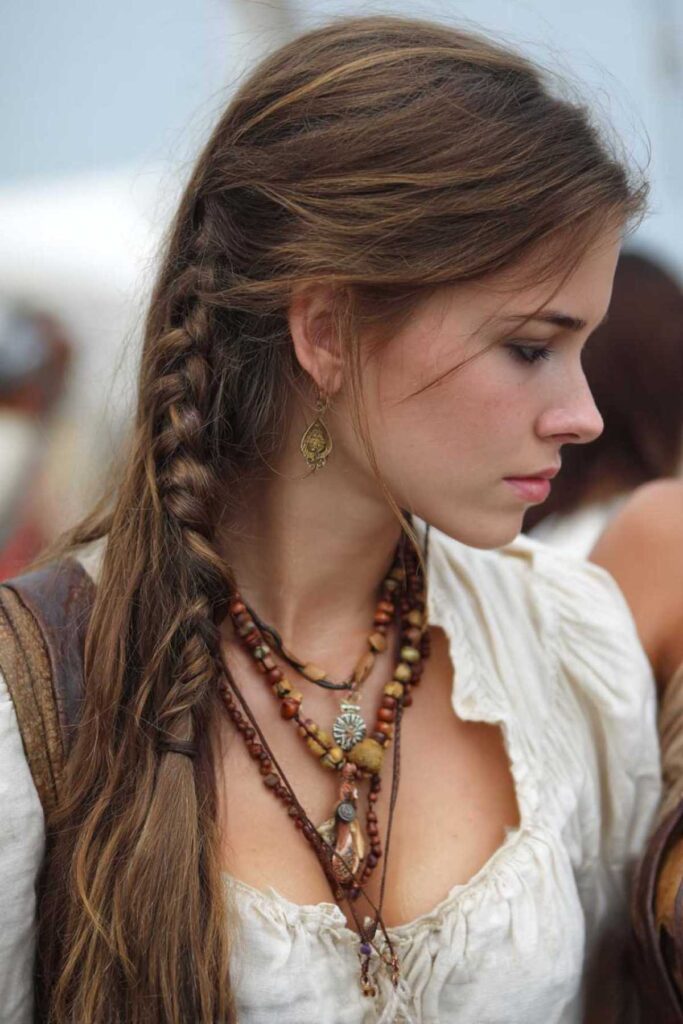
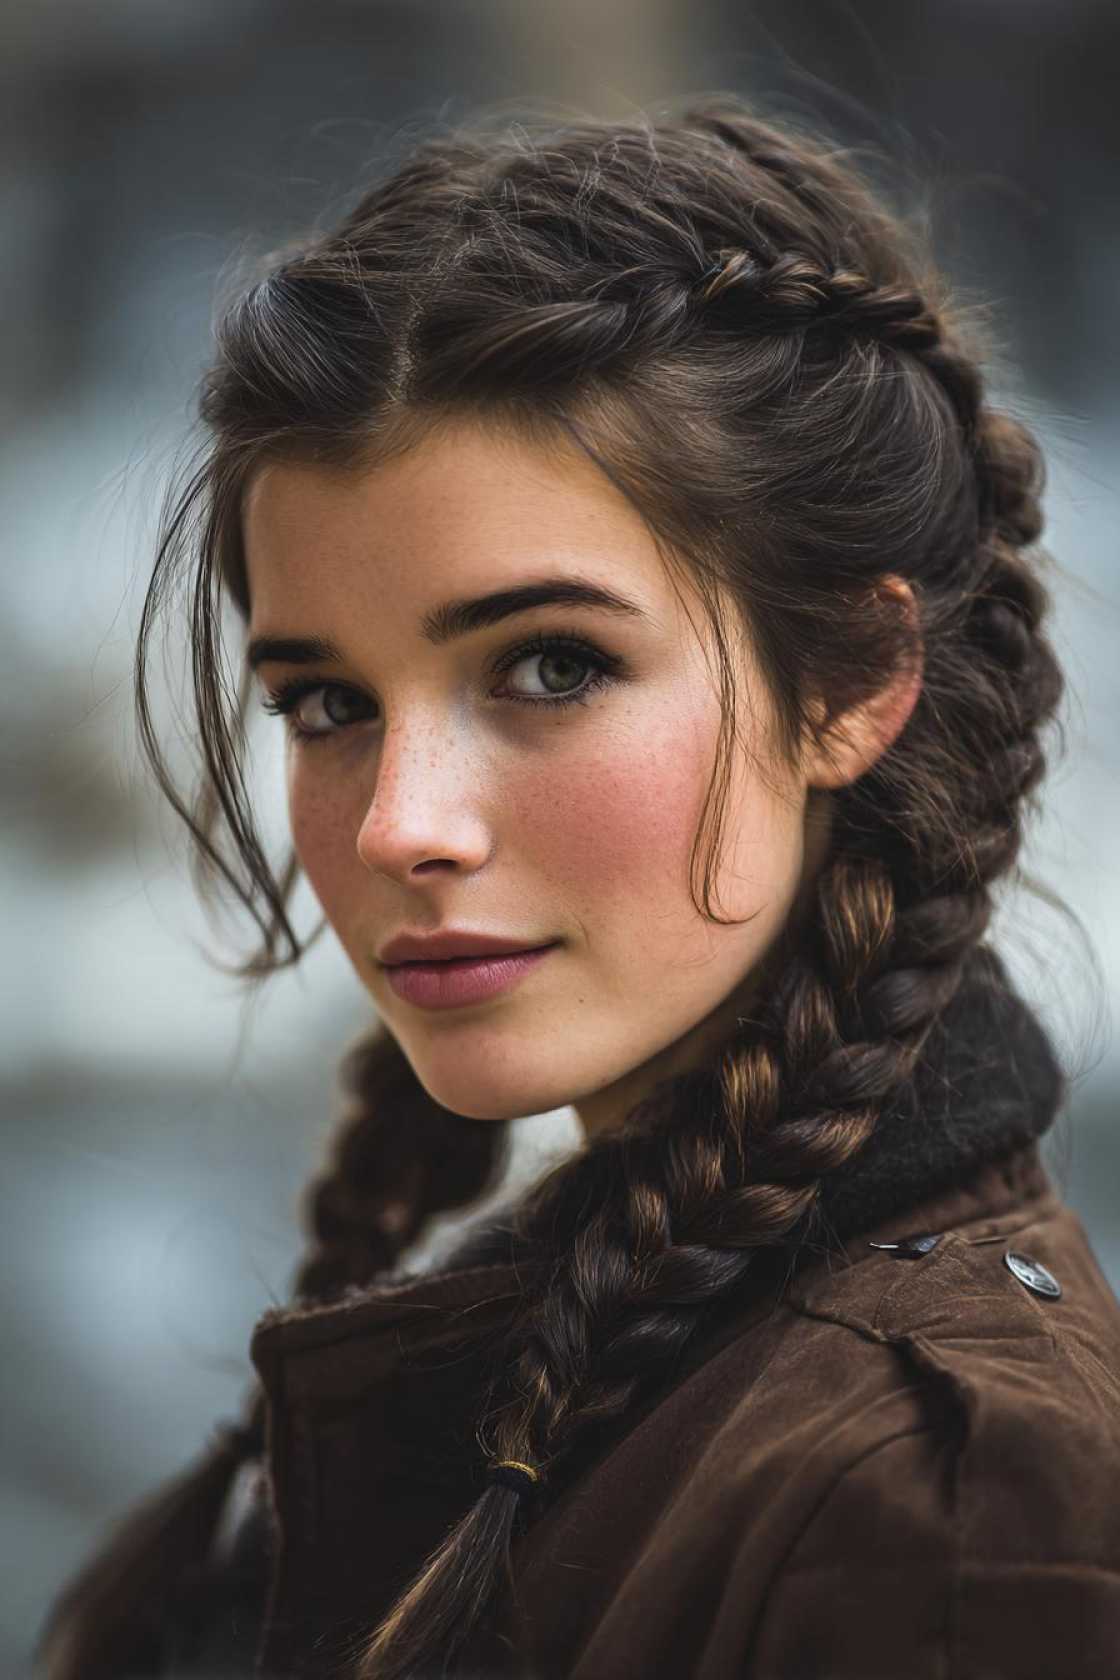
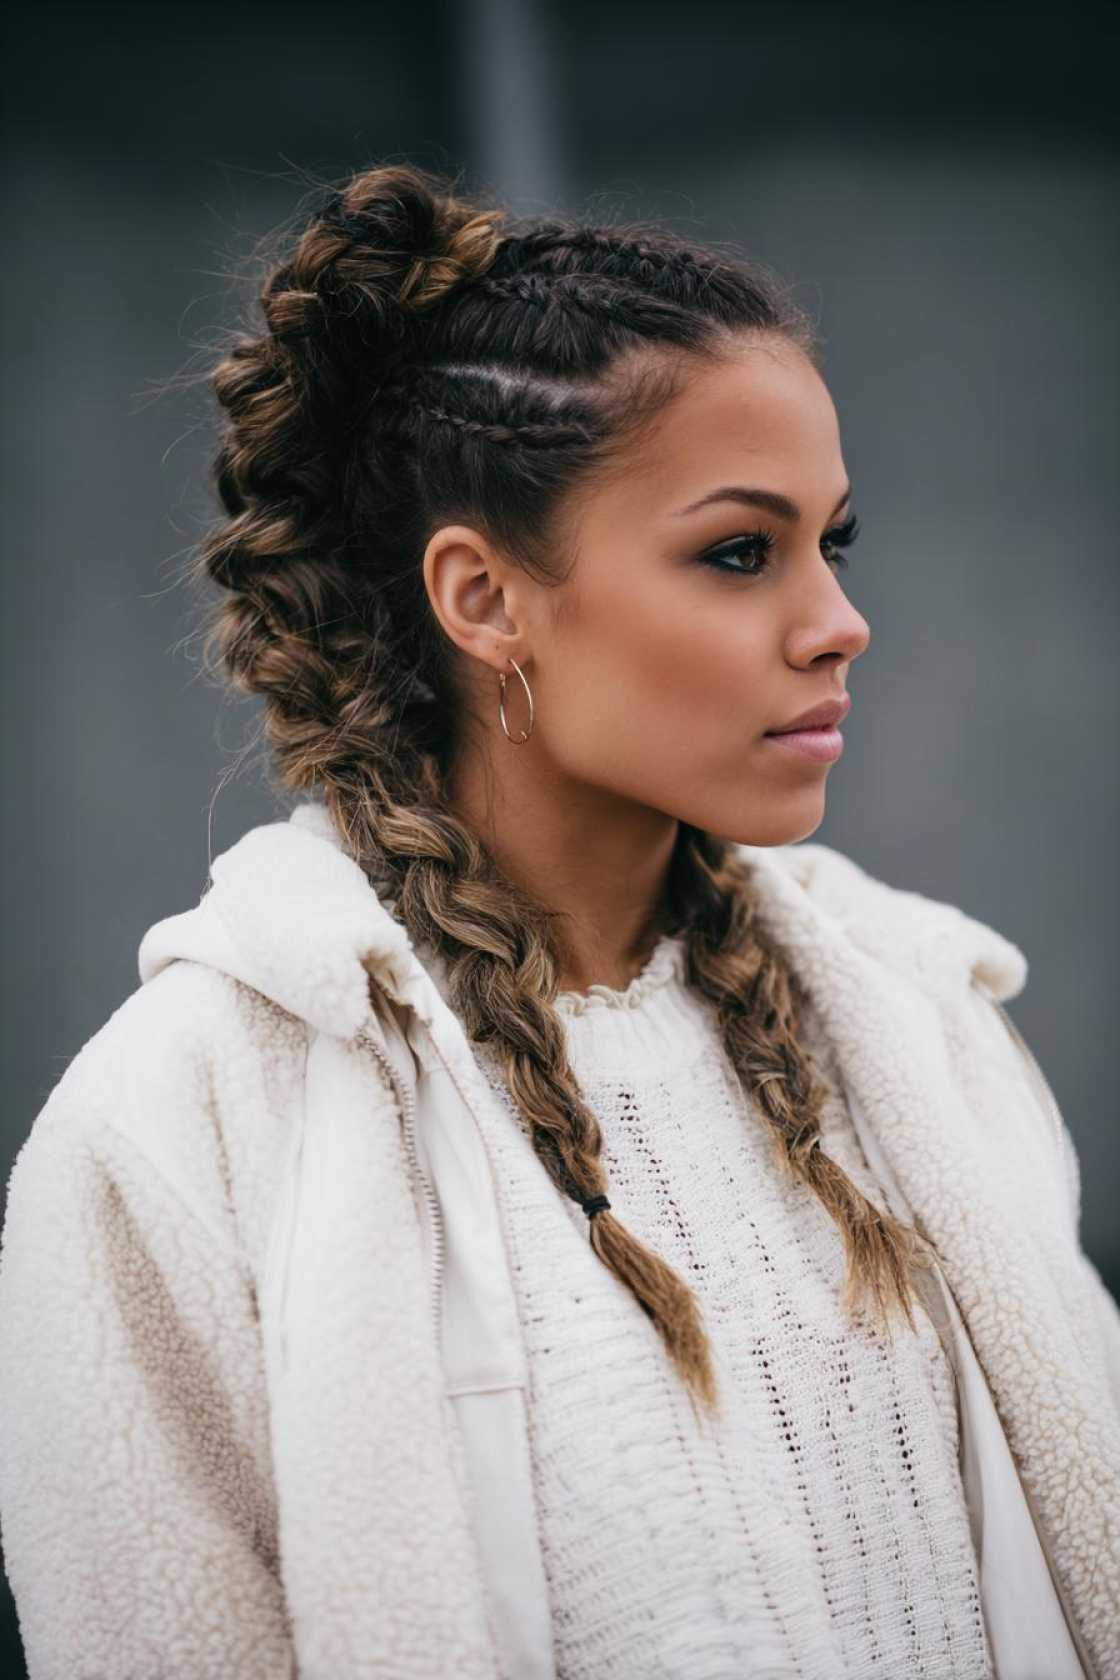
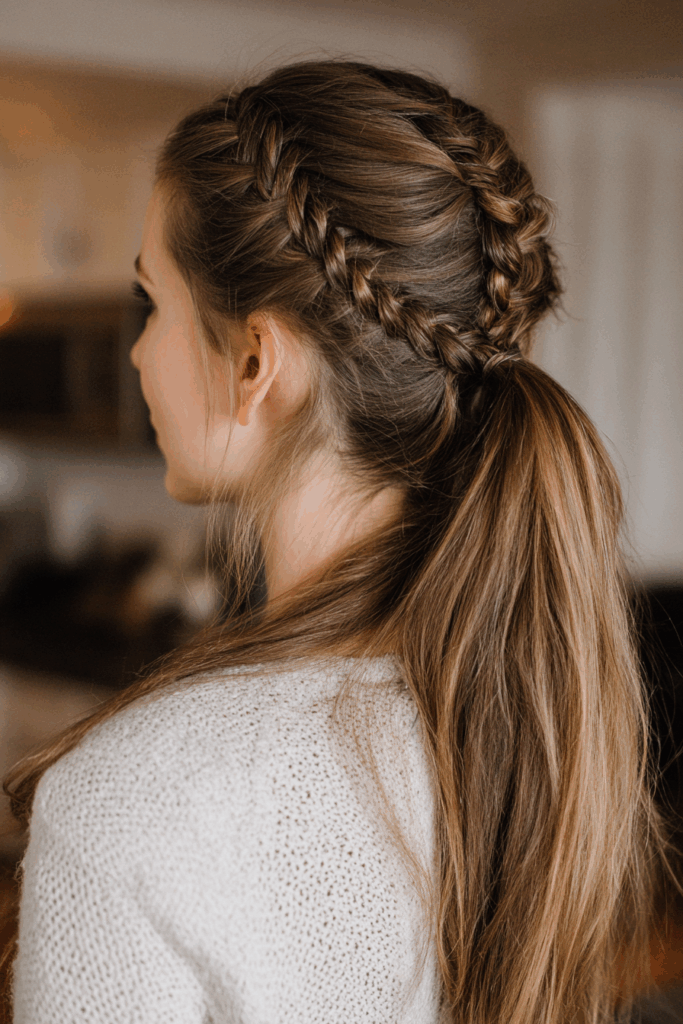
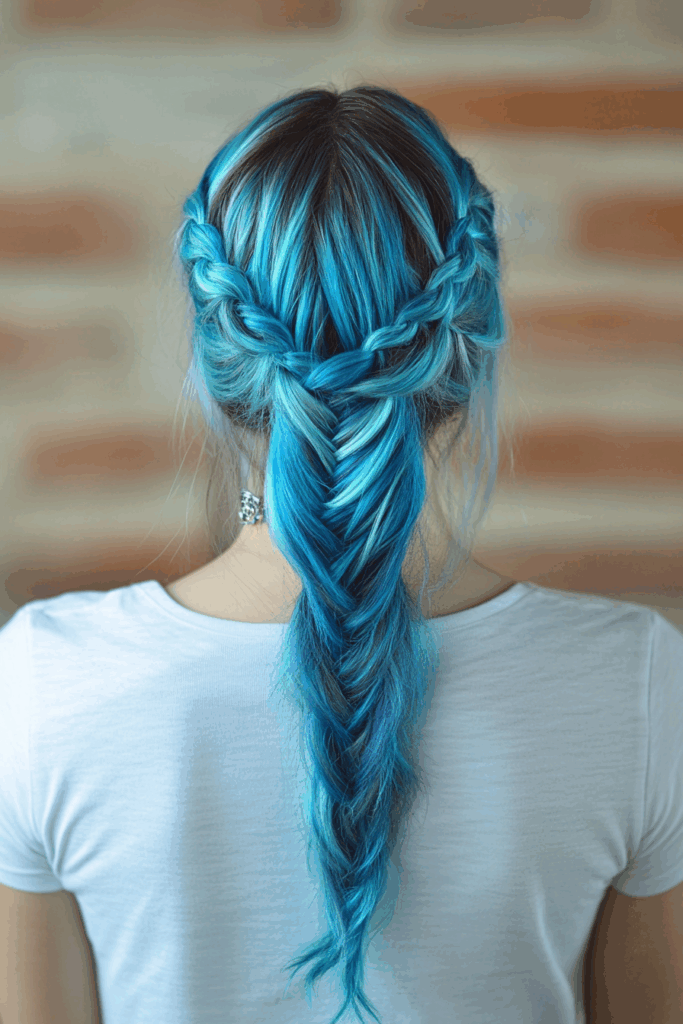
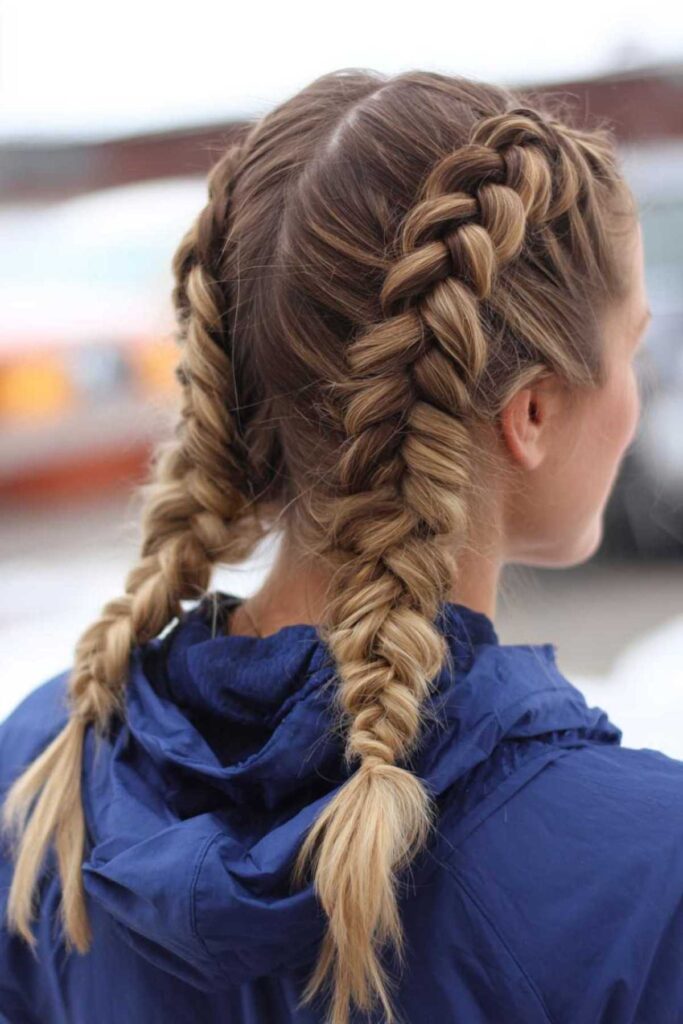
    10. Braided Crown

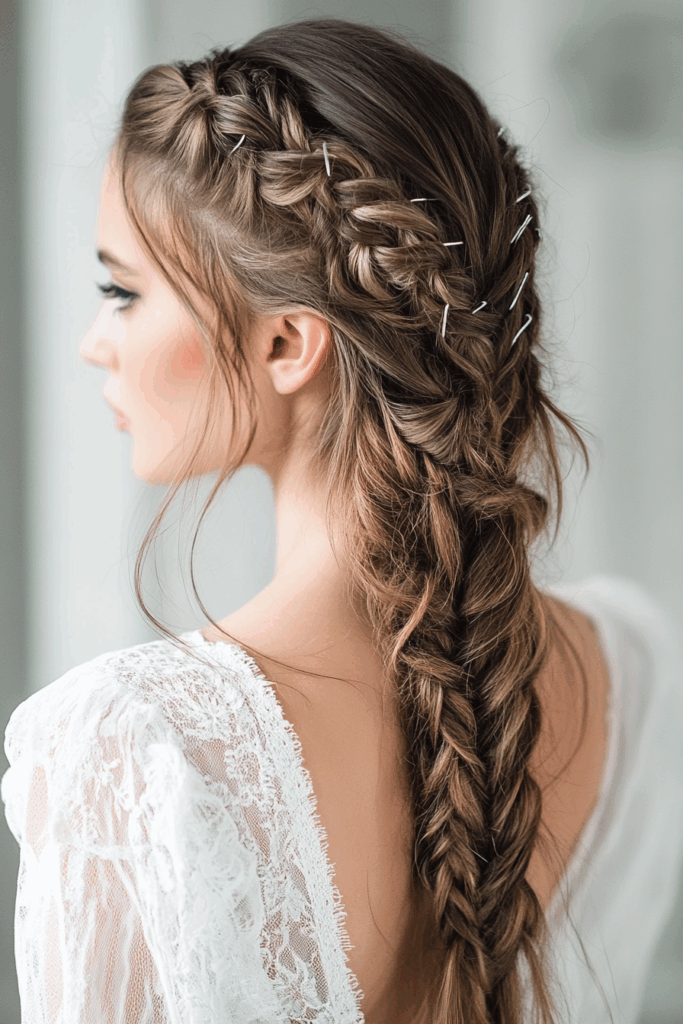
    Imagine a fairytale moment. That’s what a braided crown feels like. It’s romantic. It’s regal. This style is perfect for a princess vibe. It’s like wearing a beautiful crown of braids. It looks so intricate.

    To secure it perfectly, use bobby pins. Make sure they match your hair color. This makes them disappear. It keeps the braid looking neat. It’s a small detail that adds so much polish. Your crown will stay put.

    9. High Bun with Face-Framing Tendrils

    A chic high bun is always a winner. Adding soft pieces to frame your face makes it even better. These tendrils add a touch of softness. They also bring in sophistication. It’s a lovely contrast.

    For those perfect tendrils, use a fine-tooth comb. It helps you create precise sections. Gently pull out a few strands. Curl them slightly away from your face. It’s a subtle detail that elevates the whole look.

    8. Half-Up, Half-Down with a Twist

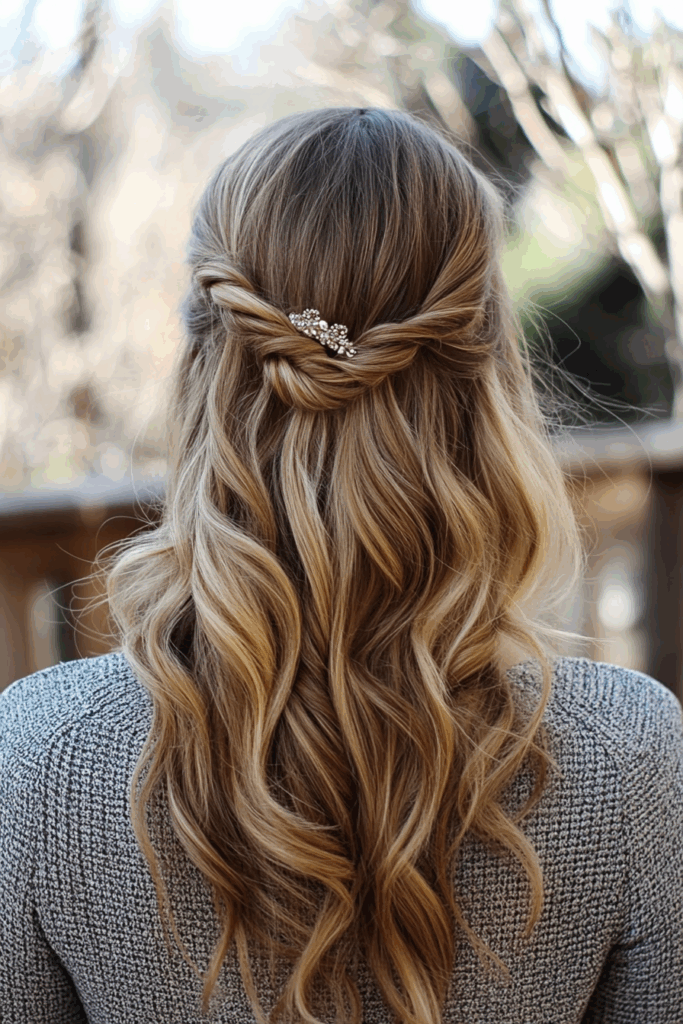
    This style is a fantastic variation. It’s half-up, half-down, but with a twist! Maybe add a braid or a pretty twist. It keeps your hair off your face. But you still show off your length. It’s the best of both worlds.

    To secure the twisted section, use a decorative clip. It adds a little sparkle. It also holds everything in place. It’s a pretty way to finish the style. Your hair will look so put-together.
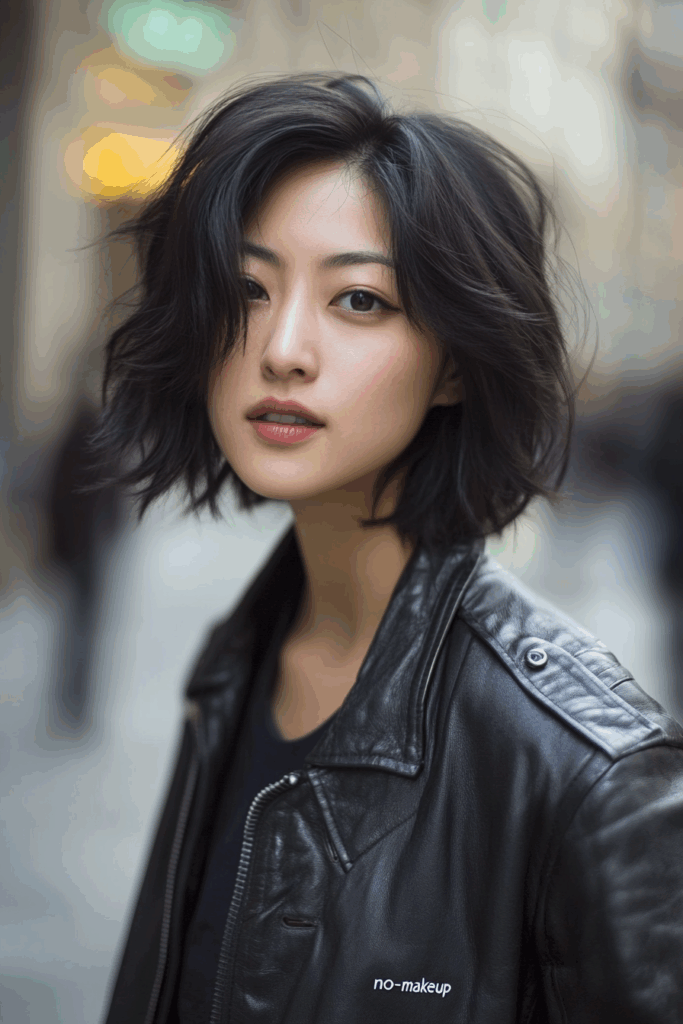
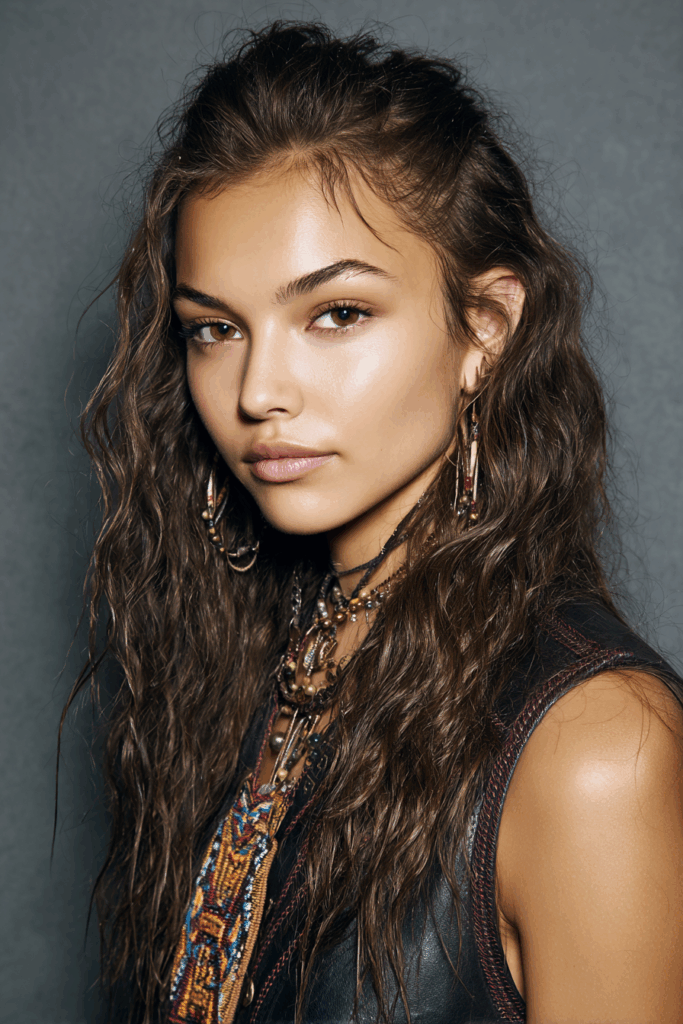
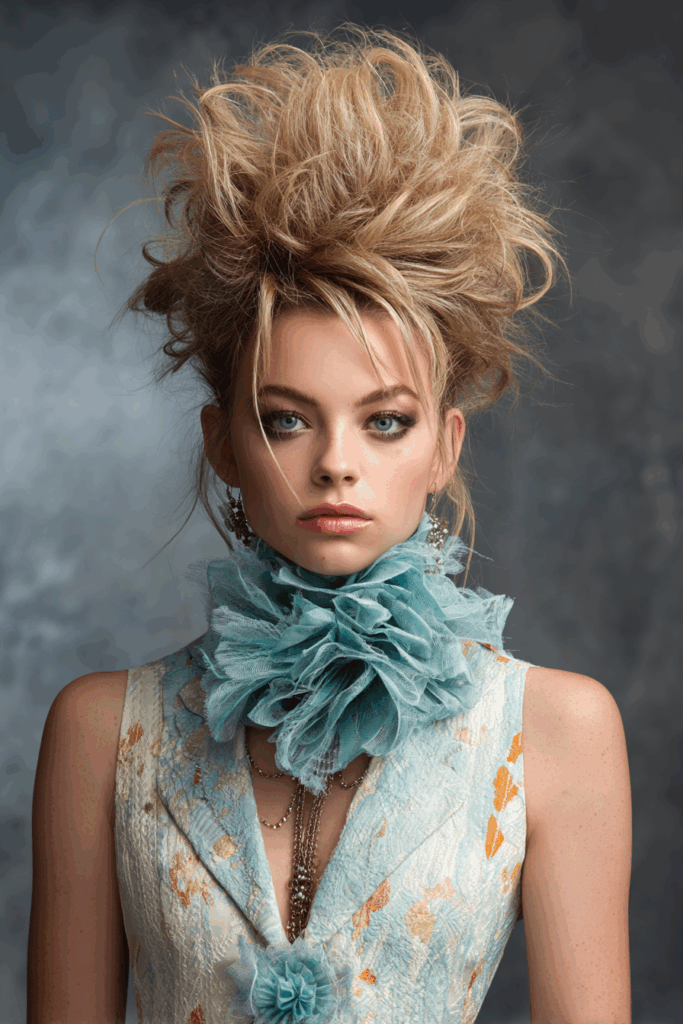
    7. Messy Bun Chic

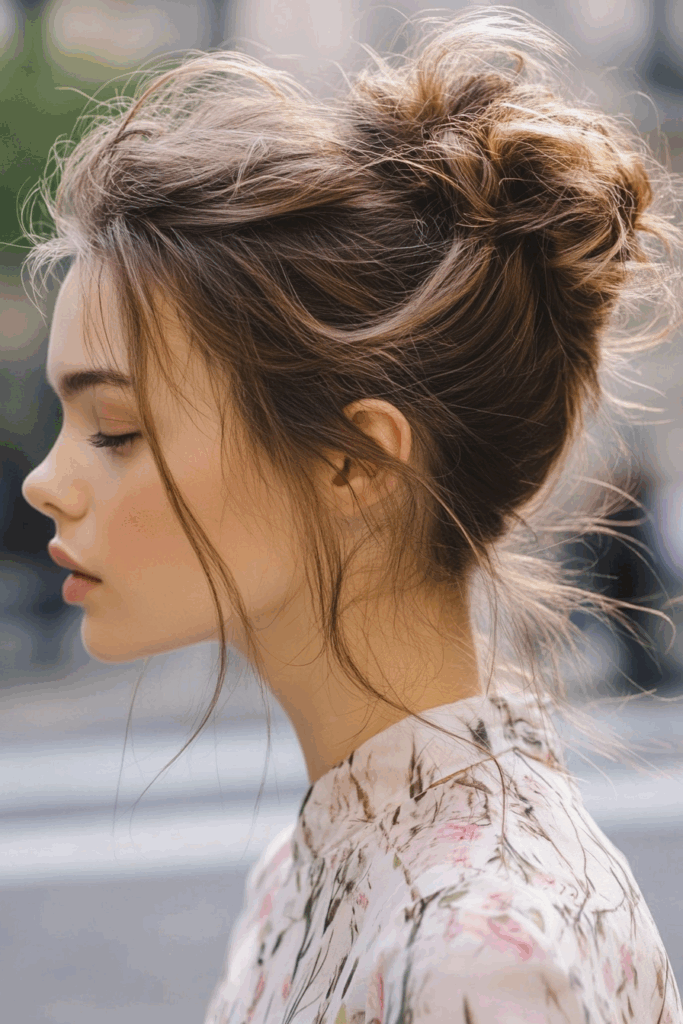
    There’s an art to the messy bun. It looks undone but is totally intentional. This style has a relaxed vibe. It’s effortlessly stylish. It’s perfect for a more laid-back homecoming look. Or just when you want to feel cool.

    For extra volume at the crown, try teasing it first. Gently backcomb the roots. Then create your bun. It gives that perfect amount of lift. It makes the messy bun look even better.
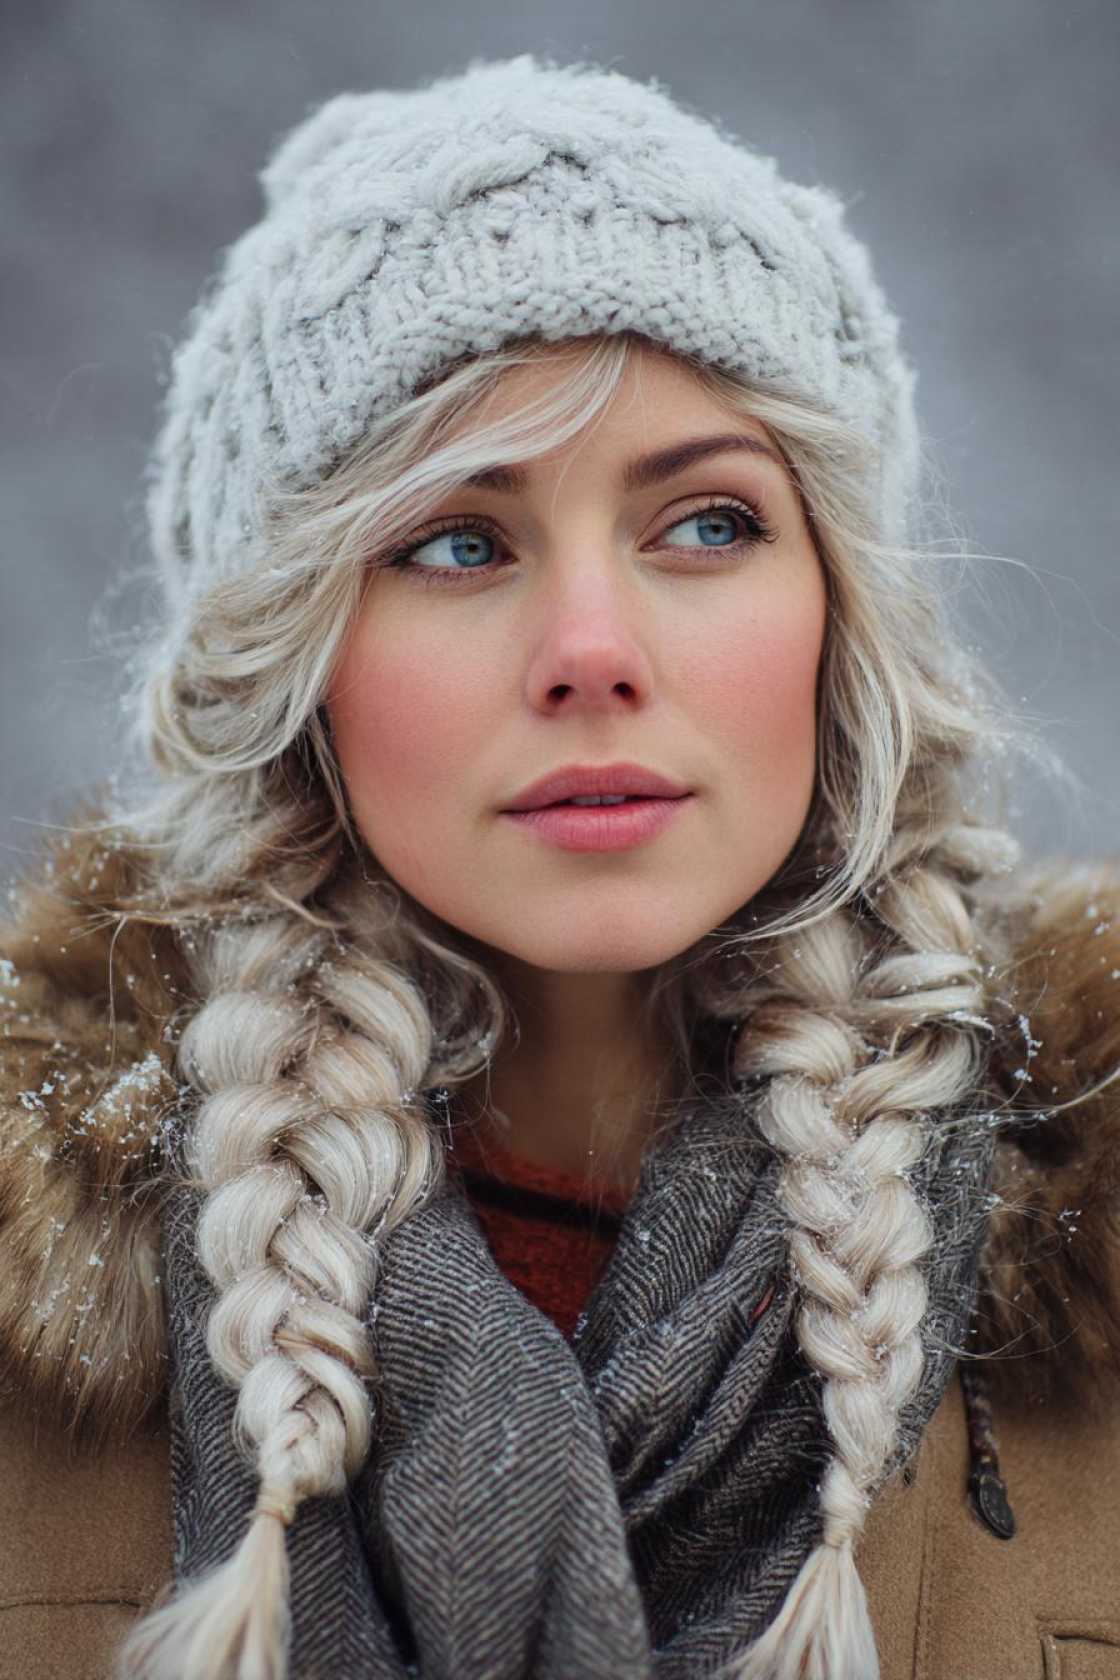
    6. Bubble Ponytail

    This ponytail is so playful and trendy! It’s called a bubble ponytail. You create it by adding elastics down the length. It makes these cute ‘bubbles’. It has such unique visual interest. It’s fun!

    To make it look seamless, use elastic bands that match your hair color. This way, the bands blend in. It looks super clean. It’s a simple trick for a polished, fun style.

    5. Side-Swept Glamour

    Styles swept to one side are so alluring. Think waves or an updo. They really showcase one shoulder of your dress. It adds a touch of mystery. It feels very glamorous.

    For lasting volume on the swept side, use a strong-hold mousse. Apply it to damp hair. Then blow dry. This gives your hair the structure it needs. It holds that beautiful shape all night.

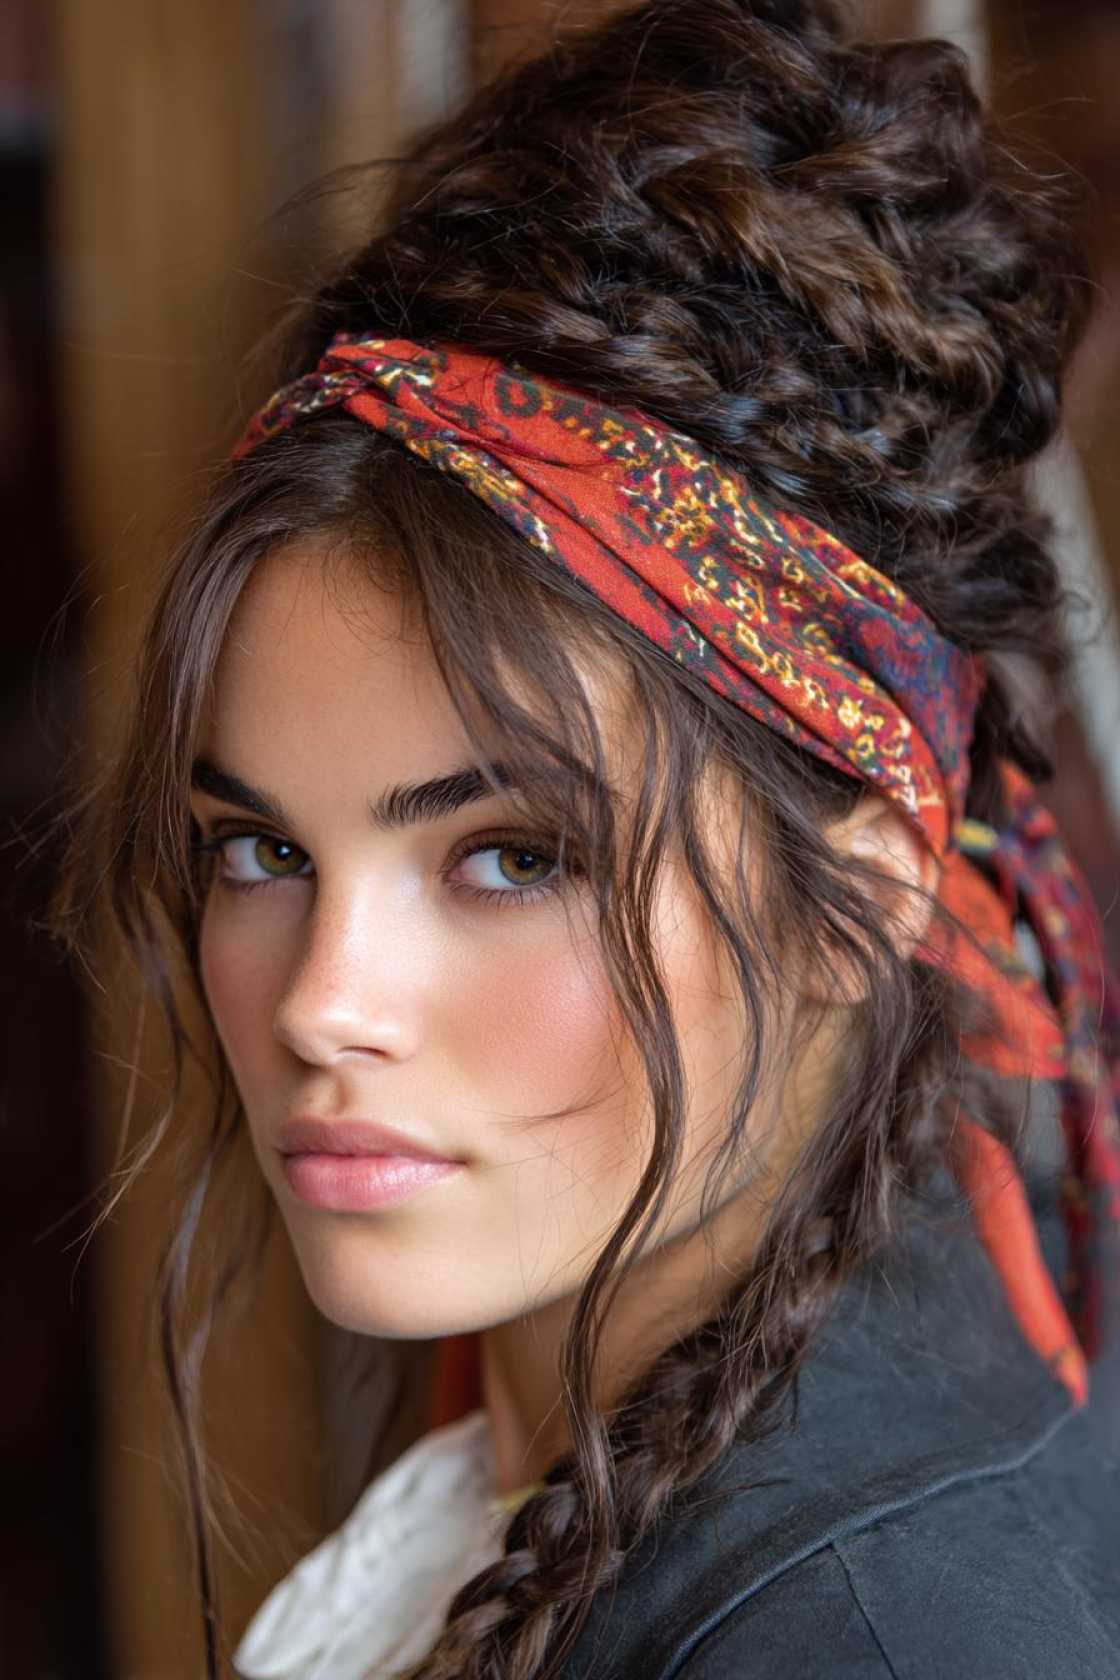
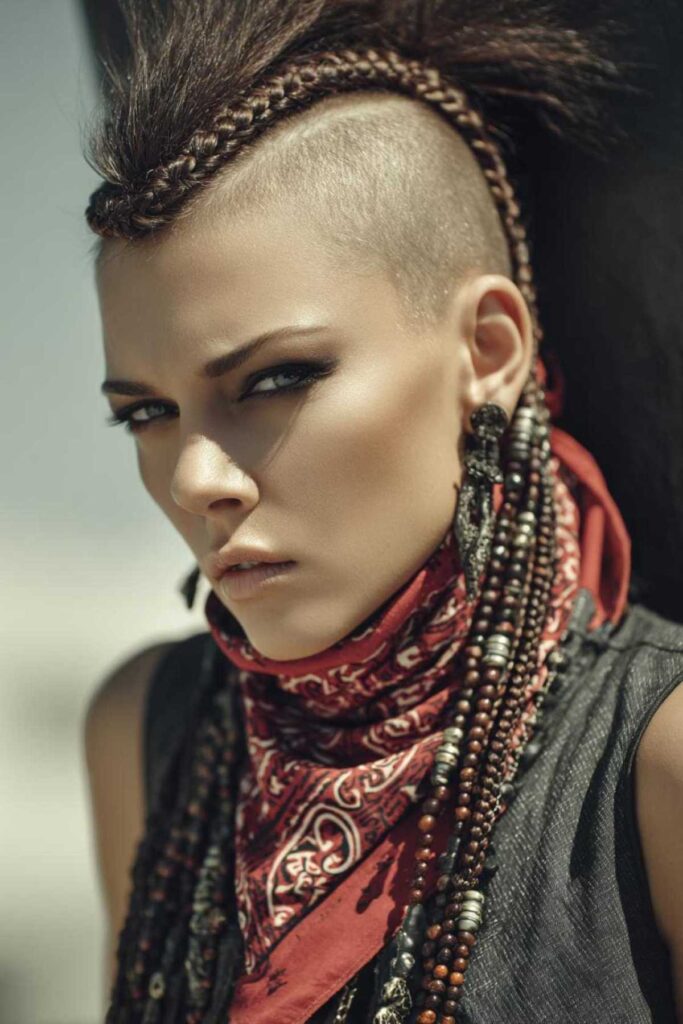
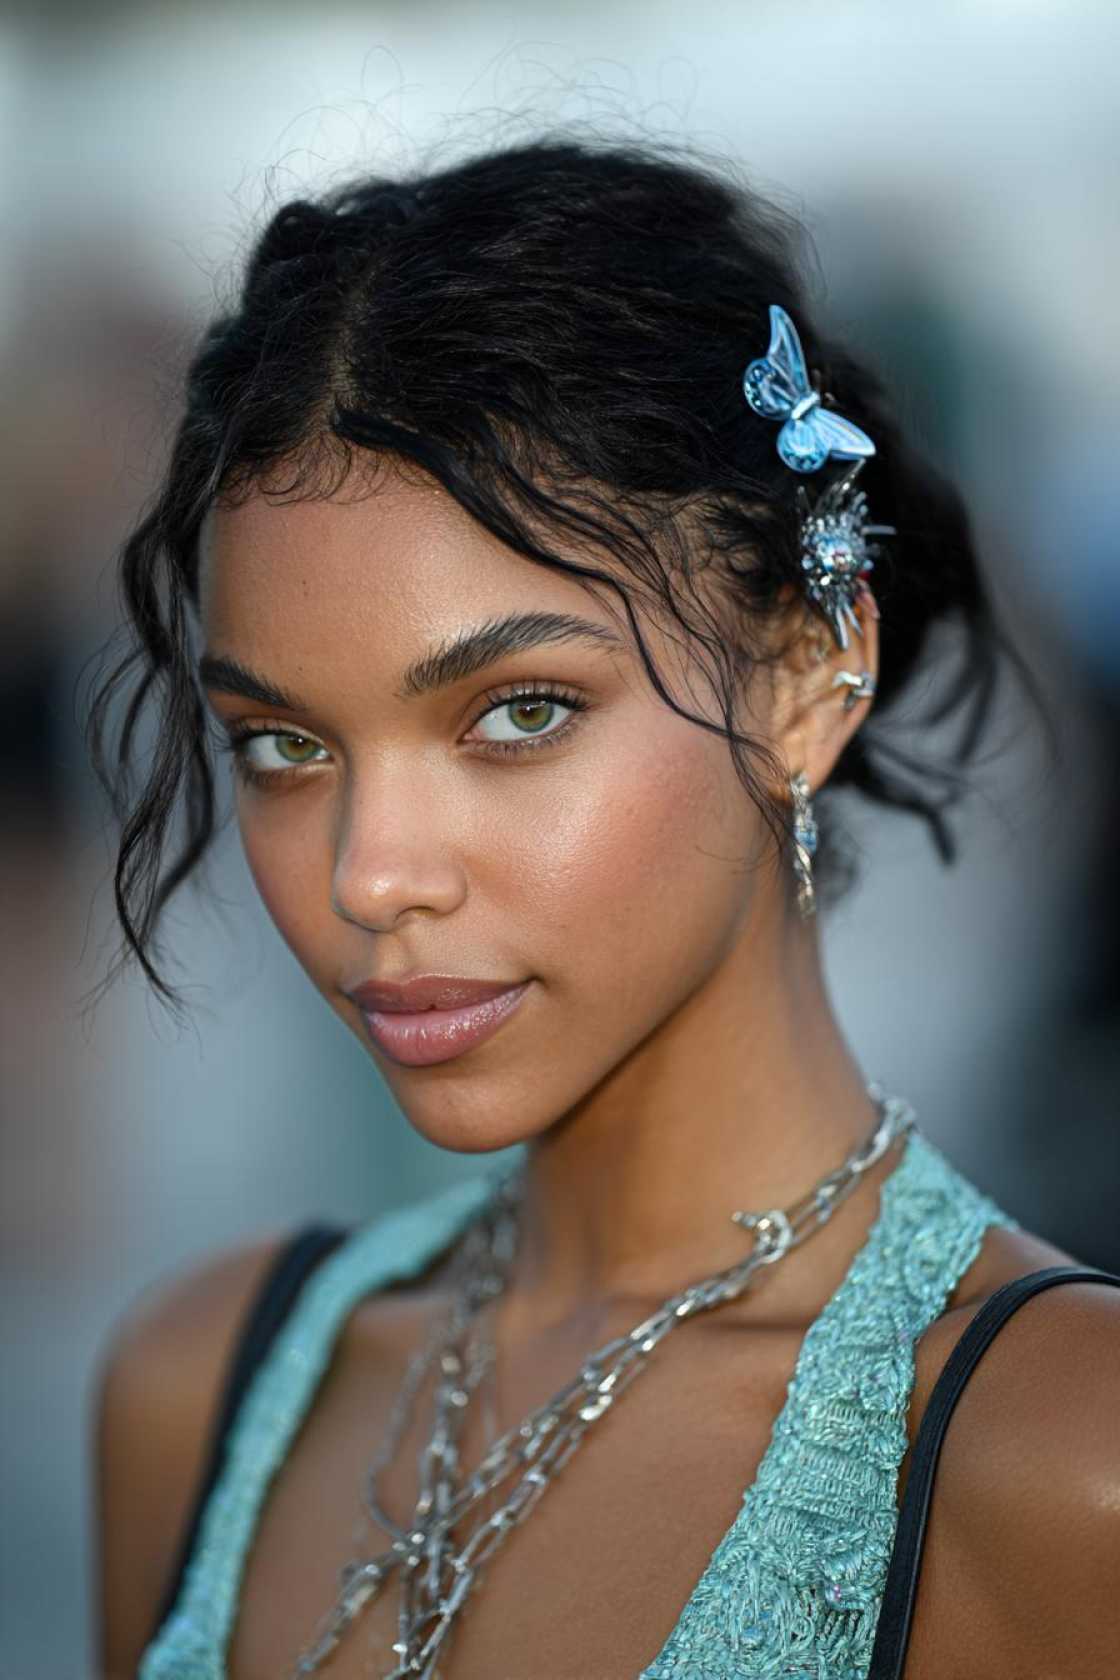
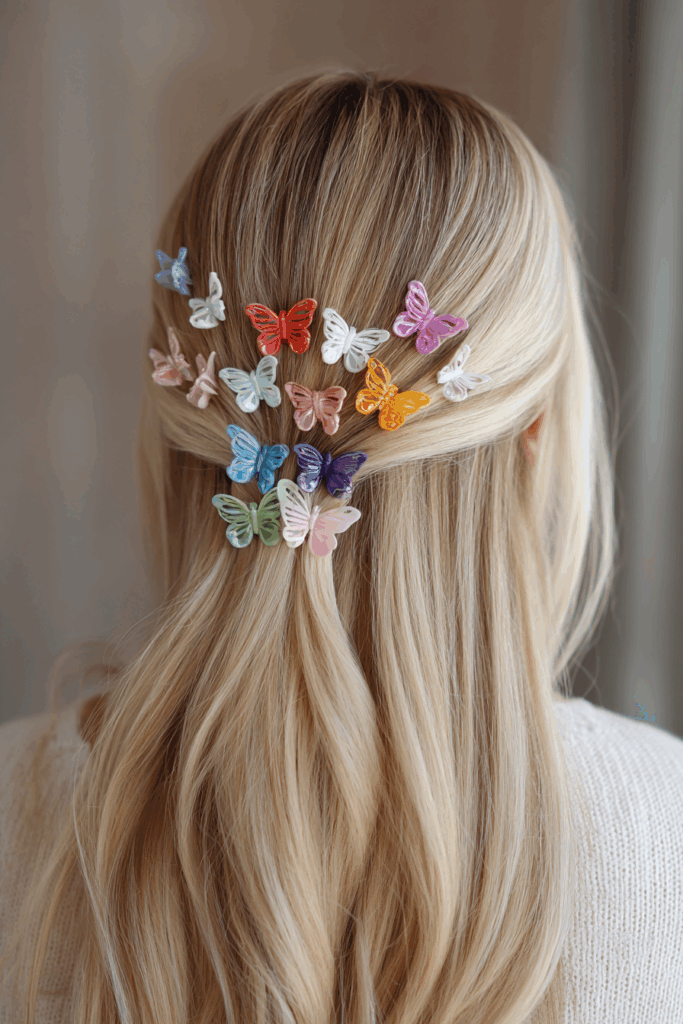
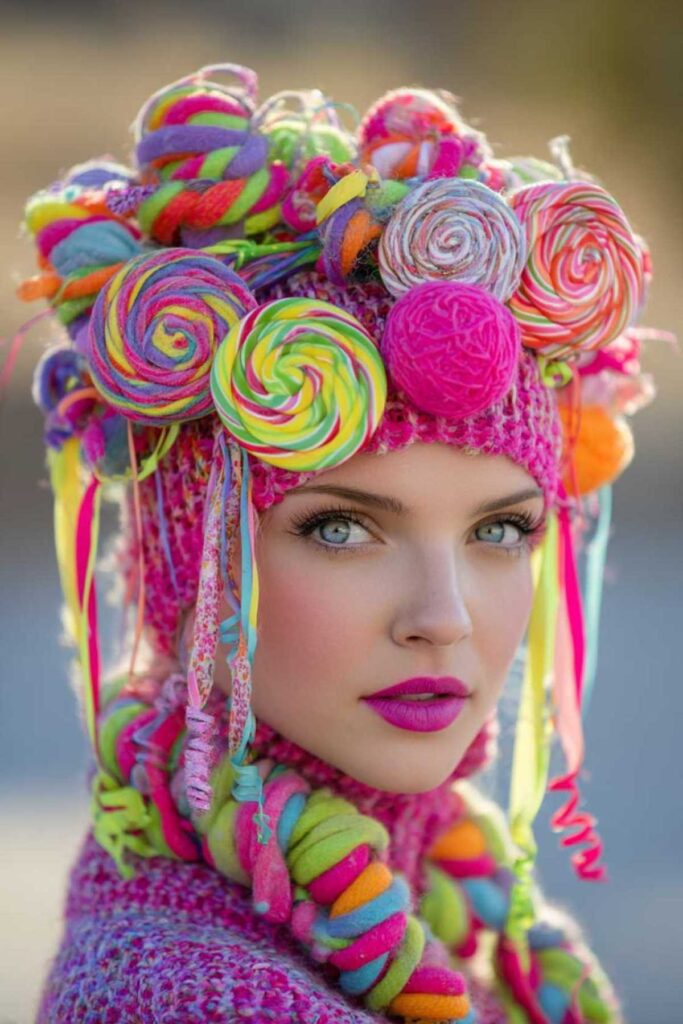
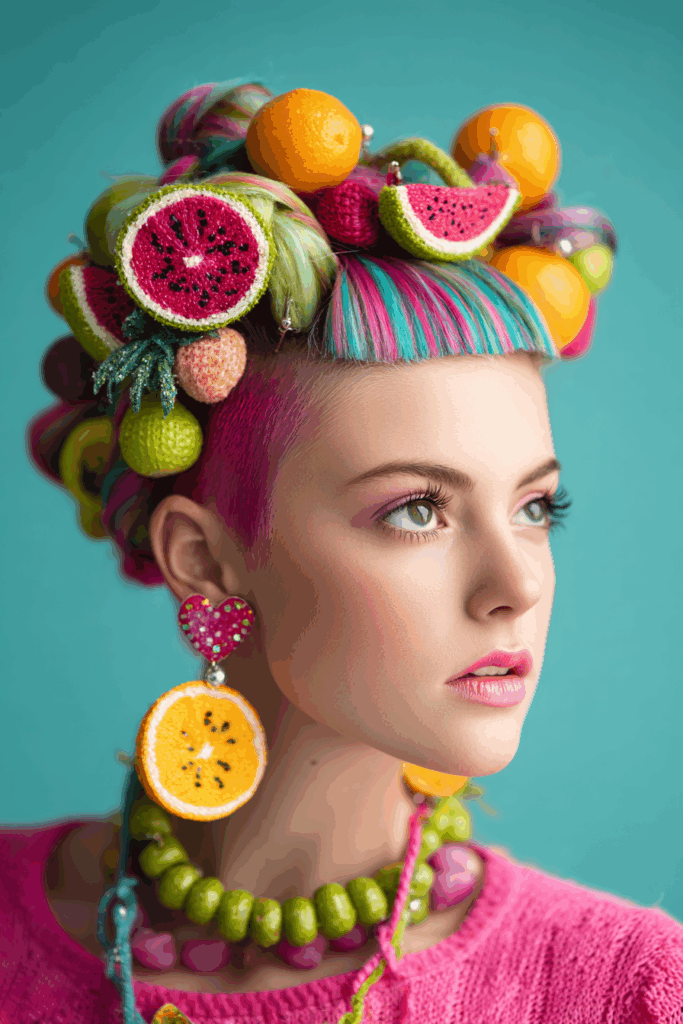
    4. Accessorized Styles

    Hair accessories are game-changers! Headbands, barrettes, floral pins – they elevate any style. They add personality. They add sparkle. They turn a simple hairstyle into something special.

    Try coordinating your accessories with your outfit. A sparkly barrette can match your dress. Or a floral pin can complement your corsage. It’s a fun way to personalize your look.
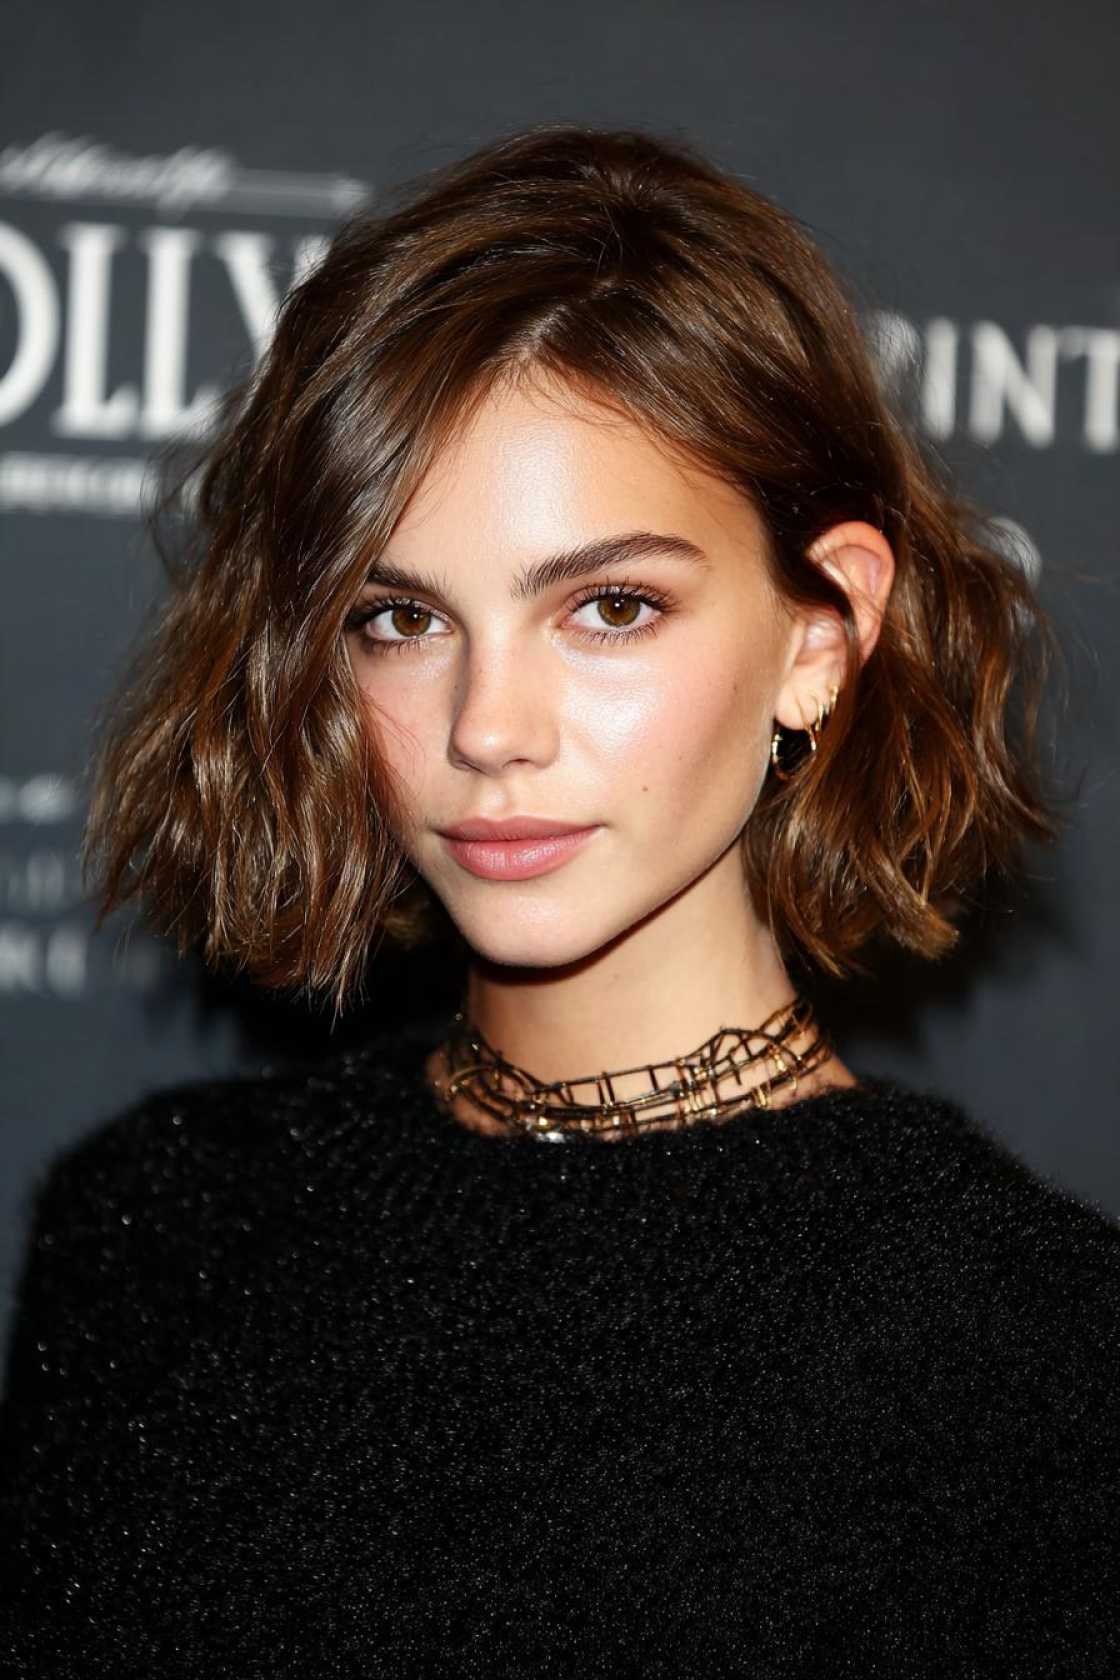
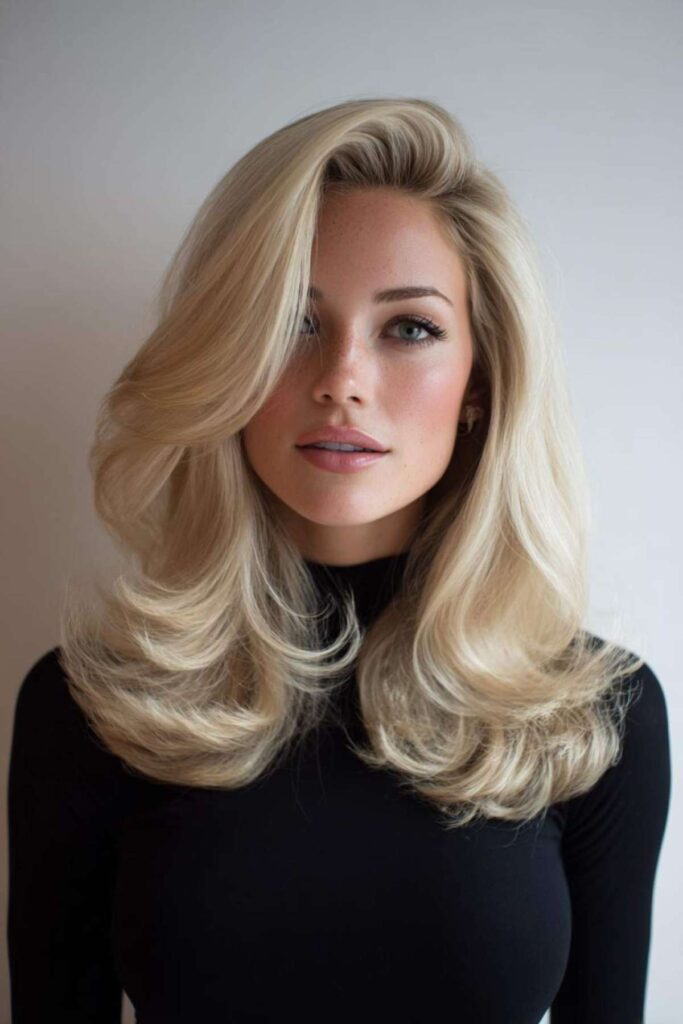
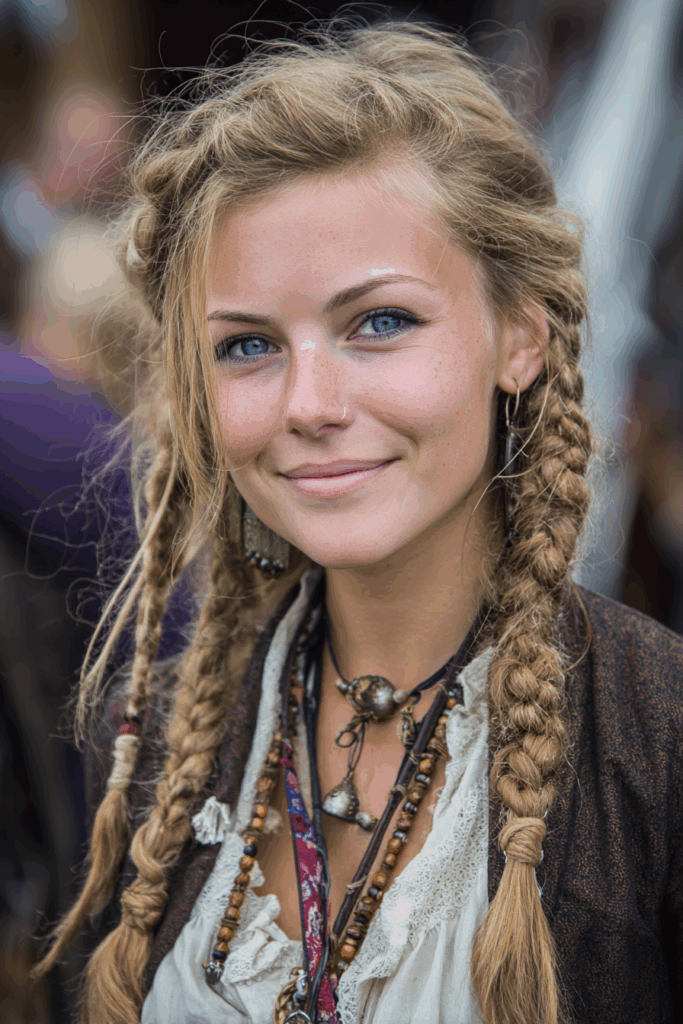
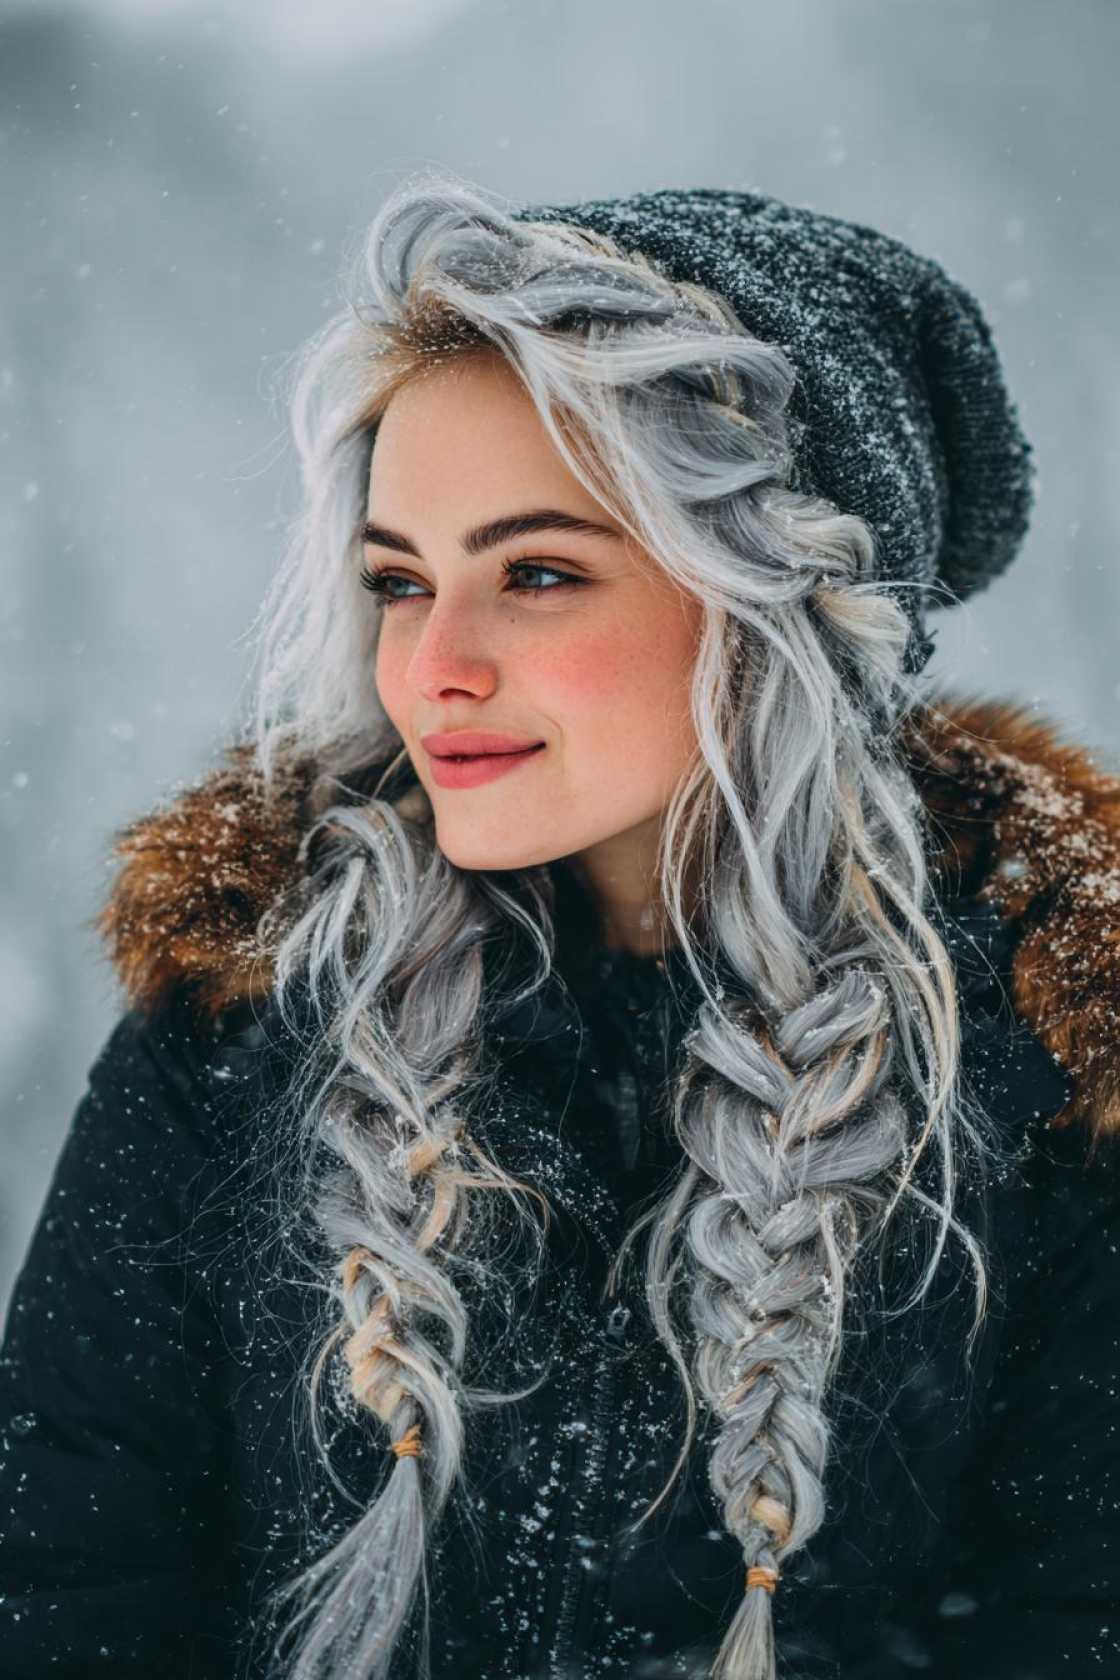
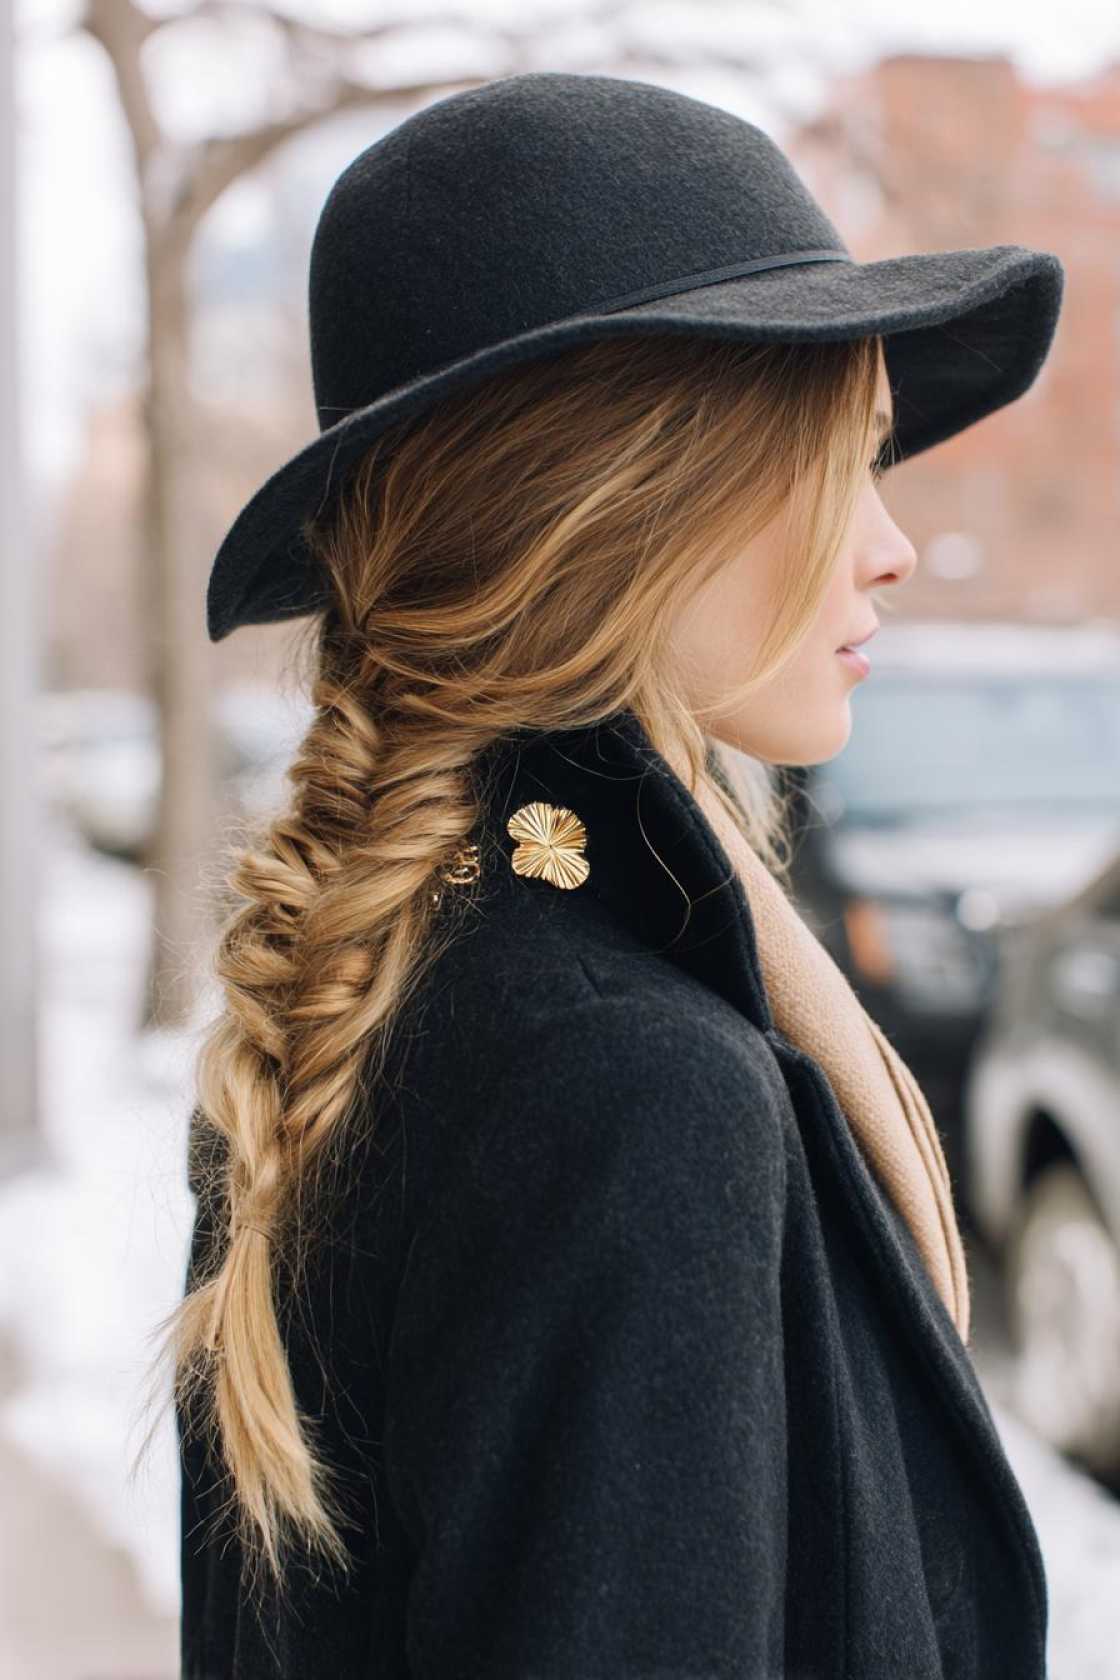
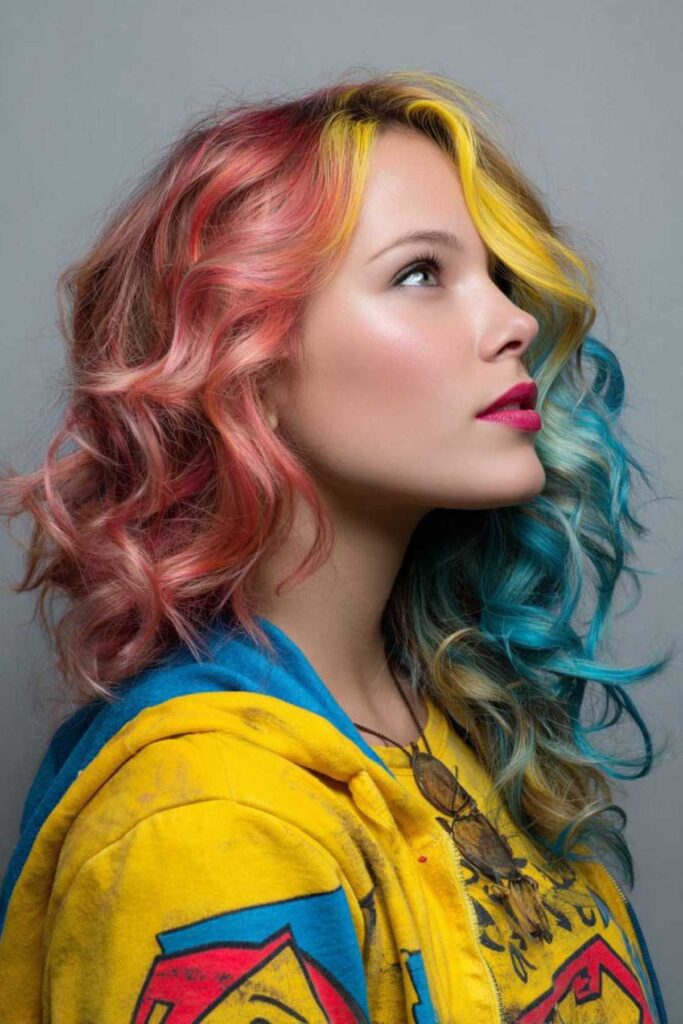
    3. Voluminous Curls

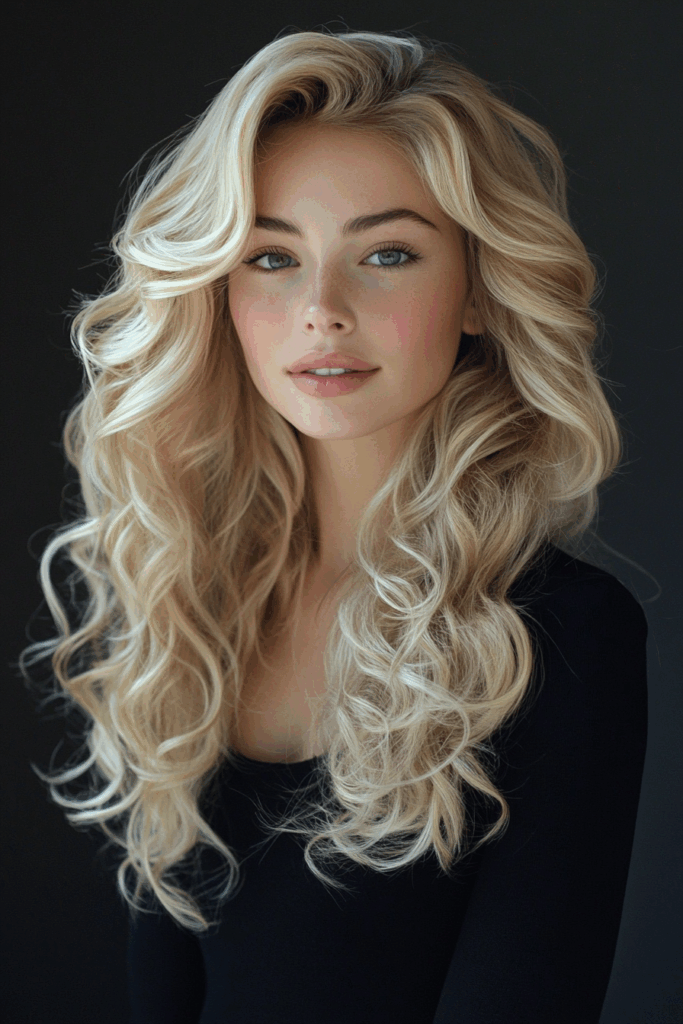
    Big, bouncy curls create such a dramatic effect. They are pure glamour. This style has classic appeal. It works for so many hair lengths. It’s a timeless choice for a reason.

    For maximum volume, use a large barrel curling iron. Wrap sections of hair around it. Hold for a few seconds. Then release. It gives you those amazing, full curls. It’s a simple way to get va-va-voom hair.
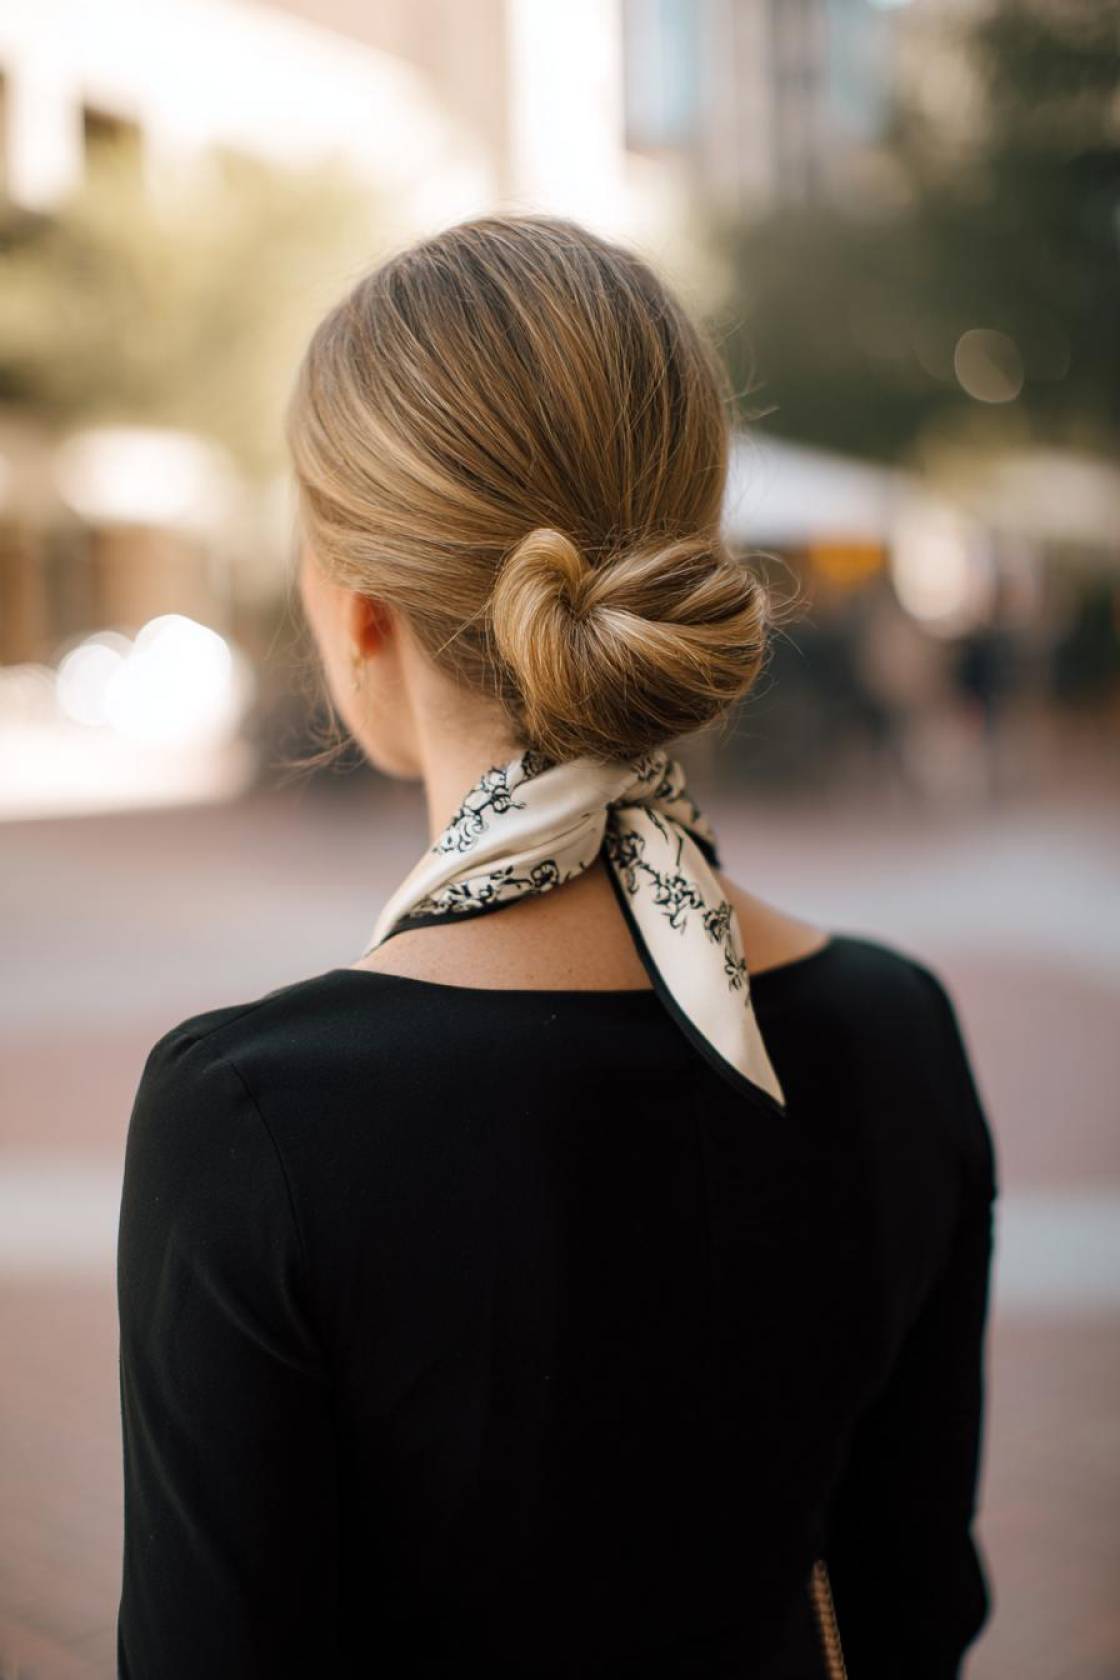
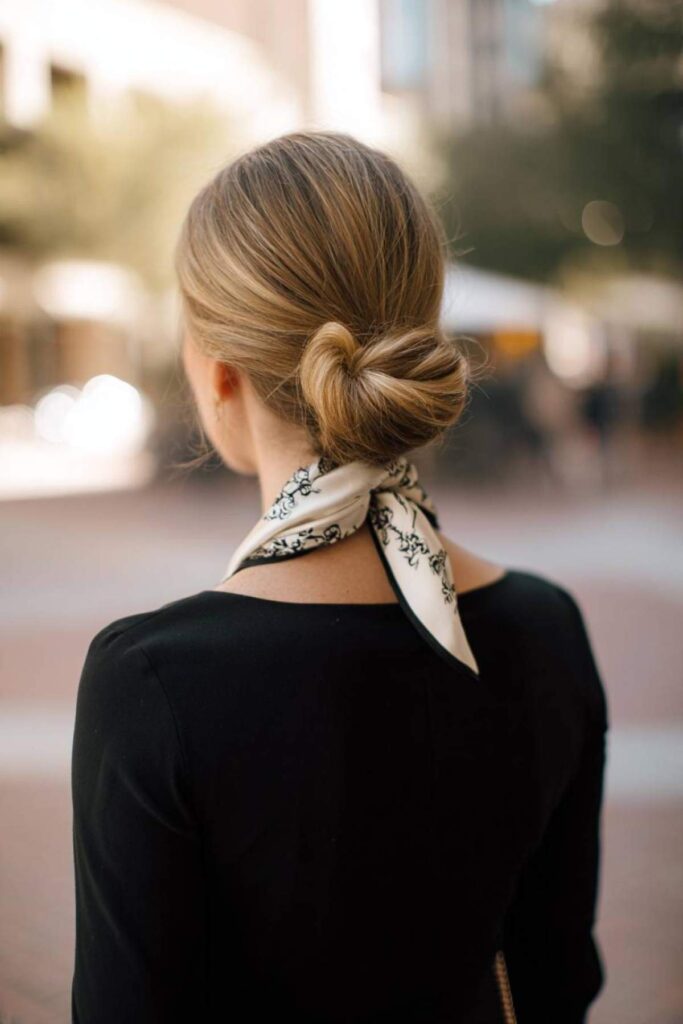
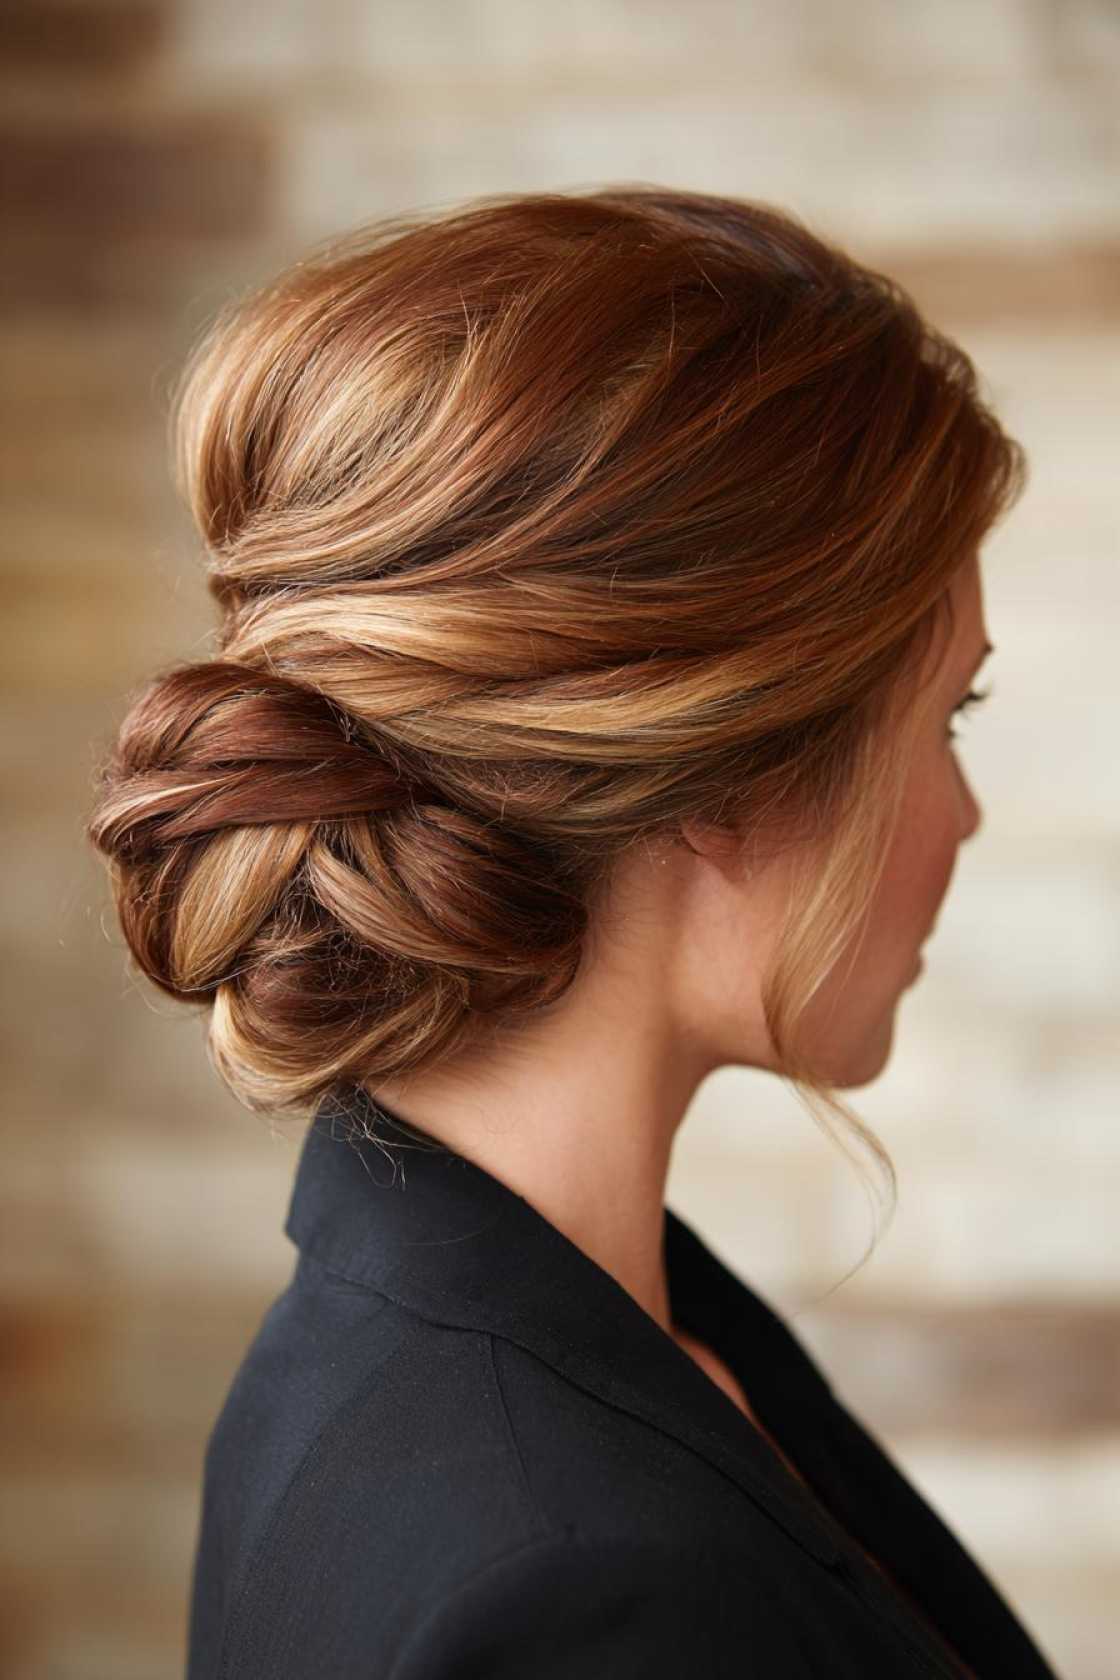
    2. Low Chignon

    A low chignon is the definition of elegance. It’s so polished. This style perfectly complements strapless or off-the-shoulder dresses. It draws attention to your neckline. It’s very sophisticated.

    To tame any flyaways, use a smoothing serum. Apply a little to your hands. Then gently run them over your hair. It makes the chignon look super neat. It’s a finishing touch that matters.

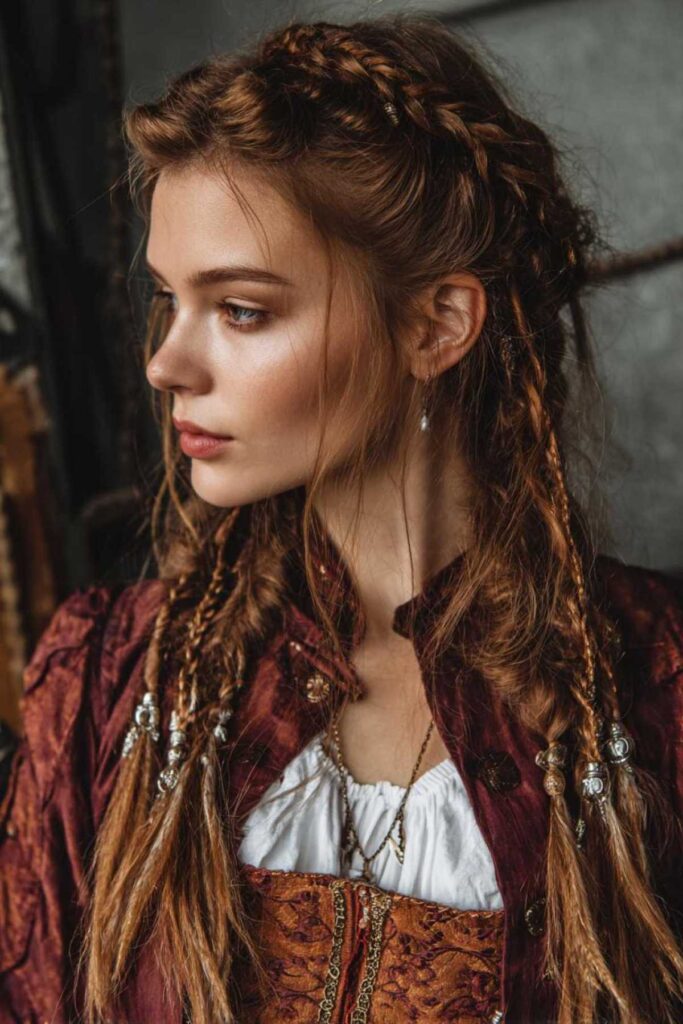
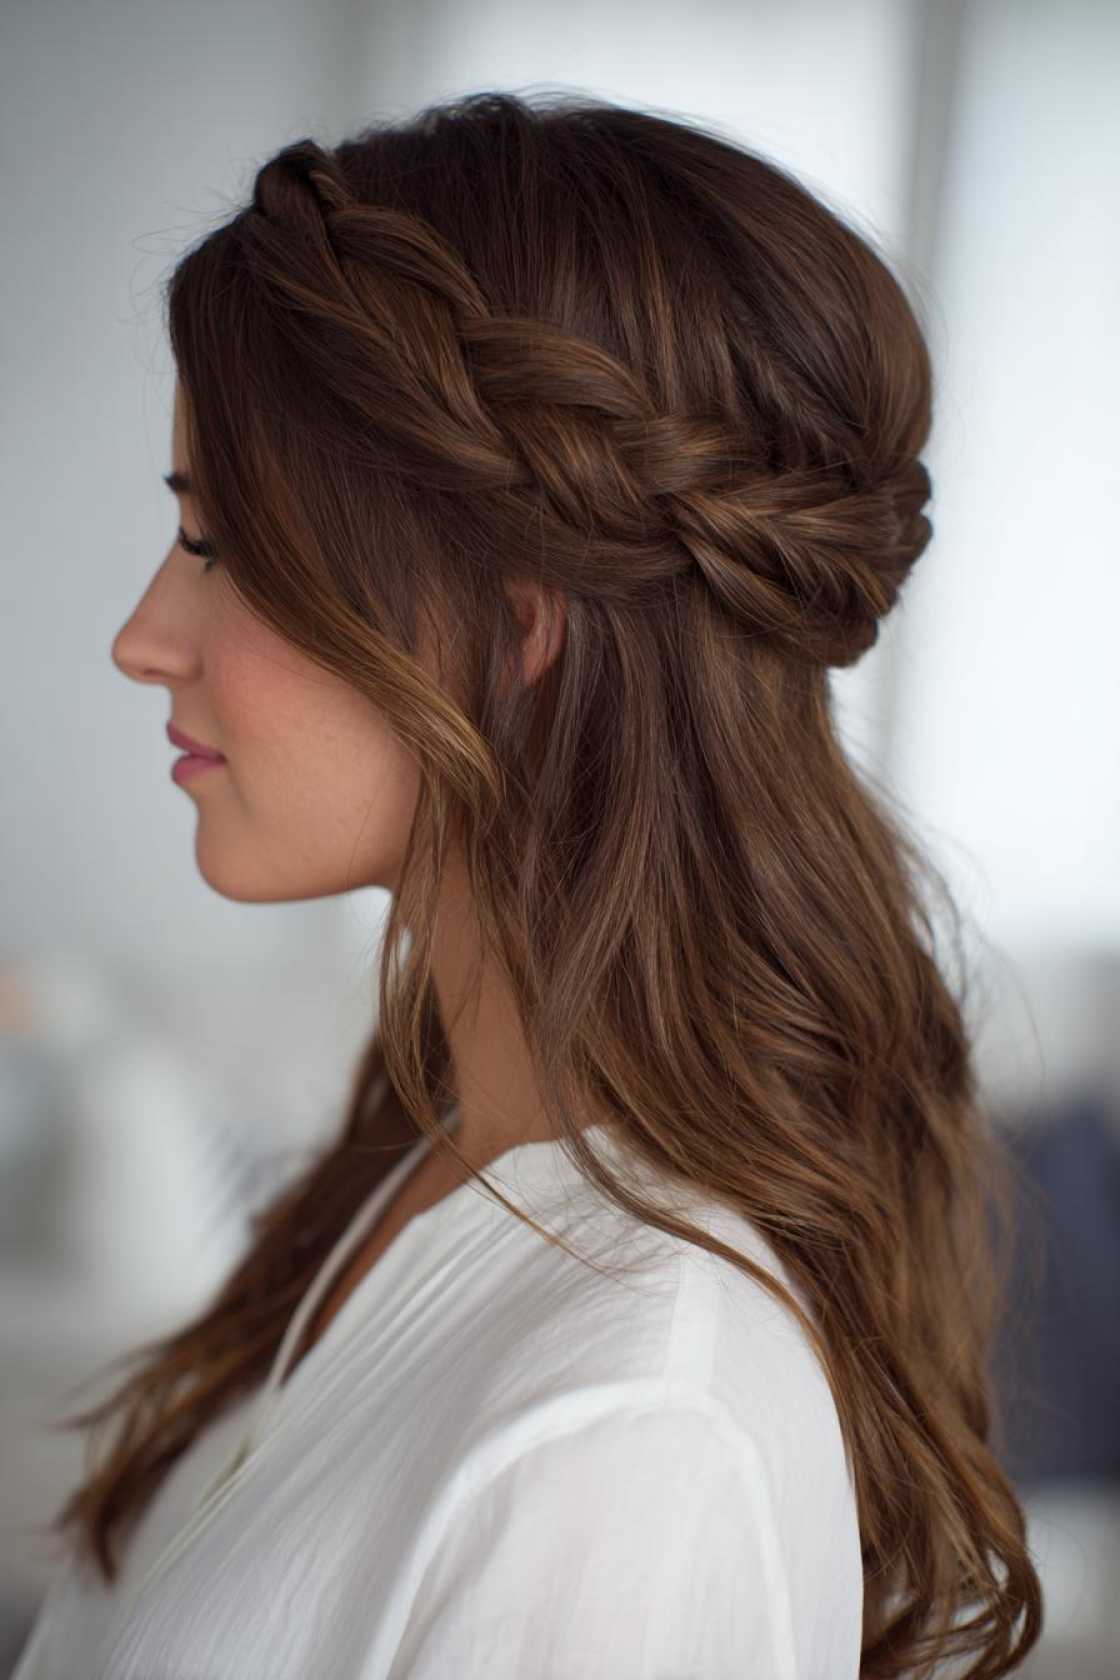
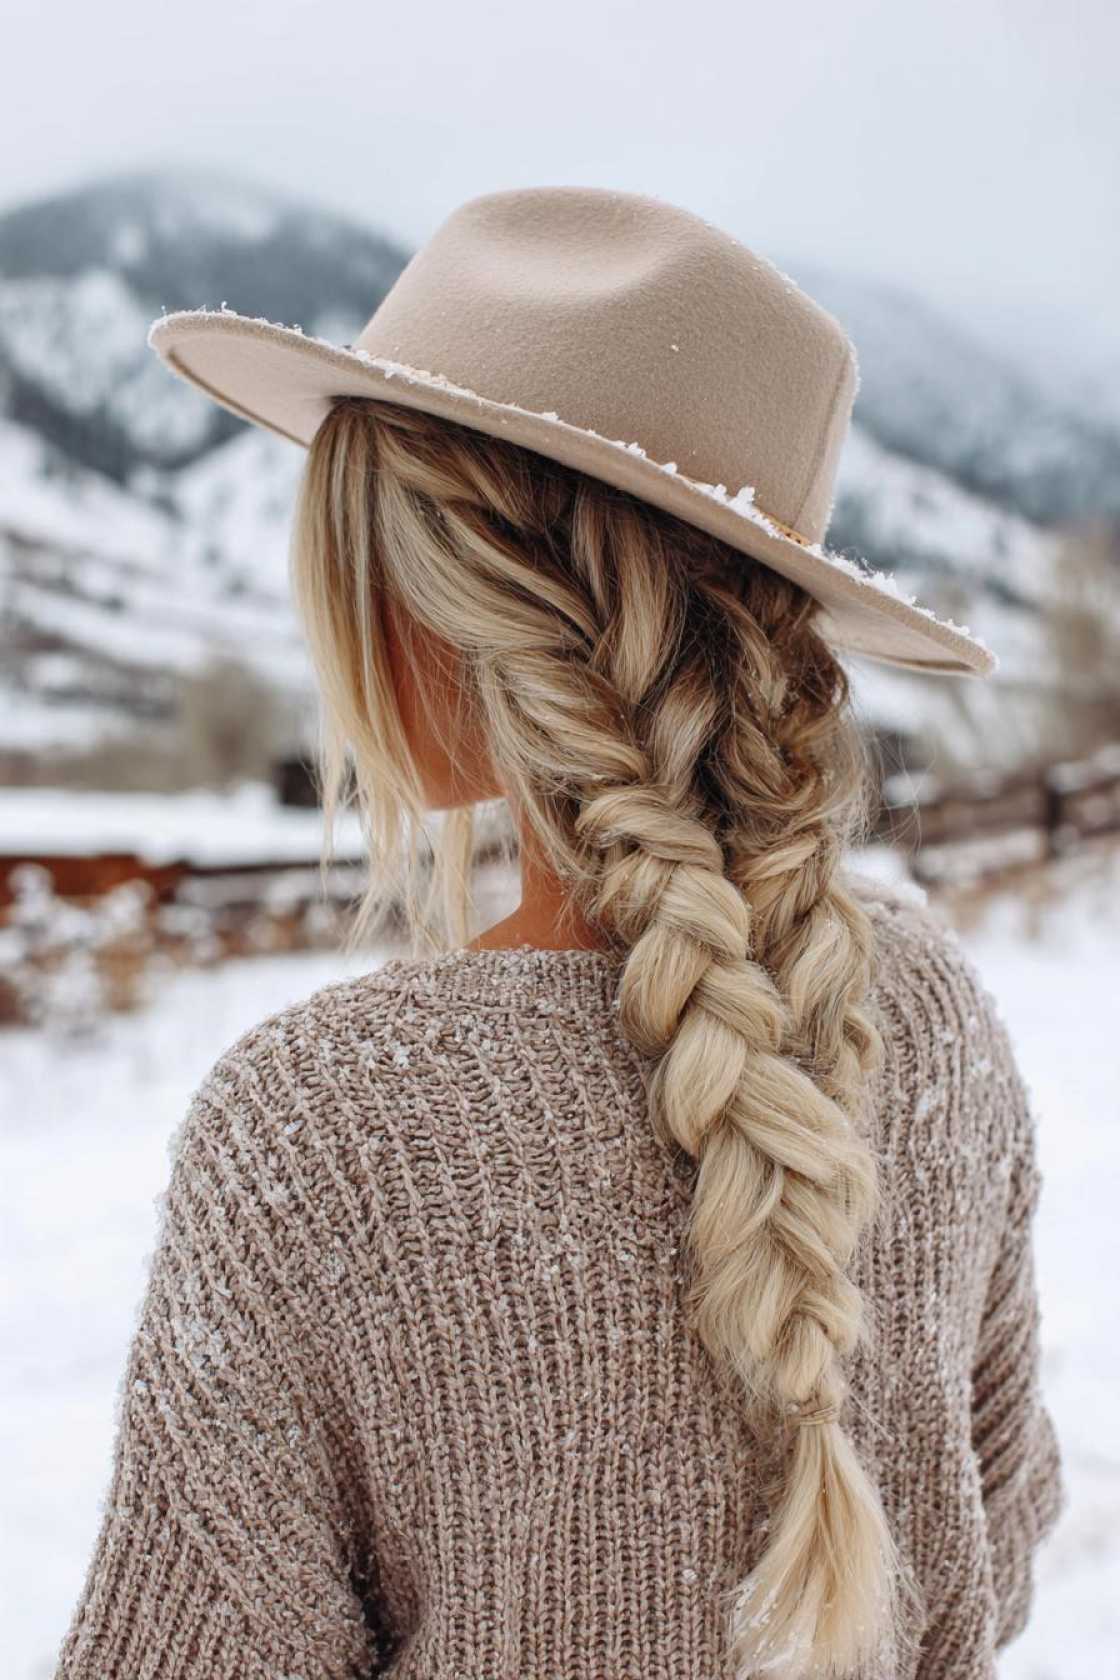
    1. The Crown Braid Updo

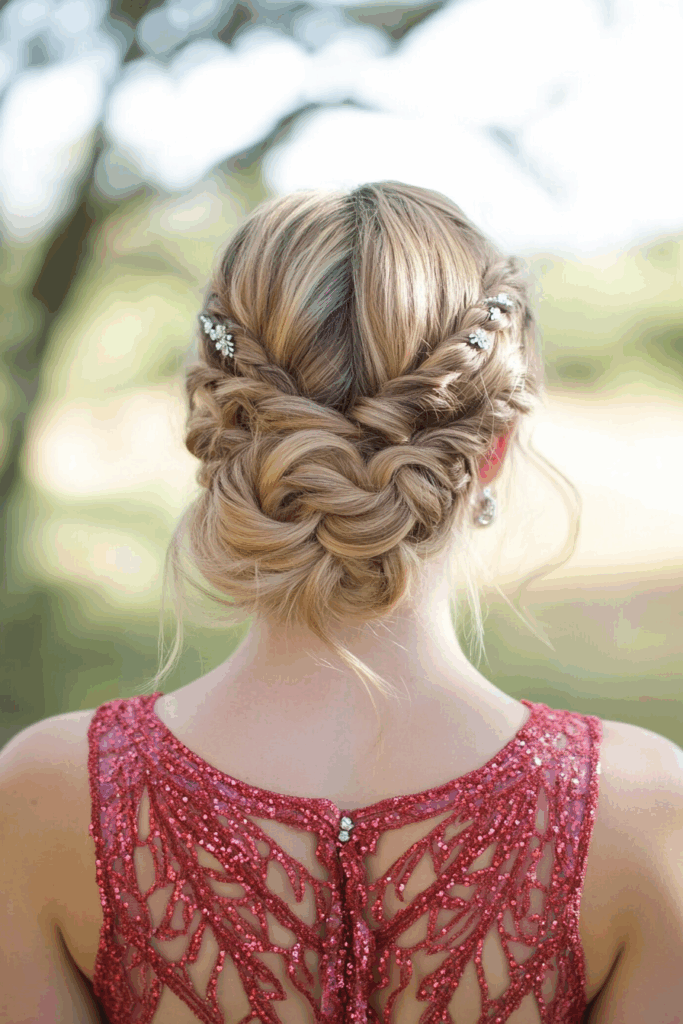
    This is my absolute favorite sophisticated updo! It features a beautiful crown braid. The detail is intricate. It offers both support and serious style. It looks so regal and polished.

    I wore a variation of this for a wedding once. The compliments were incredible! Everyone asked about it. It stayed perfectly in place all night. I danced so much! To ensure it lasts, secure the braid firmly. Use plenty of pins. Weave them in different directions.

    Frequently Asked Questions About Homecoming Hairstyles

    Got questions about nailing your homecoming hair? I’ve got you covered! Let’s tackle some common concerns.

    How do I choose a hairstyle that matches my dress neckline?

    This is a big one! For strapless or off-the-shoulder dresses, updos really shine. They show off your shoulders and the dress detail. A halter neck or one-shoulder dress looks amazing with hair swept to the opposite side. This balances the look. Scoop necks or V-necks often pair well with sleek ponytails or flowing waves. It keeps the focus on the dress.

    What’s the best way to make my hairstyle last all night?

    Preparation is key! Start with clean, dry hair. Using a volumizing mousse or texturizing spray before styling adds hold. Once styled, a strong-hold hairspray is your best friend. Don’t be shy with it! Bobby pins should be placed strategically, crisscrossed for extra security. For updos, securing sections firmly is crucial. A good finishing spray helps lock everything in. I always carry a small travel-size hairspray, just in case.

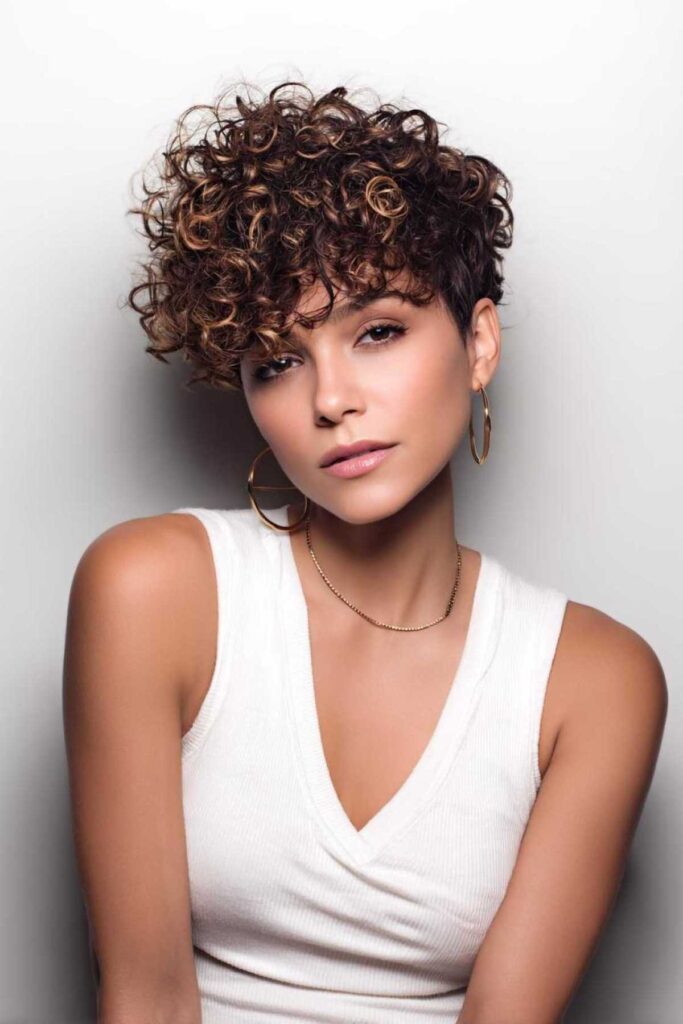
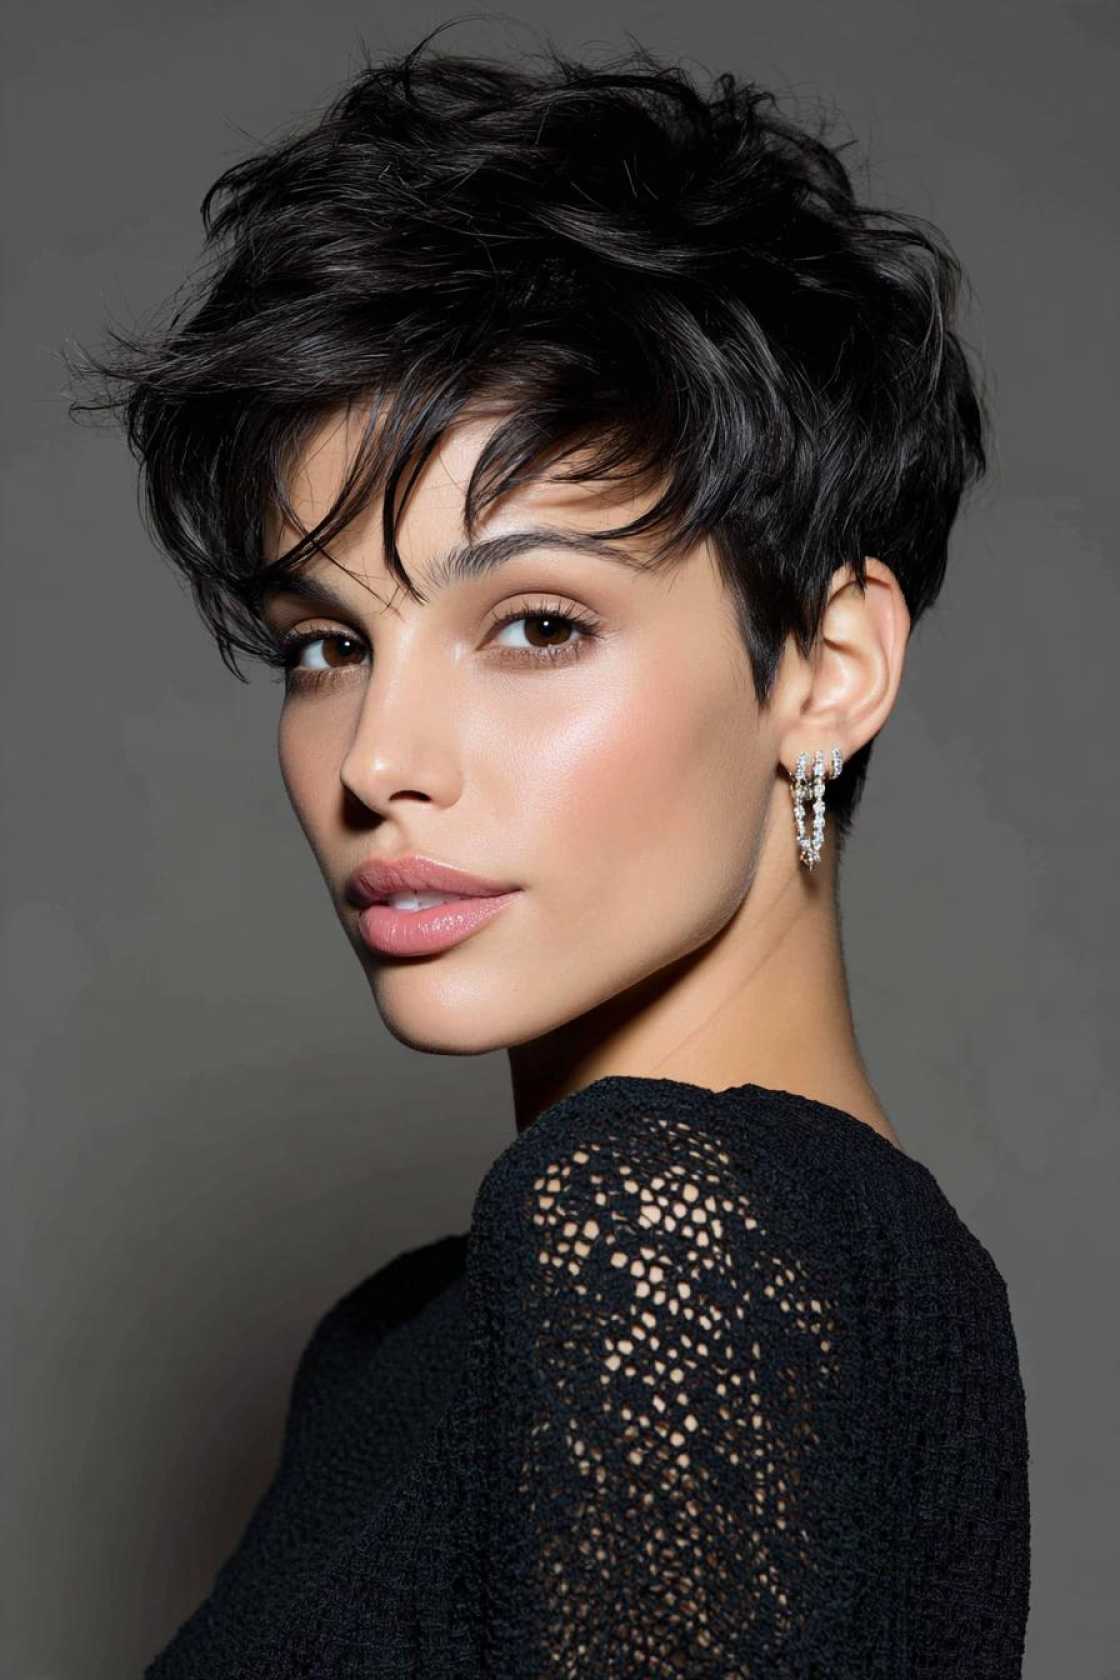
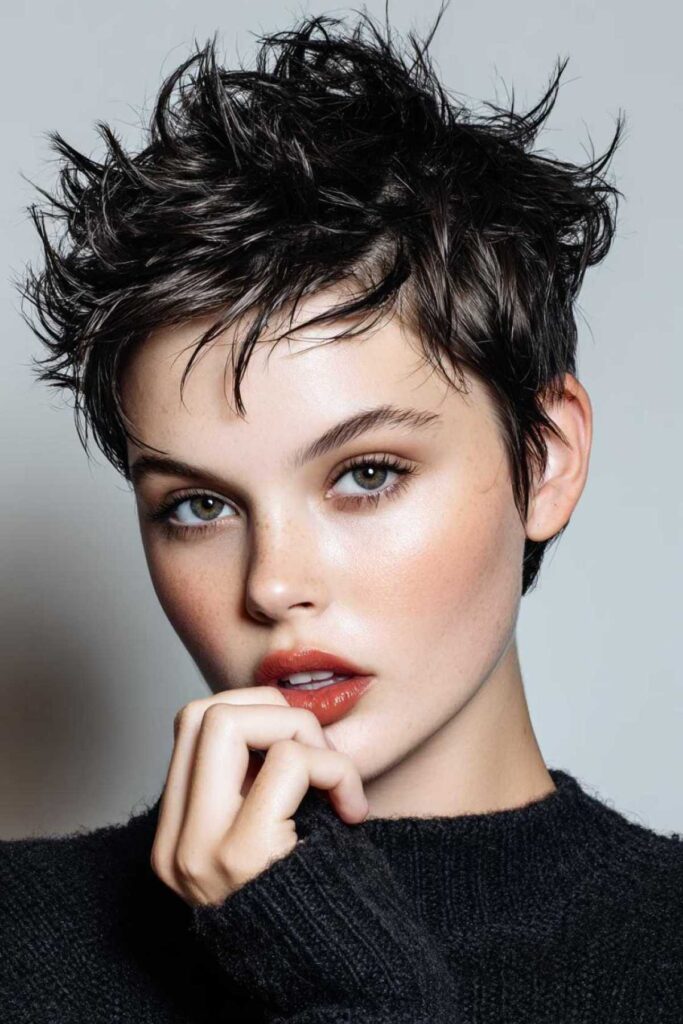
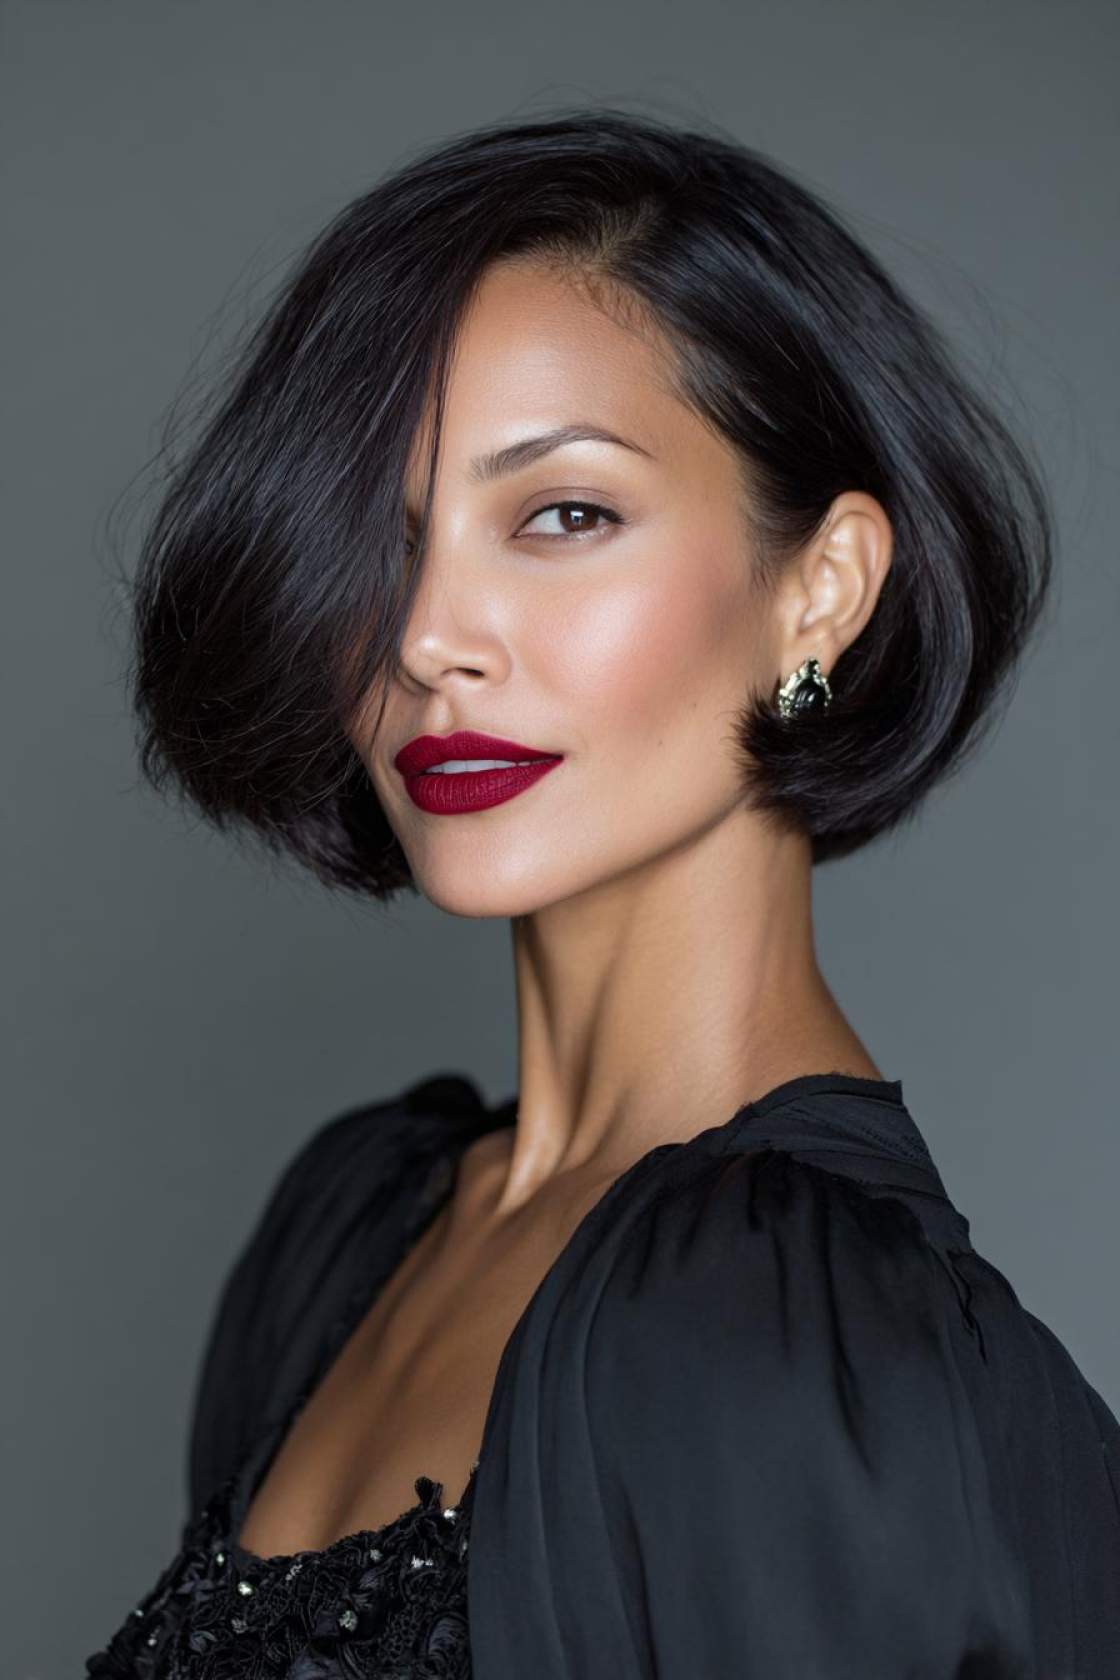
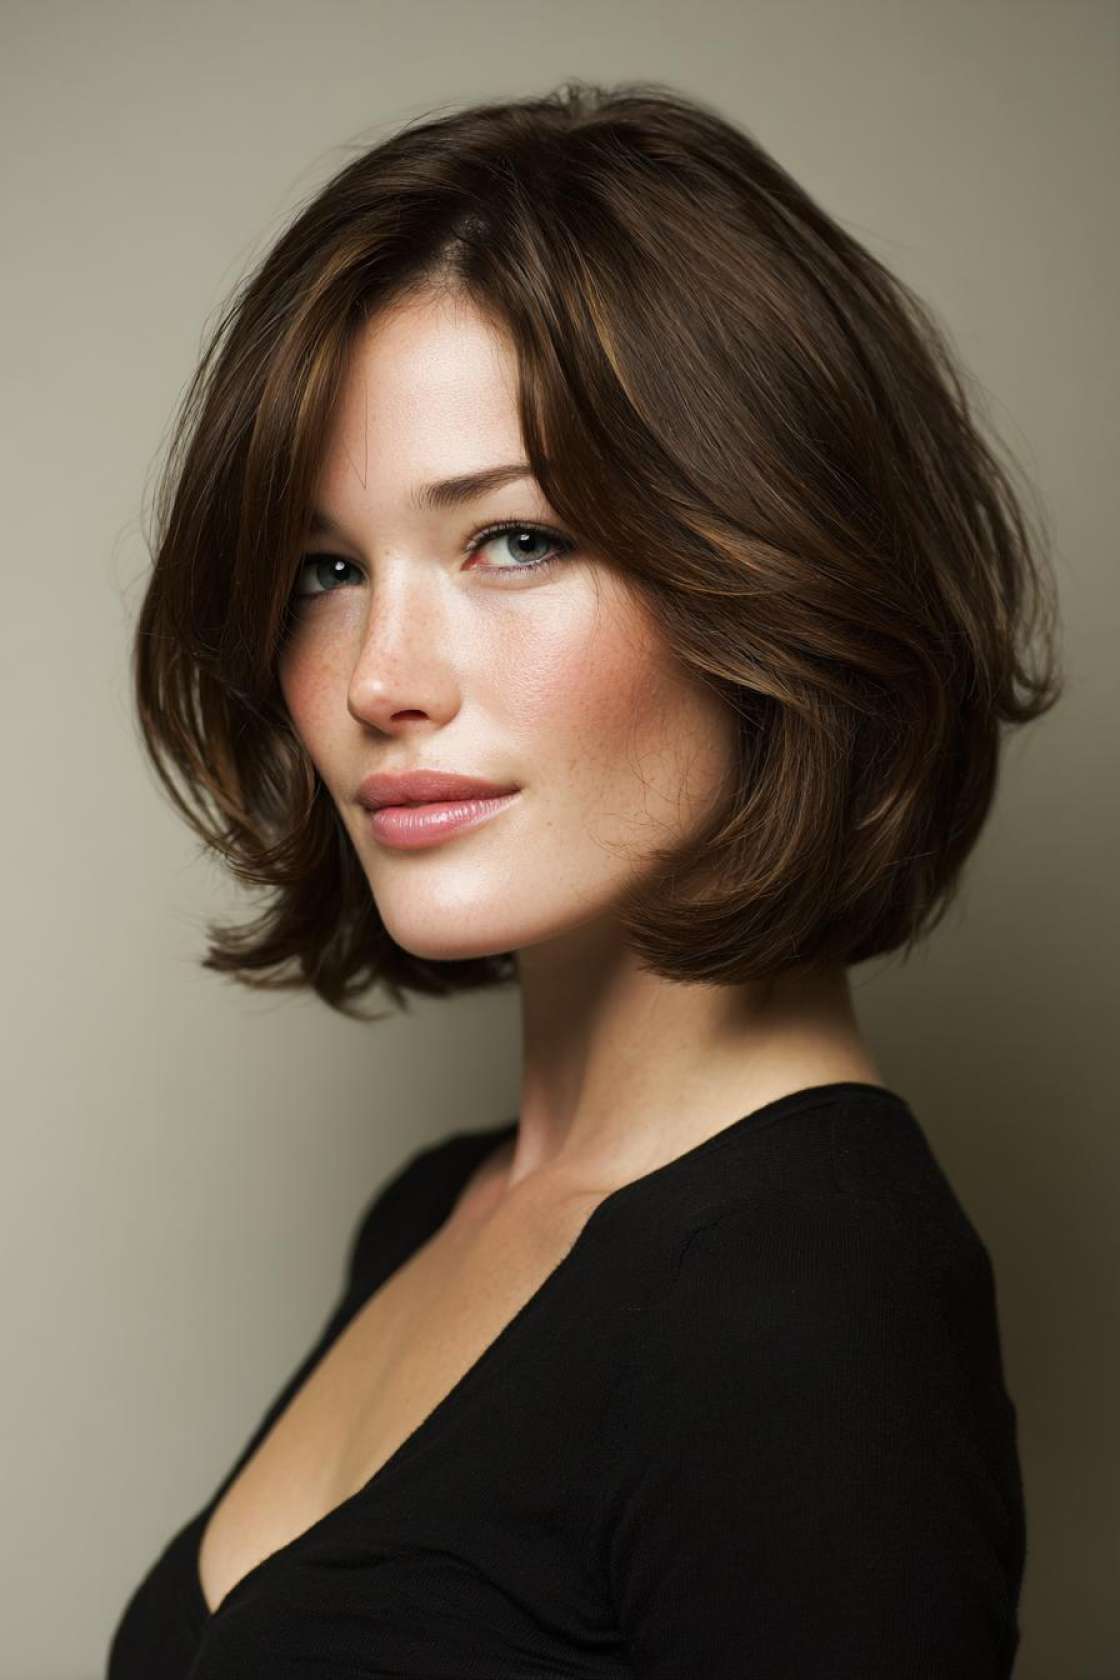
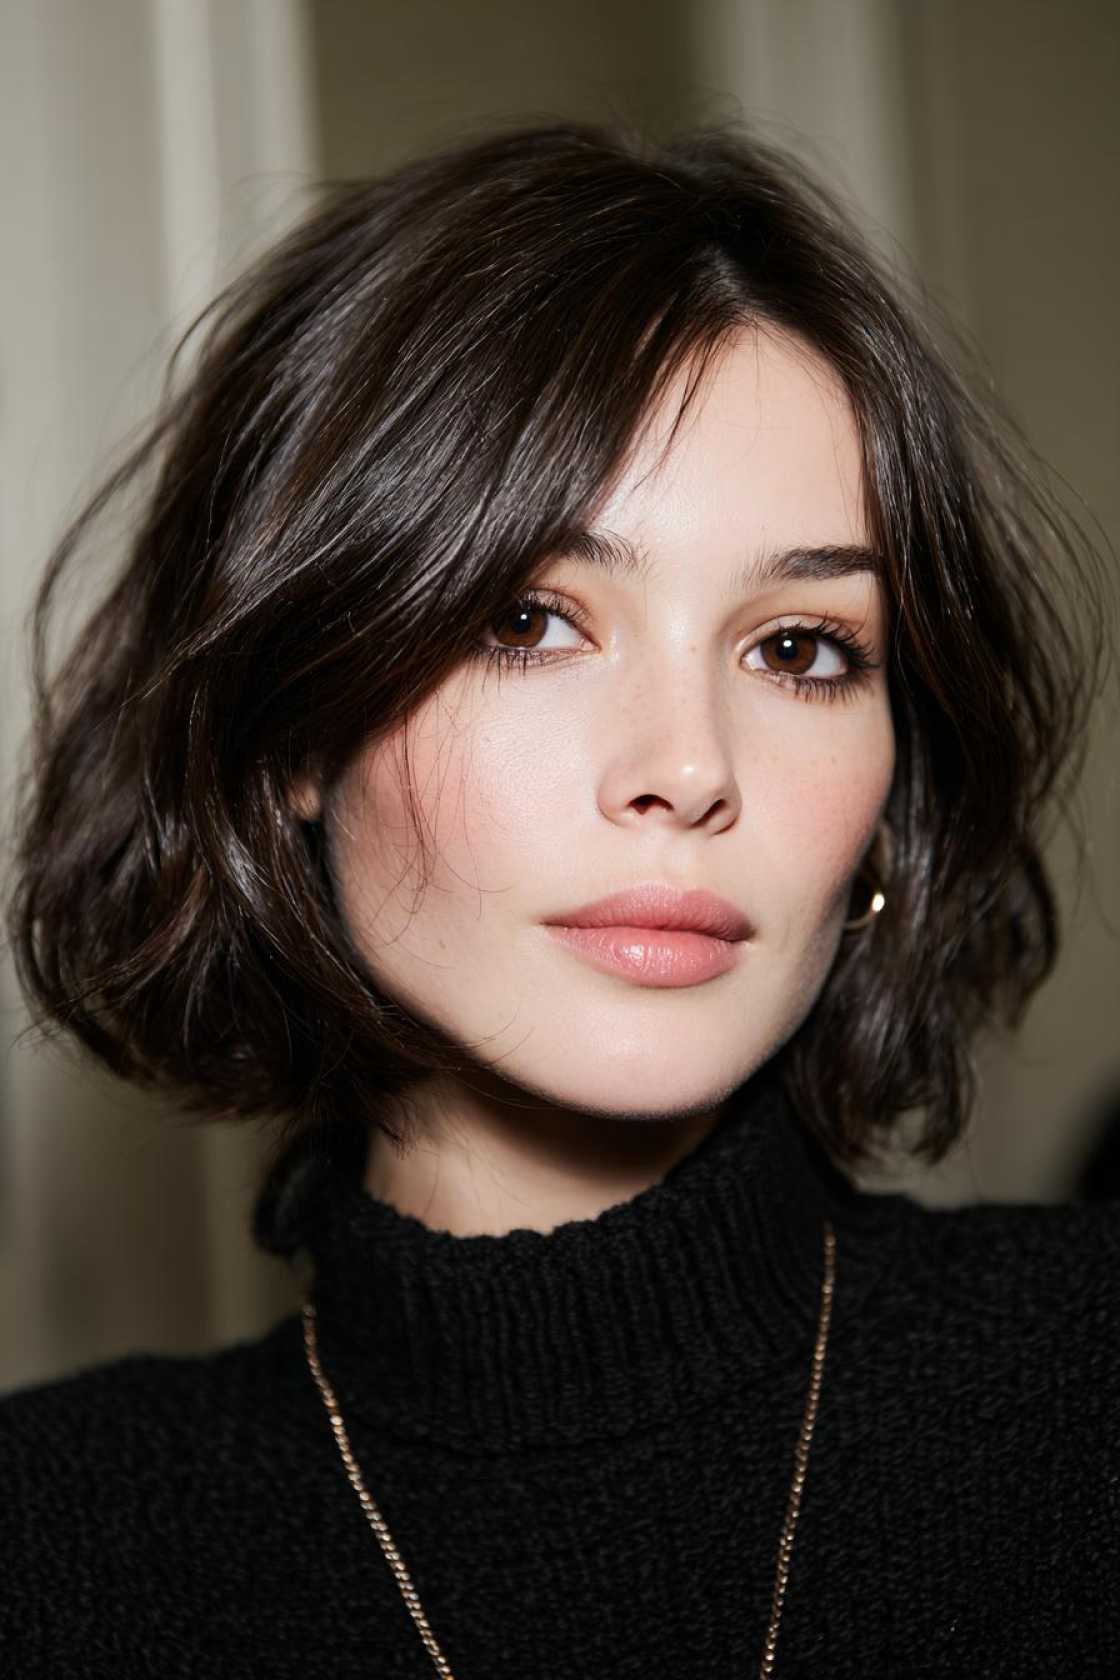
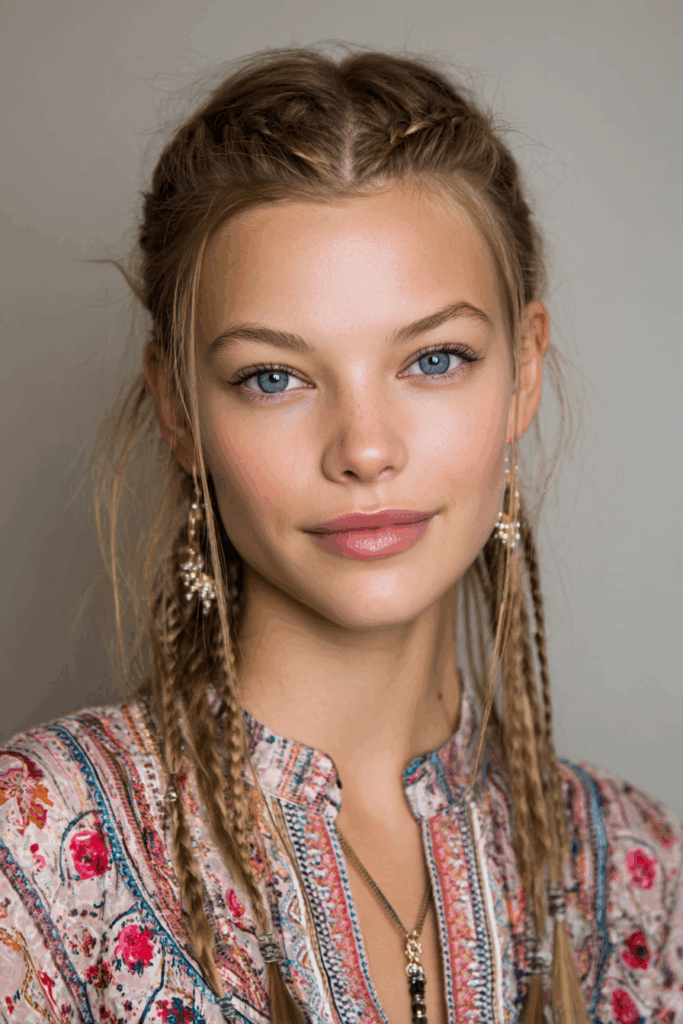
    Can I achieve these styles with short hair?

    Absolutely! Short hair can be just as glamorous. Focus on texture and accessories. A textured bob can look stunning with a deep side part. Half-up styles work well, securing just the top layers. Consider adding a sparkly headband or decorative pins. They can transform even a simple short cut. You can also try clip-in extensions for added length or volume if you like!

    How do I prep my hair for a homecoming hairstyle?

    The foundation is everything! Start with freshly washed hair, but avoid conditioner if your hair tends to be slippery. You want some natural grit for hold. Ensure your hair is completely dry before you start styling. Applying heat protectant is always a good idea. Consider using a volumizing spray at the roots. This gives your style a great base. It makes styling so much easier and the style holds better.

    Your Perfect Homecoming Look Awaits

    You’ve got the dress, the shoes, and now, the perfect hairstyle! Remember, homecoming is about celebrating you. It’s your time to sparkle and feel amazing. Don’t be afraid to experiment with these looks. Find what makes you feel most confident.

    At TressNails.com, my goal is to help you express your unique style. Your hair is a beautiful part of that. Go out there and shine bright! Have a fantastic homecoming night!

  • From Playful to Show-Stopping: 14+ Unique Wacky Hair Day Looks Everyone Will Remember

    From Playful to Show-Stopping: 14+ Unique Wacky Hair Day Looks Everyone Will Remember

    Get ready to dive into a world of pure hair artistry! Wacky Hair Day is one of my absolute favorite events. It’s a chance to ditch the ordinary and embrace the extraordinary. I’ve always loved seeing how creative people can get with their locks. It’s not just about looking funny; it’s about showing off your personality. Here at TressNails.com, my mission is to inspire you to express yourself. This list is packed with unique ideas to make your Wacky Hair Day truly unforgettable.

    Unleash Your Inner Creative: Wacky Hair Day Inspiration

    Wacky Hair Day is a fantastic excuse to let loose and have fun with your style. It’s a popular event for schools and workplaces, but honestly, any day can be a Wacky Hair Day! The joy comes from the sheer creativity and self-expression. You can transform your hair into a canvas for something truly unique. I’ve curated these ideas to be both memorable and achievable. So, get ready to paint, sculpt, and twist your way to hair greatness!

    15. The Rainbow Explosion

    Imagine your hair bursting with every color of the rainbow. This look is pure, vibrant fun. It’s super eye-catching and always gets a smile.

    For a quick fix, try temporary hair chalk or colored hair sprays. They wash out easily.

    14. The Upside-Down Hairstyle

    This is a clever trick that makes your hair look like it’s growing from the top of your head. The scalp part is styled to hang down. It’s a real visual puzzle!

    Use a strong hold hairspray. Bobby pins are your best friend here for stability.

    13. The Candy Land Creation

    Think your hair is sweet enough to eat! Adorn your locks with oversized candy decorations. Lollipops, gummy bears, and sprinkles create a playful vibe.

    Secure them with hair clips or a strong hair gel. It’s a sugary dream.

    12. The Animal Kingdom

    Transform your hair into a wild creature. A lion’s mane or peacock feathers are amazing choices. You can even add cute cat ears.

    Hairspray and a comb help create volume for a mane. Felt ears attach easily.

    11. The Nature’s Wonder

    Bring the outdoors in with this enchanting look. Incorporate real or artificial flowers and leaves. Small twigs add a whimsical touch.

    Bobby pins will keep your natural elements in place. It’s beautifully organic.

    10. The Geometric Masterpiece

    This style is all about clean lines and shapes. Think sharp angles or braids forming cool patterns. It’s structured and artistic.

    Practice making clean parts and tight braids. Crisp lines are key.

    9. The Crazy Colors Clumped

    Create bold sections of vibrant color. Contrasting colors make this look pop. It’s artistic color blocking at its best.

    Temporary color waxes give intense, vibrant results. They’re super fun to play with.

    8. The Spiky Punk Rocker

    Go for dramatic, gravity-defying spikes. Use plenty of gel or hairspray. This look has an edgy, rebellious spirit.

    A strong hold gel is essential. Use a fine-tooth comb to direct spikes.

    7. The Braided Masterpiece

    Intricate braids woven together create amazing shapes. This style showcases serious skill and artistry. It’s a true hair sculpture.

    Practice different braiding techniques. Expand your braiding repertoire.

    6. The Hilarious Hat Hair

    Style your hair to look like a funny hat. Use accessories or shape your hair itself. It’s always humorous and unexpected.

    Think about common hat shapes. Replicate them with your hair.

    5. The Shocking Stripes

    Bold, contrasting stripes are graphic and attention-grabbing. Go vertical or horizontal. This design really makes a statement.

    Hair chalk or temporary color sprays work great. Stripes are easy to apply.

    4. The Upside-Down Braid

    This clever braid starts at the nape. It’s styled to look like it’s coming from your forehead. It’s a fantastic inversion.

    Secure the braid firmly at the start. Use pins to guide its direction.

    3. The Feathered Fantasy

    Create large, dramatic feathers. Use extensions or clever shaping. It’s airy, elegant, and wonderfully wacky.

    Teasing and strong hold spray add volume. Shape your hair into feathers.

    2. The Bubblegum Pop

    Think voluminous, rounded sections. They look like giant bubblegum bubbles. Bright pinks are perfect for this playful look.

    Rollers or large curling irons create shapes. Secure them with pins.

    1. The Show-Stopping Sculpture

    This is the ultimate, most memorable look. Sculpt your hair into a unique shape. Use hairspray, gel, and styling tools. It’s pure artistry.

    Plan your sculpture beforehand. Use a mirror to check all angles.

    Frequently Asked Questions About Wacky Hair Days

    Got questions about rocking your wacky hair? I’ve got you covered! It’s all about having fun and expressing yourself.

    What are some simple wacky hair day ideas if I’m short on time?

    Need quick wacky hair ideas? Try using colorful pipe cleaners twisted into fun shapes. You could also slick your hair back and add a few bright, oversized pom-poms with clips. Another easy option is to create a few messy, colorful buns using temporary hair color wax. These look intentionally wild and take minutes.

    Can I do wacky hair day styles for work or a more formal setting?

    Absolutely! You can adapt wacky hair day inspiration for more professional environments. Consider adding just a few streaks of temporary color using hair chalk. A subtle, intricate braid with a pop of color woven in can also work. Or, try a sleek updo with a single, well-placed colorful accessory. It’s about a hint of fun.

    What are the best products to use for wacky hair day styles that are safe for my hair?

    For safe wacky hair products, I always recommend temporary hair chalks and color sprays. They wash out easily. Look for hair-safe glues or gels if you’re attaching lightweight items. Temporary color waxes are also great for vibrant, bold looks without damage. Always do a patch test if you have sensitive skin.

    How can I make my wacky hair day creation stand out from the crowd?

    To make your creation truly stand out, think outside the box! Combine different wacky hair day inspiration elements. Maybe add some glitter to a sculpted shape, or use contrasting colors in a unique pattern. Committing to the theme with your outfit helps too. Most importantly, wear it with confidence and a big smile!

    Your Wacky Hair Adventure Awaits

    So there you have it – fifteen fantastic ideas for your next Wacky Hair Day! I hope these inspire you to get creative. Remember, it’s all about embracing your unique style and having a blast. Don’t be afraid to experiment and have fun with it. Your hair is your canvas, so go make it memorable!

  • Short, Chic & Bold: 12+ Pixie Cuts That Define Confidence and Effortless Style

    Short, Chic & Bold: 12+ Pixie Cuts That Define Confidence and Effortless Style

    You know, I’ve always believed that your hair is a powerful form of self-expression. It’s one of the first things people notice. And sometimes, all it takes is a bold chop to completely transform your look and your outlook. That’s exactly what happened to me a few years ago when I first took the plunge into the world of pixie cuts. It was liberating!

    That’s why I’m so excited to share this guide to short, chic, and bold pixie cuts. These styles are more than just a haircut; they’re a statement. They scream confidence and effortless style. My mission at TressNails.com is to help you feel amazing. This collection is all about finding that perfect pixie that makes you feel utterly unstoppable. Let’s dive into the magic of short hair!

    The Power of a Pixie Cut: Why It’s More Than Just Short Hair

    There’s something truly magical about a pixie cut. It’s not just about having less hair. It’s about embracing a bold new you. This style frames your face beautifully. It highlights your features in a stunning way. Pixies are incredibly easy to manage. They give you so much more time in your morning. This simplicity translates to confidence.

    You can wake up and go. No lengthy styling needed. That freedom is empowering. It makes you feel ready for anything. This is why the pixie is trending. It’s a chic statement. It’s also a practical choice. It’s a hairstyle that says, “I’ve got this.” It’s really more than just short hair.

    How to Choose Your Perfect Pixie Cut

    Finding your ideal pixie cut is an adventure. Think about your face shape. Round faces often look great with longer, textured pixies. Oval faces can pull off almost any style. Heart-shaped faces benefit from styles with volume around the crown. Square faces can soften with side-swept bangs.

    Your hair texture is also key. Fine hair might need layering for fullness. Thick hair can handle bold, choppy styles. Curly hair looks amazing with a carefully shaped pixie. Consider your lifestyle too. If you’re always on the go, a low-maintenance cut is perfect.

    Don’t forget your stylist! They are your hair’s best friend. Talk to them about your ideas. Bring pictures for inspiration. A good stylist can help you choose a cut that flatters you most. They’ll consider your hair type and face shape. Together, you’ll find your signature pixie.

    13. The Classic Pixie

    This is the timeless beauty. The classic pixie is shorter all around. It often has a slightly longer top. It’s simple yet incredibly chic. I love how it frames the face so elegantly. It’s suitable for almost every age group. It truly never goes out of style.

    Want to add a little something? Try a touch of styling wax. Work it into your fingertips. Then, tousle the top layers. This gives it a bit more definition. It adds a modern twist. It’s my go-to for a quick, polished look. It always makes me feel put-together.

    12. The Side-Swept Pixie

    This style is so soft and pretty. The side-swept pixie features longer bangs. They sweep across your forehead. This can really soften your features. It adds a touch of romance. I find it makes my eyes pop. It’s a really flattering option.

    For a super smooth sweep, try a flat iron. Gently glide it through the fringe. You want a sleek, polished finish. This look is both sophisticated and a little playful. It’s perfect for days when you want to feel a bit more elegant. It’s a personal favorite of mine.

    11. The Asymmetrical Pixie

    Ready for something with an edge? The asymmetrical pixie is your answer. One side is cut shorter than the other. This creates a striking contrast. It adds instant visual interest. It’s a bold choice. It really makes a statement.

    It has a really cool, modern vibe. You can play with the angles. Make them subtle or dramatic. To keep those sharp lines looking fresh, regular trims are a must. This cut is fantastic for showing off your personality. It’s so unique and eye-catching.

    10. The Textured Pixie

    This cut is all about that effortless, lived-in look. The textured pixie is cut with layers. This creates a tousled, modern feel. It’s not perfectly smooth. It’s meant to look a bit undone. I love the natural movement it has.

    Want to boost that texture? A sea salt spray is your secret weapon. Just mist it through damp hair. Scrunch it gently. It gives you that beachy, windswept vibe. This style is super forgiving. It’s great for busy mornings. It always looks stylish.

    9. The Razor-Cut Pixie

    For sharp, defined edges, look no further. The razor-cut pixie uses a razor. It creates clean, precise lines. It gives the hair a modern, edgy feel. The texture is super fine. It’s a really cool look.

    This cut has a very graphic quality. It’s bold and artistic. To achieve that super clean finish, you really need a skilled stylist. They’ll use the razor carefully. This style is perfect if you love a sharp, modern aesthetic. It’s so striking.

    8. The Undercut Pixie

    This style offers a cool contrast. The undercut pixie has shaved sides. The top section is left longer. This creates a really dynamic look. You can play with the top a lot. Style it up, to the side, or forward.

    The contrast is really striking. It’s a bit edgy. It’s also very chic. You can show off the undercut or hide it. It depends on how you style the top. This cut is great for adding a bit of surprise. It’s a really fun way to wear your hair.

    7. The Pixie Bob

    This cut is the best of both worlds. It’s a blend of a pixie and a bob. It’s shorter than a traditional bob. But it has more length than a classic pixie. It’s a really versatile option. It offers a bit more to work with.

    I love this cut because it has a bit more softness. It frames the face nicely. To get that bob-like effect at the nape, make sure the back is kept clean. It’s a chic, modern take. It’s great if you’re not ready for super short.

    6. The Shaggy Pixie

    This cut is all about relaxed vibes. The shaggy pixie is heavily layered. This gives it a soft, tousled appearance. It’s a bit undone but in the best way. It has a very carefree feel. It’s super easy to style.

    Embracing your natural waves works perfectly here. It enhances the shaggy look. The layers create movement. This style is incredibly flattering. It’s also very forgiving. It’s a great choice for a relaxed, effortlessly cool look. I adore its casual charm.

    5. The Curly Pixie

    Got curls? Embrace them! The curly pixie is a celebration of natural texture. This cut is designed to work with your curls. It enhances their shape and bounce. It’s a beautiful way to manage texture.

    You want to use curl-defining products. A good cream or mousse helps immensely. It keeps frizz at bay. It also enhances your curl pattern. This style is so striking. It shows off your natural beauty. It’s a truly gorgeous option.

    4. The Voluminous Pixie

    Short, Chic & Bold: 12+ Pixie Cuts That Define Confidence and Effortless Style - 4. The Voluminous Pixie

    Who says short hair can’t have volume? This pixie cut is all about height. It’s styled to add drama and lift. It makes a bold statement. It draws attention to your face. It’s a really glamorous look.

    To get that extra lift, focus on the roots. Use a volumizing mousse. Apply it when your hair is damp. Blow-dry upwards to build body. This style adds a touch of drama. It’s perfect for when you want to feel extra confident.

    3. The Piecey Pixie

    This cut is all about definition. The piecey pixie creates distinct sections. You can see the individual strands. It’s a very modern, stylized look. It requires a bit of styling product.

    Use a pomade or wax for this. Work a small amount between your fingers. Then, pull and twist small sections. This creates those sharp, piecey effects. It gives the hair great texture and shape. It’s a really cool, edgy style.

    2. The Bold Color Pixie

    Why not add a pop of color? Bold colors really enhance a pixie cut. They make the style even more striking. Think vibrant reds, blues, or pinks. It’s a fun way to express yourself.

    These colors look amazing with short, sharp cuts. To keep your color looking fresh, use sulfate-free shampoos. They are much gentler. This style is pure fun. It’s a way to be playful with your look. It’s definitely a confidence booster.

    1. The Buzz Cut Pixie

    This is the ultimate in bold. The buzz cut pixie is super short. It’s shaved very close to the scalp. It’s incredibly low-maintenance. It’s a very powerful statement. It shows ultimate confidence.

    This cut really highlights your features. It’s clean and striking. Caring for your scalp is important here. Keep it moisturized. Sunscreen is also a good idea. This is for the truly fearless. It’s a stunningly minimalist choice.

    Mastering Your Pixie: Styling and Care Tips

    Owning a pixie cut is a dream. It’s so easy to manage. But a little styling goes a long way. It keeps your look fresh and polished. My own pixie journey taught me this. A few key products and techniques make all the difference. Let’s talk about keeping your short hair looking fabulous.

    Daily Styling Strategies

    Styling a pixie is usually quick. For a classic look, I use a little wax. I just rub it between my palms. Then, I tousle the top. It takes seconds. For a textured style, a quick spray of sea salt works wonders. Just scrunch and go.

    If you have a side-swept fringe, a quick pass with a mini flat iron smooths it out. For volume, I flip my head upside down. I use my fingers to lift the roots. A little hairspray sets it. These tricks save so much time.

    Product Picks for Pixie Perfection

    You don’t need much. A good texturizing paste is essential. It gives hold and definition. I love pomades for creating piecey looks. A volumizing mousse is great for lift. Don’t forget a strong-hold hairspray. It keeps everything in place.

    A good quality dry shampoo is also a lifesaver. It refreshes your style between washes. It can add a bit of grit too. For curly pixies, a curl-defining cream is a must. It helps shape your curls beautifully.

    Maintaining Your Cut’s Shape

    Pixie cuts grow fast. To keep the shape sharp, regular trims are key. I find myself going every 4-6 weeks. This ensures the lines stay clean. It prevents the cut from looking messy. Even a little growth can change the look.

    Between salon visits, you can maintain it. If you have an undercut, you might need to touch it up sooner. Use your styling products to keep things tidy. A little effort goes a long way. It keeps that chic look going strong.

    Frequently Asked Questions About Pixie Cuts

    Will a pixie cut suit my face shape?

    Most face shapes can rock a pixie. It’s more about the specific style. Side-swept bangs can soften a square jaw. Volume on top can balance a round face. A good stylist can guide you. They’ll find the best shape for you.

    How much maintenance does a pixie cut really require?

    Pixies are low-maintenance daily. You wake up and go. But they do need regular trims. Plan for a salon visit every 4-6 weeks. This keeps the shape looking crisp. It’s less styling time, but salon time is needed.

    Can I still style a pixie cut in different ways?

    Absolutely! Texture paste can create edgy looks. Mousse adds volume. You can slick it back or wear it messy. Even adding a headband works. A pixie offers more versatility than you might think. It’s fun to switch it up.

    What products are best for pixie cuts?

    Texturizing paste or wax is great. It gives definition and hold. Volumizing mousse is perfect for lift. A good hairspray keeps it all in place. For choppy layers, a light pomade works well. These are your pixie styling essentials.

    Embrace Your Confidence with a Pixie Cut

    So there you have it! A whole spectrum of pixie cuts. Each one offers a unique blend of chic and bold. They’re styles that truly define confidence. They give you that effortless vibe. I hope this guide inspires you. Maybe it’s time for your own pixie adventure.

    Remember, it’s just hair. But it can make you feel amazing. It can be a total game-changer. Go ahead and embrace that short, chic, bold style. You’ve got this. And you’ll look fabulous doing it. Feel that confidence bloom!

    Mastering Your Pixie: Styling and Care Tips

    Having a pixie cut is a total game-changer. It’s so easy to manage day-to-day. But a little styling magic can really elevate the look. It keeps things looking super polished. My own journey with pixie cuts taught me this. A few key products and quick tricks make a huge difference. Let’s talk about keeping your short hair looking its absolute best. It’s all about effortless chic.

    Daily Styling Strategies

    Styling a pixie is usually a breeze. For a classic, sleek look, I grab a tiny bit of wax. I just rub it between my palms. Then, I gently tousle the top layers. It honestly takes me seconds. For a more textured, ‘just rolled out of bed’ vibe, a quick spritz of sea salt spray works wonders. Just scrunch it in and you’re good to go.

    If you have a lovely side-swept fringe, a quick pass with a mini flat iron smooths it out perfectly. For volume, I often flip my head upside down. I use my fingers to lift the roots as I blow-dry. A light mist of hairspray sets it all. These little tricks save so much precious morning time.

    Product Picks for Pixie Perfection

    You really don’t need a huge arsenal of products. A good texturizing paste is a must-have. It gives fantastic hold and definition. I personally love using pomades for creating those cool, piecey looks. A volumizing mousse is also brilliant for adding lift at the roots. And of course, a strong-hold hairspray is essential. It keeps everything perfectly in place.

    A quality dry shampoo is another lifesaver. It refreshes your style between washes. It can also add a bit of grit for better styling. For those with gorgeous curly pixies, a curl-defining cream is a dream. It helps shape your natural curls beautifully.

    Maintaining Your Cut’s Shape

    Pixie cuts grow surprisingly fast. To keep the shape looking sharp and intentional, regular trims are really important. I personally find myself visiting the salon every 4 to 6 weeks. This ensures the lines stay clean and crisp. It prevents the cut from looking messy or overgrown. Even a little bit of growth can change the whole vibe.

    Between salon appointments, you can still maintain it. If your cut features an undercut, you might need to touch that up a bit sooner. Use your styling products wisely to keep things tidy. A little bit of focused effort goes a long way. It keeps that chic, put-together look going strong.

    Frequently Asked Questions About Pixie Cuts

    Will a pixie cut suit my face shape?

    Yes, most face shapes can rock a pixie! It’s about picking the right variation. Longer, side-swept styles can soften a square jaw. Volume on top helps balance a round face. A skilled stylist can help you find the perfect fit for your features.

    How much maintenance does a pixie cut really require?

    Daily styling is super minimal. You can often just wake up and go. However, to keep the shape crisp, regular trims are key. Aim for a salon visit every 4 to 6 weeks. It’s low-maintenance styling, but salon upkeep is needed.

    Can I still style a pixie cut in different ways?

    Absolutely! You have more versatility than you might think. Use texturizing paste for edgy, piecey looks. Mousse adds volume and lift. You can slick it back or wear it messy. A quick change in styling can give you a whole new vibe.

    What products are best for pixie cuts?

    Key products include texturizing paste or wax. These give great definition and hold. Volumizing mousse is perfect for adding lift at the roots. A good quality hairspray keeps everything in place. For choppy styles, a light pomade works well too.

    Embrace Your Confidence with a Pixie Cut

    So there you have it! A whole spectrum of pixie cuts. Each one offers a unique blend of chic and bold. They’re styles that truly define confidence. They give you that effortless vibe. I hope this guide inspires you. Maybe it’s time for your own pixie adventure.

    Remember, it’s just hair. But it can make you feel amazing. It can be a total game-changer. Go ahead and embrace that short, chic, bold style. You’ve got this. And you’ll look fabulous doing it. Feel that confidence bloom!

  • Quiet Luxury Hair: 12+ Old Money Bob Hairstyles That Define Class & Sophistication

    Quiet Luxury Hair: 12+ Old Money Bob Hairstyles That Define Class & Sophistication

    Hello, gorgeous! Ella here, your go-to girl for all things hair and nails. Today, I’m so excited to dive into a trend that truly speaks my language: Quiet Luxury Hair. Think timeless elegance, effortless sophistication, and an air of understated grace. This is where the magic of the old money bob comes in. These hairstyles are more than just cuts; they’re statements of refined taste. They whisper luxury without shouting. I’ve always believed that true style comes from within, and these classic bob styles really help bring that inner confidence to the surface. Let’s explore how these chic bobs can redefine your look and embody that coveted class.

    The Enduring Allure of the Old Money Bob

    These bobs are classics for a reason. They exude a quiet confidence. They are never out of style. Think of them as the little black dress of hairstyles. They are always appropriate. Their appeal lies in their simplicity. They showcase quality and impeccable grooming. This is understated elegance at its finest. It’s a look that feels both luxurious and effortlessly achievable.

    Understanding Quiet Luxury Hair

    So, what exactly is quiet luxury hair? It’s all about quality over flash. It’s polished, refined, and subtle. Think impeccable cuts and healthy-looking strands. It’s about the finish and the feel. It’s hair that looks expensive. It’s well-maintained and intentionally styled. It’s a look that says, “I have great taste.” It’s chic without being loud.

    Ella’s Personal Take on Chic Bob Styles

    Honestly, I adore how an old money bob can instantly make you feel put-together. I remember a time I was rushing to a last-minute event. A quick blow-dry and a touch-up of my bob made me feel incredibly polished. It’s like a secret weapon for confidence. These styles truly empower women.

    Styling Your Old Money Bob: Tips from Ella

    Achieving that polished bob is simpler than you think. Start with a great haircut. That’s key. Use quality products. They make a difference. I recommend a good smoothing serum. It adds shine and controls frizz. For maintenance, regular trims are your friend. They keep the shape sharp. Never underestimate the power of a good hairbrush. It helps smooth and shape.

    13. The Polished Pillow Cut Bob

    This bob is like a soft hug for your hair. It has a rounded, plush shape. It feels incredibly luxurious. It’s all about smooth, gentle curves. Think of a perfectly fluffed pillow. That’s the vibe here. It’s effortlessly chic. For a minimal heat option, try rough-drying. Then, use a round brush. Just a touch of smoothing cream helps.

    12. The Sleek Razor Cut Bob

    This bob is all about clean, sharp lines. It has a modern, edgy feel. It looks incredibly sophisticated. The edges are precise. It signifies effortless refinement. Keeping it sharp is easy. A quick trim every few weeks works wonders. Ensure your stylist uses a sharp razor. That’s the secret ingredient.

    11. The Classic French Bob

    Ah, the French bob! It’s iconic for a reason. It typically hits at the chin. It often features blunt ends. This style screams Parisian chic. It’s timelessly elegant. Want to add a little something? Try a subtle accessory. A delicate headband works beautifully. It elevates the look easily.

    10. The Deep Side Part Bob

    A deep side part is a game-changer. It instantly adds volume. It creates sophisticated asymmetry. This part works for almost everyone. It really flatters many face shapes. To get that sharp look, use a comb. Create a clean, defined line. It’s a simple styling trick.

    9. The Subtle Layered Bob

    These layers are whisper-light. They add movement and dimension. They don’t disrupt the bob’s clean shape. This creates a natural, polished look. It’s subtle sophistication. To enhance your hair’s natural texture, try a sea salt spray. Use it on damp hair. Then, scrunch gently.

    8. The Collarbone-Grazing Lob

    The lob is a longer bob. It’s universally flattering. It’s approachable yet chic. This length offers a sophisticated vibe. It’s perfect if you’re not ready for a short bob. Style it sleek for work. Add some soft waves for evenings. It’s super versatile.

    7. The Face-Framing Blunt Bob

    Blunt ends are so striking. Face-framing pieces highlight your features. This bob looks sharp and modern. It’s a clean, bold statement. Keep those blunt ends crisp. Regular trims are essential. A good smoothing balm helps too. It keeps everything looking sharp.

    6. The Asymmetrical Bob

    This bob has a subtle elegance. One side is a bit longer. It creates visual interest. It feels modern and chic. It’s a playful yet refined choice. To balance the look, try tucking. Tuck the longer side behind your ear. It creates a lovely symmetry.

    5. The Textured S-Wave Bob

    Soft, undulating waves add romance. They bring a touch of sophistication. This style feels like lived-in luxury. It’s relaxed but polished. Want waves with less heat? Try braiding damp hair. Sleep on it. Unbraid in the morning. It’s easy and effective.

    4. The Precision Chin-Length Bob

    This bob is all about exactness. It hits precisely at the chin. The lines are clean and sharp. It conveys confidence and polish. It looks intentional and chic. Ensure your hair lays smoothly. A light-hold hairspray helps. It keeps everything in place.

    3. The Minimalist Bob with a Side Sweep

    Simplicity is elegance here. This bob often has a soft fringe. It sweeps gently to the side. It’s understated and chic. It draws attention to your eyes. For that soft sweep, use your fingers. Gently push hair to one side. A light mist of hairspray secures it.

    2. The Sculpted Bob

    This bob has a more structured shape. The lines are clean and polished. It looks intentionally styled. It’s sophisticated and chic. A styling cream works wonders. It defines the shape beautifully. It gives that sculpted finish. It’s a very intentional look.

    1. The Effortless Undone Bob

    This bob masters the art of imperfect. It looks relaxed and natural. It’s approachable sophistication. It’s like a “no-makeup” look for hair. For that texture, use a texturizing spray. Apply it to dry hair. Tousle gently with your fingers. It’s perfectly imperfect.

    Frequently Asked Questions

    How do I maintain a quiet luxury bob?

    Quiet Luxury Hair: 12+ Old Money Bob Hairstyles That Define Class & Sophistication - How do I maintain a quiet luxury bob?

    Keeping your bob looking luxe is simple. Wash and condition with quality products. Focus on shine and smoothness. Avoid heavy styling creams. A good smoothing serum works wonders. For keeping the shape, regular trims are key. Aim for a trim every 4-6 weeks. A quality hairbrush helps too. It smooths and shapes the hair perfectly. It’s all about simple, effective care.

    Which old money bob style is best for my face shape?

    Quiet Luxury Hair: 12+ Old Money Bob Hairstyles That Define Class & Sophistication - Which old money bob style is best for my

    Many bobs suit different faces. A French bob often looks great on oval faces. Chin-length bobs can highlight cheekbones. Face-framing pieces are universally flattering. Asymmetrical styles add interest. Consider your features. A deep side part adds volume. It can balance a rounder face. Experiment to see what feels best.

    Are these bob hairstyles low-maintenance?

    Quiet Luxury Hair: 12+ Old Money Bob Hairstyles That Define Class & Sophistication - Are these bob hairstyles low-maintenance

    Yes, many are! The beauty is in their structure. A well-cut bob needs less fuss. Styles like the French bob are easy. The blunt bob is also quite simple. You can achieve a polished look quickly. Some texture might need a little help. A texturizing spray can create undone waves. Overall, they are great low-maintenance hairstyles.

    Can I achieve a quiet luxury bob at home?

    Quiet Luxury Hair: 12+ Old Money Bob Hairstyles That Define Class & Sophistication - Can I achieve a quiet luxury bob at home

    The cut is crucial. A professional cut is best. It creates the foundation. You can style it at home, though. Use good quality styling products. A round brush and blow dryer help. Smoothing serums add shine. Texturizing sprays give that undone look. Mastering the styling takes practice. But the cut itself needs a skilled hand.

    Embrace Your Sophisticated Style

    These chic old money bob hairstyles are fantastic. They offer timeless elegance. They boost your confidence too. Don’t be afraid to try them. Find the style that fits you best. Embrace your unique sophistication. Let your hair express your inner class. You deserve to feel fabulous. Go ahead and shine!

  • Cozy, Chic & Effortless: 13+ Cute Fall Hair Ideas You’ll Want to Try This Season

    Cozy, Chic & Effortless: 13+ Cute Fall Hair Ideas You’ll Want to Try This Season

    The crisp air is here. Leaves are turning brilliant shades of red and gold. It’s officially fall! I just love this season. My favorite fall memory involves a cozy sweater, a pumpkin spice latte, and trying out a new braided hairstyle. It made me feel so put-together. At TressNails.com, my passion is helping you feel your best. That’s why I’m so excited to share these cute fall hair ideas. They’re all about effortless style. Get ready to find your new signature look for this beautiful season.

    Embracing the Autumn Aesthetic: Why Fall Hair is Special

    Fall hair is all about embracing a softer, more textured vibe. It’s a lovely transition from summer’s sleek styles. Think warm tones and cozy textures. These hairstyles complement chunky knits and scarves perfectly. They give you that effortless, chic look we all crave when the weather cools.

    How We Chose These Looks

    I picked these styles because they’re easy to do. They’re also incredibly stylish and totally on-trend for fall. We focused on versatility and wearability. You can easily recreate these looks at home. They’re perfect for any occasion this season.

    14. The Classic Low Bun

    This is such a timeless look. The low bun is effortlessly chic. It’s perfect for keeping your hair tidy. Plus, it looks sophisticated with almost any outfit. For fall, I love adding a silk scarf or a pretty pearl pin. It instantly elevates the simple style. This bun suits everyone, really.

    13. The Textured Lob

    A textured lob is fantastic for fall. It has that perfectly undone look. It works well with so many face shapes too. To get that lived-in texture, I reach for dry shampoo or a texturizing spray. It gives your hair that slightly tousled, effortless vibe that’s so popular.

    12. Braided Accents with Loose Waves

    Adding small braids to loose waves is a game-changer. It gives a simple style so much more interest. This look is great for everyday wear. It’s also perfect for casual fall gatherings. To keep the braids looking neat but subtle, use small, clear elastics. They disappear into your hair.

    11. The Half-Up, Half-Down Twist

    This style offers effortless elegance. It’s perfect for fall. It keeps your hair out of your face. You still get to show off your lovely length. To add some volume at the crown, gently tease the hair before twisting it back. It gives a softer, fuller appearance.

    10. The Messy High Ponytail

    A messy high ponytail has such a cool, casual vibe. It’s perfect for fall. It’s also super practical for windy days. Nobody likes hair flying in their face! To make your ponytail look fuller, try teasing the hair at the base before securing it. It adds instant volume.

    9. The Sleek High Ponytail

    Contrast that messy look with a sleek, polished high ponytail. It looks so sophisticated. This style is perfect for fall events. To get that super smooth finish, use some hairspray. A boar bristle brush helps smooth down flyaways beautifully. It looks so chic.

    8. The French Braid Crown

    This romantic style is both practical and pretty. It keeps your hair secure. It looks intricate but is surprisingly easy. For a softer, more lived-in look, gently pull apart the sections of the braid. This gives it a fuller, more relaxed feel. It is so charming.

    7. The Fishtail Braid

    The fishtail braid has such a unique texture. It feels perfectly bohemian for fall. This style works well on various hair lengths. To make your fishtail braid look more substantial, gently pull apart the woven sections. It gives it a fuller, more impressive appearance.

    6. The Bubble Ponytail

    This ponytail is playful and totally on-trend. It works so well for fall. It adds visual interest to a simple ponytail. Using clear elastics makes the “bubbles” look seamless. It’s a fun way to switch up your everyday ponytail. It’s so easy to do.

    5. The Deep Side Part

    Switching your part can instantly change your look. A deep side part is so chic for fall. It complements cozy outfits beautifully. It also adds instant volume to your hair. To keep your part defined, secure it with a bobby pin hidden underneath. It stays put.

    4. The Voluminous Blowout

    Nothing beats a classic voluminous blowout. It looks so polished and put-together for fall. This style works with almost any hair type. To achieve maximum volume, use a round brush. A good volumizing spray is your best friend here. It gives that salon-quality finish.

    3. The Wet-Look Style

    This style is edgy and super chic for fall. It works for casual days or dressed-up nights. You can achieve the wet look with gel or pomade. These products give great hold and shine. It’s a bold look that’s surprisingly versatile. I love this for a night out.

    2. The Claw Clip Updo

    Claw clips are back, and I couldn’t be happier! This updo is so easy. It’s stylish and perfect for fall. You can create a chic look in seconds. To ensure your updo stays secure, twist your hair, then fold it down before clipping. It holds better.

    1. The Cozy Textured Bun

    This is my ultimate fall hairstyle. It combines comfort and style perfectly. It’s so effortless to create. It suits so many occasions. For extra flair, add a cute scrunchie or a ribbon. This bun just screams cozy fall vibes. It’s my absolute favorite.

    Frequently Asked Questions About Fall Hairstyles

    Wondering about the best ways to rock autumn hair? I get it! Here are some common questions I hear.

    What are the best hair accessories for fall?

    Scarves are amazing for fall hair. You can tie them around a ponytail or bun. Beanies are also super cute and practical. Decorative clips add a nice touch to any style. Think pearls or tortoiseshell prints. They really complete the look.

    How can I protect my hair from the cold and dry fall weather?

    Fall weather can be tough on hair. I always make sure to use a hydrating shampoo and conditioner. A good leave-in conditioner is a lifesaver. Try to limit heat styling too. Using a silk pillowcase also helps prevent breakage. It keeps your hair smoother.

    Which of these styles is easiest to achieve for beginners?

    For beginners, I’d say the classic low bun is super easy. The claw clip updo is also incredibly simple. You just twist and clip! Both are quick fall hairstyles. They look chic with minimal effort. You’ll master them in no time.

    Your Go-To Guide for Effortless Fall Hair

    So there you have it! A whole list of cute fall hair ideas. They’re all about that cozy, chic, and effortless vibe. Don’t be afraid to try something new this season. Play around with these styles. Find what makes you feel amazing. Embrace the beautiful autumn weather with your gorgeous hair!

  • Braids, Beads & Bandanas: 13+ Pirate Hair Ideas Perfect for Parties or Halloween

    Braids, Beads & Bandanas: 13+ Pirate Hair Ideas Perfect for Parties or Halloween

    Ahoy there, fellow adventurers! Get ready to set sail on a style journey because we’re diving deep into the world of pirate hair. I’ve always loved a good theme party, and nothing screams “swashbuckling fun” like a fantastic pirate look. This year, I wanted to go beyond the usual eye patch and parrot. I thought, “What if we could really nail the *hair* aspect of a pirate costume?” That’s how this collection of braids, beads, and bandanas came to life. These pirate hair ideas are perfect for Halloween, costume parties, or even just a day you want to channel your inner sea captain! Let’s get creative!

    The Allure of Pirate Hair

    Why do pirate hairstyles capture our imagination so much? I think it’s the blend of ruggedness and romance. Pirates are all about adventure, freedom, and a bit of mystery, right? Their hairstyles often reflect that untamed spirit. Think windswept locks, practical braids to keep hair out of the way during daring escapades, and those little treasures they pick up along the way, like beads and colorful bandanas. These elements aren’t just accessories; they tell a story. They hint at a life lived on the high seas, full of excitement and maybe a little bit of danger. That’s why incorporating braids, beads, and bandanas really brings a pirate look to life. They add that authentic, lived-in texture that makes the costume truly believable and, frankly, super cool. It’s a fun way to express your adventurous side!

    14. The Classic Captain’s Braid

    Let’s start at the end of our list with a true classic: the Captain’s Braid. This is your go-to for a simple yet effective pirate vibe. I love how a basic three-strand braid looks when it’s slightly messy. It feels instantly adventurous. To really amp up the pirate feel, try securing the end with a small, dark bandana tied like a knot. It’s super easy to do, and it looks like you just grabbed whatever fabric was handy. This braid works on almost any hair length, making it a winner for everyone.

    13. Woven Rope Braids

    Ever noticed how pirate ropes look so sturdy and intricate? That’s exactly what these woven rope braids mimic. They’re not your typical braid; they have a thicker, more textured appearance. I find that using a bit of hair wax or pomade really helps define the “rope” effect. To make them even more authentic, thread a few wooden or metal beads onto the ends. They add that perfect touch of found treasure. Keep them neat by gently smoothing down any flyaways with a bit of product.

    12. The Buccaneer Bun with Braids

    For a look that’s both chic and rugged, try the Buccaneer Bun. It’s basically a stylish bun made even more interesting with braids woven into it. I like to create a few smaller braids first, then twist them up with the rest of my hair into a messy bun. Secure it all with a colorful bandana tied around the base. It gives off such a cool, confident pirate captain vibe! This style works beautifully whether your hair is medium or long, adding a touch of flair to any pirate ensemble.

    11. Feathered Accent Braids

    Sometimes, it’s the little details that make a big difference. Feathered accent braids are just that – small, delicate braids that add a touch of authenticity. I love placing these around the hairline or woven into a larger style. They’re perfect for adding a bit of texture and interest. To really make them pop, tuck tiny beads or even small charms into the ends. Think of them as little bits of pirate bling! Placement is key here; a few well-placed braids can elevate your entire look.

    10. The Mermaid’s Tale Braids

    There’s something mystical and captivating about the Mermaid’s Tale Braids. They have a flowing, layered look, almost like waves themselves. This style really connects with the sea myths and pirate lore. I find they look best when they’re a bit undone, giving that windswept, just-emerged-from-the-ocean feel. To mimic the shimmer of treasure, thread colorful beads through the braids. Think emerald greens and sapphire blues! A light mist of texturizing spray can help achieve that perfect, slightly wild effect. For more inspiration on unique hair colors, check out these hidden magic bold color mermaid hair ideas.

    9. Bandana Wrapped Fishtail

    The fishtail braid is already gorgeous, but wrapping a bandana around it? Pure pirate magic! This style has a lovely bohemian appeal that fits right in with a pirate theme. I love how the bandana peeks through the braid, adding color and pattern. To tie it securely, I usually fold the bandana into a long strip and wrap it around the base of the braid, then weave it in as I go. It’s a bit trickier than a simple braid, but so worth it for the unique look, especially for those with longer hair. You can find more bandana hairstyles here.

    8. The Scallywag Side Braid

    For a more casual pirate vibe, you can’t go wrong with a Scallywag Side Braid. Just a simple braid pulled over one shoulder gives off an effortlessly cool, roguish charm. It’s like you’ve been battling the waves all day and just threw your hair to the side. To add a little extra pirate flair, I like to thread a few wooden beads onto the braid or even tie a small charm to the end. These braids are great for staying put during a lively party, keeping your hair out of your face while you mingle.

    7. Braided Dreadlocks with Beads

    Want a dramatic pirate transformation? Faux dreadlocks made with braids and beads are the way to go! This style has a truly authentic, weathered pirate aesthetic. I achieve this by sectioning the hair and creating tight, thin braids, almost like dreadlocks. Then, I carefully thread beads onto the ends of each braid. Choosing beads in earthy tones like brown, black, or even tarnished metals really enhances the realistic effect. It’s a fantastic way to get a completely different look for a costume event. For more intricate braiding styles, explore beyond basic box braids.

    6. The Hidden Treasure Braids

    For a pirate look with a touch of mystery, try incorporating “hidden treasure” braids. These are braids that aren’t the main focus but are woven subtly into a larger hairstyle. Think of them as little secrets hidden within your locks. I like to create a few small braids underneath a bun or ponytail. To make them feel like treasure, I use beads that match my hair color, so they’re only visible when you look closely. It’s a subtle detail that adds a lot of depth to the overall pirate vibe.

    5. The Compass Rose Braid

    Navigating the seas requires a compass, and now you can wear one in your hair! The Compass Rose Braid is a circular or spiral-shaped braid that’s truly unique. I find it incredibly symbolic of adventure and exploration. To create this, you essentially braid outwards from a central point on your head. Using beads in contrasting colors really helps to define the spiral pattern, making it look like a beautiful compass. Securing the ends of the braid neatly is key to keeping this intricate style looking sharp.

    4. The Crow’s Nest Ponytail Braid

    Imagine being up in the crow’s nest, scanning the horizon! This hairstyle captures that adventurous spirit. It features a high ponytail with braids woven throughout. It’s a dynamic look that feels ready for action. My favorite way to style this is by using a colorful bandana as the ponytail holder. It adds that perfect pirate touch. To give the braided sections more volume, I sometimes gently tease them before braiding, or even use a bit of texturizing spray for that windswept effect.

    3. The Salty Sea Serpent Braid

    This braid is all about movement and texture, much like a sea serpent slithering through the waves. The Salty Sea Serpent Braid is intricate and wavy, evoking the wildness of the ocean. I love using a mix of beads and even small shells threaded onto the braids to really capture that maritime feel. To get that textured, almost wet look that pirates might have after a storm, I use a sea salt spray. It gives the hair that perfect sea-tossed texture and looks incredibly authentic. For more textured styles, check out wavy hairstyles.

    2. The Island Princess Braids

    Not all pirates were fierce; some had a softer side, like the Island Princess. This style features more delicate, flowing braids, often adorned with lighter beads or even floral elements. It’s a romantic interpretation of pirate style. I enjoy incorporating lighter, brighter beads and sometimes even a floral-patterned bandana to complete the look. Keeping these delicate braids from unraveling can be tricky, so I always recommend using a good-quality hairspray and being gentle when styling.

    1. The Ultimate Pirate Mohawk

    For the boldest statement, we have the Ultimate Pirate Mohawk. This style is commanding and undeniably pirate-like. It features braids running along the sides of the head, creating a striking central section. I like to use bold beads and a statement bandana tied around the base of the mohawk section or woven into the braids themselves. It’s a look that says you’re in charge! To really make this style stand out, ensure the central braids are tight and voluminous, and the bandana is tied securely and prominently. It’s the perfect finishing touch for a truly unforgettable pirate costume.

    Frequently Asked Questions About Pirate Hair

    I get asked a lot about making these pirate styles last. It’s simple! Start with clean, dry hair. When you braid, make them snug but not painfully tight. A good quality hairspray is your best friend here. Spray each braid as you finish it. For extra security, especially for those intricate styles, a light mist over the whole head works wonders. Protecting your hair from excessive moisture, like heavy rain or sweat, will also help keep those braids looking shipshape.

    When picking out your pirate hair accessories, think about the vibe you want. For beads, wooden or metal ones give an authentic, rugged feel. Try different sizes and colors to mimic treasure. Bandanas are super versatile! Bold patterns or solid colors work well. I love folding them into a long strip to weave into braids or tie around ponytails. They add instant character to any pirate look. Make sure they’re tied securely so they don’t slip off during your adventures! For more on using bandanas, see these effortless fun bandana hairstyles.

    Wondering if these looks work for shorter hair? Absolutely! You can totally rock pirate hair with a bob or pixie cut. For shorter hair, focus on smaller accent braids, maybe along your hairline. You can also try twisting sections and securing them with beads or a small bandana. Even a short, messy bun with a bandana can give you that pirate feel. Don’t be afraid to experiment; it’s all about adapting the style to your unique hair length and texture. For inspiration on short hair, check out these 90s pixie cuts.

    Embrace Your Inner Buccaneer

    So there you have it, a treasure trove of pirate hair ideas! I hope this guide inspires you to get creative and have some serious fun with your style. Whether you’re heading to a Halloween bash or a themed party, these braids, beads, and bandanas will help you channel your inner buccaneer. Don’t be afraid to mix and match elements or put your own spin on these looks. Remember, it’s all about expressing yourself and feeling fabulous. Explore more amazing hair and nail inspiration right here on TressNails.com!

  • From Beanie-Proof Braids to Sleek Buns: 13+ Winter Hair Ideas to Try

    From Beanie-Proof Braids to Sleek Buns: 13+ Winter Hair Ideas to Try


    Hello, gorgeous! Winter is here, and it’s time to switch up our hair game. Cold weather doesn’t mean sacrificing style. I’m Ella Kohn, and at TressNails.com, I love helping you discover chic ways to keep your hair looking fabulous. This season, let’s embrace cozy vibes with stunning hairstyles. Get ready for some amazing winter hair ideas!

    Embrace the Chill: Your Guide to Stunning Winter Hairstyles

    From Beanie-Proof Braids to Sleek Buns: 13+ Winter Hair Ideas to Try - Embrace the Chill: Your Guide to Stunnin

    Winter is a fantastic time for hair creativity. Don’t let the cold weather dim your shine! These hairstyles are perfect for staying warm and looking stylish. Let’s explore some fun looks together.

    14. The Low Messy Bun

    From Beanie-Proof Braids to Sleek Buns: 13+ Winter Hair Ideas to Try - 14. The Low Messy Bun

    This is my go-to for busy winter mornings. It’s effortlessly chic and stays put under a hat. For extra grip, I love using a texturizing spray before twisting. A pretty decorative pin can also add a touch of glamour.

    13. The Sleek High Ponytail

    From Beanie-Proof Braids to Sleek Buns: 13+ Winter Hair Ideas to Try - 13. The Sleek High Ponytail

    Want a polished look? A sleek high ponytail is perfect. It’s ideal for dressing up or down. Use a smoothing serum for that glass-like finish. Wrap a strand of hair around the elastic for a super refined look.

    12. The Classic French Braid

    From Beanie-Proof Braids to Sleek Buns: 13+ Winter Hair Ideas to Try - 12. The Classic French Braid

    A timeless classic! French braids keep your hair neat and off your face. They are truly ideal for chilly days. For a softer vibe, gently pull out a few strands around your hairline. Secure the ends with a clear elastic.

    11. The Fishtail Braid

    From Beanie-Proof Braids to Sleek Buns: 13+ Winter Hair Ideas to Try - 11. The Fishtail Braid

    This braid looks so intricate! It adds lovely texture to any winter outfit. Plus, it’s totally beanie-proof. Want that lived-in look? Gently pull the sections apart after braiding. It gives a perfectly undone feel.

    10. The Braided Crown/Headband

    From Beanie-Proof Braids to Sleek Buns: 13+ Winter Hair Ideas to Try - 10. The Braided Crown/Headband

    Add instant elegance with a braided crown. It keeps your hair tidy and looks so sophisticated. It’s a beautiful alternative to wearing a beanie all the time. Use bobby pins that match your hair to secure any flyaways.

    9. The Half-Up, Half-Down with a Twist

    From Beanie-Proof Braids to Sleek Buns: 13+ Winter Hair Ideas to Try - 9. The Half-Up, Half-Down with a Twist

    This style is so versatile for all hair types. Manage your hair easily in the cold. Add a subtle wave to the down sections. This creates extra volume and movement. It’s a simple way to elevate your look.

    8. The Textured Wavy Lob

    From Beanie-Proof Braids to Sleek Buns: 13+ Winter Hair Ideas to Try - 8. The Textured Wavy Lob

    Lobs are still going strong! Textured waves add movement and warmth. They’re perfect for winter. Try a salt spray for beachy vibes. A curling wand gives you those defined, cozy waves. It’s a fresh look.

    7. The Slicked-Back Wet Look


    This look is edgy and practical. It keeps hair controlled, even in damp weather. Use a strong-hold gel or pomade. A fine-tooth comb helps achieve that super smooth finish. It’s a bold statement style.

    6. The Bubble Ponytail

    From Beanie-Proof Braids to Sleek Buns: 13+ Winter Hair Ideas to Try - 6. The Bubble Ponytail

    So fun and modern! The sections keep hair smooth and protected. Use small elastics for each segment. Gently pull the sections to create volume. It gives a playful, bouncy effect. This is a great option. For more fun styles, check out these playful pretty bubble braid hairstyles.

    5. The Twisted Updo

    From Beanie-Proof Braids to Sleek Buns: 13+ Winter Hair Ideas to Try - 5. The Twisted Updo

    This updo is sophisticated yet easy. It’s perfect for winter evenings out. Secure your twists with bobby pins. This ensures a firm hold against the wind. It looks so elegant and polished.

    4. The Faux Hawk Braid

    From Beanie-Proof Braids to Sleek Buns: 13+ Winter Hair Ideas to Try - 4. The Faux Hawk Braid

    Make a bold statement with this style. It keeps your hair neatly contained. For extra height, I backcomb the crown slightly. Then, create the braid. It gives a cool, edgy vibe.

    3. The Double Dutch Braids

    From Beanie-Proof Braids to Sleek Buns: 13+ Winter Hair Ideas to Try - 3. The Double Dutch Braids

    These braids are sporty and practical. They keep your hair secure all day. For a more relaxed vibe, make them a little looser. They look great with a cozy sweater or jacket. So chic! For more braided styles, check out these braided pigtails with bangs.

    2. The Voluminous Blowout

    From Beanie-Proof Braids to Sleek Buns: 13+ Winter Hair Ideas to Try - 2. The Voluminous Blowout

    Achieving volume in dry winter air can be tricky. Use a root-lifting spray. Blow-dry with a round brush. This adds lift and body. Your blowout will last longer. It’s a classic for a reason.

    1. The Beanie-Proof Braid

    From Beanie-Proof Braids to Sleek Buns: 13+ Winter Hair Ideas to Try - 1. The Beanie-Proof Braid

    This is the ultimate winter style! It’s comfortable, stylish, and hat-friendly. Choose a braid that fits snugly. French or Dutch braids work well. A simple three-strand braid is also great. It’s your winter best friend. For more hat-friendly styles, see these long hairstyles that look perfect under a hat.

    Frequently Asked Questions About Winter Hairstyles


    Winter hair can be a challenge. I get so many questions about keeping it looking its best. Let’s tackle some common concerns.

    How can I prevent my hair from getting flat when I take off my hat?


    A great trick is to apply dry shampoo to your roots before putting on your beanie. It absorbs oil. Once you take your hat off, gently tease the roots with your fingers. This adds instant lift and volume. It’s a simple fix for hat hair.

    What are the best ways to combat dry, static-prone hair in winter?


    Dry winter air is tough on hair. I always recommend using a really moisturizing conditioner. Hair oils are also a lifesaver for adding hydration. Try to avoid too much heat styling. Using a humidifier at home helps a lot too. It adds moisture to the air. For more tips on combating dry hair, you might find information on managing dry hair helpful.

    Are there any hairstyles that are particularly good for protecting my hair from the cold and wind?


    Absolutely! Styles that keep your hair contained are best. Braids, like French or Dutch braids, are fantastic. Sleek buns also work wonderfully. These styles protect your strands from harsh winter elements. They keep your hair from getting tangled. You can find more ideas in our guide to football game hairstyles, which often require secure styles.

    How can I keep my hairstyle looking good even after wearing a beanie all day?


    Don’t brush too aggressively. Gentle brushing is key. A little texturizing spray can revive your style. It adds grip and volume. Quick spritzes of hairspray also help. They set the style and tame flyaways. You’ll look polished again.

    Your Winter Hair Transformation Awaits


    There you have it—your guide to fabulous winter hair! I hope these ideas inspire you. Don’t be afraid to experiment and find your signature look. Embrace the season with confidence and style. You’ve got this!

  • Glossy Lips, Butterfly Clips & More: 13+ Hairstyles Straight Out of the 2000s

    Glossy Lips, Butterfly Clips & More: 13+ Hairstyles Straight Out of the 2000s

    Remember the days of flip phones, dial-up internet, and music videos that defined a generation? I certainly do! As Ella Kohn, the face behind TressNails.com, I’ve always been captivated by how fashion and beauty trends cycle back. Today, we’re taking a delightful trip down memory lane, revisiting the iconic styles that made the early 2000s so unforgettable. Get ready to discover how to rock those glossy lips, butterfly clips, and more with our guide to 13+ hairstyles straight out of the 2000s. It’s time to channel your inner Y2K queen!

    Why We’re Obsessed with 2000s Hairstyles

    There’s just something magical about the early aughts, isn’t there? It was a time of bold experimentation and playful self-expression, and our hair totally reflected that! These styles are making a huge comeback because they tap into a sweet spot of nostalgia for many of us. Plus, they’re surprisingly versatile and can be updated for today’s looks. Think of the effortless cool of a perfectly placed butterfly clip or the fun texture of crimped hair. They’re easy to achieve and add a unique flair.

    Our Top Picks for Your Next Y2K Hair Moment

    We’ve rounded up some of our absolute favorite looks from the era. These styles are perfect for bringing a touch of Y2K magic to your everyday or for your next big event. Let’s dive into these fun hair ideas!

    14. The Flippy Bob

    This bob is a total classic. Imagine a sharp bob with ends that are playfully flipped either inward or outward. It’s so chic and looks amazing on pretty much everyone, no matter your face shape. I love how a simple flip can completely change the vibe of a bob. For a super smooth finish, try using a round brush while blow-drying. A good heat protectant spray is your best friend here.

    13. Crimped Hair Waves

    Crimping is back, baby! This style gives you those awesome, textured zig-zag waves that are just so fun. It’s a bold look that really adds volume and a bit of an edgy feel. If you’re not ready for all-over crimps, try focusing them on just a few sections. It’s a great way to add interest without going full-on. It reminds me of my teen years and all those concerts I went to.

    12. Bubble Braids

    Bubble braids are simply adorable. You create a braid, but then you gently pull out sections to create a “bubble” effect all along the length. They’re super easy to do, making them perfect for festivals or just a fun day out. I’ve seen these done with colorful elastics, which adds even more personality. Just secure with clear elastics and gently tug those sections apart.

    11. Half-Up, Half-Down with Butterfly Clips

    Ah, the butterfly clip! This is pure 2000s perfection. You pull back the top half of your hair and secure it with those tiny, colorful butterfly clips. It’s so cute and instantly brings back memories. I still have a stash of these from back in the day! You can play with different sizes and colors to really make it your own.

    10. Spiky Buns

    These aren’t your average buns. Think sleek, tight buns with little bits of hair sticking out at the top, creating a cool, spiky effect. It’s a really edgy and modern look. I think these are perfect for a night out or when you want to feel a bit more fierce. Using a strong-hold gel really helps keep those spikes looking sharp and defined.

    9. Face-Framing Braids

    These are the sweetest little braids. You create small braids on either side of your face, often pulling them back to keep hair out of your eyes. They add such a delicate and pretty touch. I love how they draw attention to your facial features. Secure them with tiny elastics or pins that match your hair color for a seamless look.

    8. Pigtails with a Twist

    Pigtails are a childhood staple, but the 2000s gave them a stylish upgrade. Think classic pigtails but with added braids, twists, or colorful elastics woven in. They’re so versatile, working for casual days or when you want a playful vibe. I often braid the pigtails themselves for extra texture. It’s a simple way to elevate a basic style.

    7. The “Rachel” Cut

    Okay, this one is a legend! The iconic layered, shag-like cut made famous by Jennifer Aniston is still totally relevant. It’s amazing for adding movement and volume to your hair. I remember everyone wanting this cut! It does require regular trims to keep that perfect shape, but it’s so worth it for the style.

    6. Claw Clip Updos

    The claw clip is the ultimate symbol of effortless chic. Just twist your hair up and secure it with a large claw clip. It’s practical, stylish, and takes seconds to do. I use this one all the time when I need my hair out of my face but still want to look put-together. Try twisting your hair a bit more before clipping for a super secure hold.

    5. Headbands Galore

    Headbands are such an easy way to change up your look. The 2000s saw everything from thin, delicate bands to thick, statement ones. Whether embellished or plain, a headband can instantly elevate any hairstyle. It’s a simple trick that makes a big difference. Try matching your headband to your outfit for a coordinated vibe.

    4. Braided Accents

    This is all about adding a touch of detail. Incorporate small braids into bigger hairstyles, like a sleek ponytail or a messy bun. It adds an intricate, handcrafted feel. I love using fishtail or Dutch braids as accents. They really make a hairstyle stand out. It’s the little things that make a big impact, right?

    3. High Ponytails with Volume

    A high ponytail is always a winner, but the 2000s version often had extra oomph. Think a sleek, high pony with added volume at the crown or teased throughout. It looks polished and sporty all at once. For a really refined finish, try wrapping a strand of hair around the base of the ponytail. It looks so sleek.

    2. Twists and Twirls

    These are those cute, spiral-like twists and corkscrew curls. They were often incorporated into updos or worn down to add playful texture. I remember spending ages with my curling wand to get these just right! Using a curling wand with a smaller barrel is key for achieving those tighter twists. They just scream fun.

    1. Glossy Lips and Natural Waves

    While not strictly a hairstyle, this completes the entire Y2K aesthetic. Think soft, natural-looking waves paired with that signature super glossy lip. This combination is quintessentially 2000s. It’s all about looking effortlessly cool. A hydrating lip gloss and a good texturizing spray for your waves will perfectly capture this vibe.

    Frequently Asked Questions About 2000s Hairstyles

    Are these styles still in fashion? Absolutely! Many of these looks are making a huge comeback. Think of the claw clip or the flippy bob; they’re totally relevant. We’ve seen a big resurgence in Y2K fashion. It’s all about updating them with a modern twist.

    What products help achieve the glossy lip look? For that signature 2000s shine, you’ll want a good lip gloss. Look for hydrating formulas with a high-shine finish. Clear glosses, or ones with a hint of shimmer, are perfect. A good lip balm underneath can also keep your lips smooth for that perfect pout. I still love a classic clear gloss.

    How can I adapt these styles for modern wear? It’s all about subtlety. Instead of all-over crimping, try just a few crimped sections. For butterfly clips, use them to secure just a small front section rather than a whole half-up style. You can also soften the “Rachel” cut with looser layers. It’s about capturing the spirit, not an exact replica.

    Can I achieve these looks without heat styling? Yes, many styles can be adapted! Bubble braids and face-framing braids require no heat. You can also create waves by braiding damp hair overnight. For volume, try texturizing sprays and dry shampoo. It’s about being creative with your tools.

    Embrace Your Inner 2000s Icon

    So there you have it – a whirlwind tour of 2000s hair magic! As I always say here at TressNails.com, beauty is all about fun and self-expression. My mission is to help you feel your most confident and stylish, and that absolutely includes playing with these nostalgic looks. Don’t be afraid to try a flippy bob or add some butterfly clips. Experiment! Find what makes you feel fabulous. It’s your style journey, so enjoy every step. Let your inner 2000s icon shine through!

  • School Spirit Gone Wild: 13+ Crazy & Wacky Hair Day Styles That Steal the Spotlight

    School Spirit Gone Wild: 13+ Crazy & Wacky Hair Day Styles That Steal the Spotlight

    Get ready to unleash your inner artist because Crazy Hair Day is here! I absolutely adore this event. It’s a fantastic chance to let your personality shine. Remember that time I tried to create a mini garden in my hair? It was a bit messy, but so much fun! This school spirit day is all about creativity. It’s a playful way to show school pride. We’re diving into some truly wild and wacky hair ideas. You’ll find styles that are guaranteed to steal the spotlight. Let’s explore some show-stopping looks together!

    14. The “Rainbow Explosion”

    Imagine your hair bursting with every color of the rainbow. This style is pure joy! It’s perfect for anyone who loves to stand out. Temporary hair color sprays are your best friend here. Just make sure to use them in a well-ventilated area. A quick spray creates instant vibrancy. Kids and adults alike can rock this look. It’s a bold statement of fun.

    13. The “Under the Sea” Adventure

    Dive into a world of oceanic wonder! Think shimmering blues and greens. You can add little plastic sea creatures. Small fish or starfish can be secured with bobby pins. It’s a charming style for younger kids. Teens can adapt it with more sophisticated touches. Just be sure those little treasures stay put all day.

    12. The “Edible Masterpiece”

    Why not get a little sweet with your style? This idea is super playful. Use safe, non-messy edible items. Think colorful candies or small, firm fruits. They add a whimsical, delightful touch. Kids adore this one. Adults can appreciate the cheeky creativity. Choose lightweight decorations. Use hair-friendly glues or pins.

    11. The “Geometric Genius”

    For those who love clean lines, this is for you. Create sharp shapes and patterns in your hair. Think squares, triangles, or even zigzags. Stencils and a good hairspray work wonders. They help achieve those precise edges. It’s a modern, artistic approach. It shows off a knack for detail.

    10. The “Wild Animal Kingdom”

    Roar, meow, or chirp with pride! Mimic your favorite animal’s features. You can create fluffy manes or pointy ears. Felt or craft foam is great for ears. Secure them firmly with pins. This style is super versatile. It appeals to all ages. Pick your spirit animal and go wild!

    9. The “Towering Masterpiece”

    Height is everything with this look! Create an impressive upward structure. Aim for maximum volume and drama. Teasing your hair and using strong hairspray are key. It’s a bold statement piece. This style truly makes an impact. Get ready for some serious height!

    8. The “Sports Fanatic”

    Show your team spirit loud and proud! Recreate your favorite team’s logo. Or perhaps mimic sports equipment. Think mini basketballs or footballs. Use your team’s colors generously. Small sports charms add a nice touch. It’s a fantastic way to show school pride. You might also like these game day football hairstyles.

    7. The “Glow-in-the-Dark Galaxy”

    Prepare for an otherworldly glow! Use glow-in-the-dark hair products. Or add glowing accessories for effect. This style is magical in low light. It’s perfect for evening events. Or just add a surprise element. Activate the glow before you show off.

    6. The “Candy Land Dream”

    Step into a world of sugary delight! This style is all about bright colors. Think lollipops, swirls, and candy canes. It’s whimsical and imaginative. Use colorful yarn or ribbons. They can mimic sweet, spiraled strands. It’s a truly cheerful look.

    5. The “Fruity Fun Fest”

    Bring on the fresh vibes! Incorporate fruit elements for a vibrant look. You can use fake fruit charms. Or even small, safe real fruits. It’s great for a summery feel. Or perhaps a healthy lifestyle theme. Attach charms securely with pins.

    4. The “Superhero Swirl”

    Unleash your inner hero! Get inspired by comic book characters. Think bold colors and iconic logos. Maybe a mini cape flows from your style. Temporary dyes create awesome color blocks. It’s a powerful and heroic look. Channel your favorite superhero! You might also like these Halloween hair color ideas.

    3. The “Bookworm’s Delight”

    For all the avid readers out there! Incorporate bookish elements creatively. Stack small, lightweight book replicas. Or print out favorite literary quotes. You could even represent a beloved character. This style appeals to thinkers. It’s a smart and artistic choice.

    2. The “Musical Mania”

    Let your hair sing! Draw inspiration from music. Think musical notes or instruments. You could even represent a genre. Craft simple shapes from cardstock. They can be attached easily. This is perfect for music lovers. Express your passion for sound!

    1. The “Out-of-This-World Alien”

    Go truly unique and imaginative. Create an alien or futuristic look. Think antennae and unusual shapes. Pipe cleaners or wire work well for antennae. Secure them firmly in place. This style is all about standing out. It’s creatively bold and fun.

    Frequently Asked Questions About Crazy Hair Day Styles

    Got questions about rocking those wild hair creations? I’ve got answers! Crazy Hair Day is all about fun, but a little planning goes a long way. Let’s tackle some common queries to make your experience super smooth.

    What are the best materials to use for Crazy Hair Day?

    For safe and spectacular styles, I love using temporary hair color sprays. Hair chalk is also fantastic for vibrant streaks. Pipe cleaners are amazing for creating shapes and structures. Craft foam and felt are perfect for crafting ears or other fun attachments. Brightly colored yarn or ribbons can add amazing texture. Always choose lightweight accessories. Avoid anything heavy or that could pull on the hair.

    How can I ensure my child’s hair isn’t damaged by Crazy Hair Day products?

    The key is using temporary and washable products. Always do a small patch test first. This checks for any skin reactions to dyes or sprays. After the fun, wash your child’s hair thoroughly. Use a gentle shampoo. Be super careful when removing any attached items. Treat their hair with kindness.

    What if my child has very short hair and can’t do elaborate styles?

    Don’t worry, short hair can still be spectacular! Colorful headbands are a brilliant option. Temporary hair streaks add instant pop. Small, lightweight accessories can be clipped in. Think tiny butterflies or stars. Creativity isn’t about length. It’s about imagination powering your look. You might find inspiration in these short hair pride hairstyles.

    How do I make sure the style stays in place all day?

    A strong-hold hairspray is your best friend. Use plenty of bobby pins for security. Hair nets can hide and hold everything. Styling putty or gel can help shape and set tricky bits. These tricks ensure your masterpiece lasts. It will stay put from morning bell to afternoon dismissal.

    Unleash Your Creativity for Crazy Hair Day

    Crazy Hair Day is more than just wild styles. It’s a chance to truly express yourself. Don’t be afraid to try something bold. Let your imagination run free. Embrace the fun and the wackiness. The most important thing is to enjoy the process. Show off your unique personality. Have an absolutely fantastic time creating your masterpiece!

  • Beach Waves to Braided Buns: 13+ Easy Summer Hair Ideas You’ll Love

    Beach Waves to Braided Buns: 13+ Easy Summer Hair Ideas You’ll Love

    Summer is finally here, and you know what that means! It’s time to ditch the heavy layers and embrace carefree, fun hair. I’m Ella Kohn, and at TressNails.com, my passion is helping you feel amazing. I truly believe that great style doesn’t have to be complicated. That’s why I’ve rounded up over a dozen simple yet inspiring summer hairstyles. Whether you’re hitting the beach or heading to a backyard barbecue, these looks are perfect for every woman and every lifestyle. Get ready to discover your new favorite warm-weather go-to!

    Effortless Beach Waves

    Ah, beach waves. They’re like sunshine for your hair, right? I just adore the relaxed, natural vibe they give off. It’s that perfectly undone look that screams summer. Plus, they’re super versatile! You can wear them to the beach, to brunch, or even to a casual evening out.

    To get that coveted texture without the salty sea air, try this trick. After washing your hair, lightly towel dry it. Then, spritz a sea salt spray all over. Gently twist sections of your hair and let them air dry, or use a diffuser on a low heat setting. It gives you that lovely, wavy finish with minimal effort. It’s my secret for looking effortlessly chic. For more on achieving this look, check out the art of the effortless wave.

    Chic Ponytail with a Twist

    A ponytail is a summer staple, but let’s give it a little something extra. I love a high ponytail. It’s sporty and keeps your hair off your neck. But for a chic twist, try wrapping a strand of hair around the base. It hides the elastic band and looks so polished.

    You can also add a subtle wave to the ponytail itself. Before you tie it up, give your hair a quick curl with a wand. Then, secure it high on your head. It adds a touch of glamour. This is perfect if you want a ponytail that feels a bit more dressed up. It takes just seconds but makes a big difference. For active days, consider cross-country hairstyles for race day.

    The Classic French Braid

    You can’t go wrong with a French braid. It’s timeless! I’ve been braiding my hair since I was a little girl. It’s so practical for summer days when you’re busy. It keeps your hair neatly tucked away, so you don’t have to worry about it.

    Whether you’re hiking, swimming, or just running errands, a French braid stays put. Want a quick tip? Start your braid closer to your hairline for a cleaner look. Or, try a slightly messier, looser braid for a more relaxed feel. It’s a style that truly works for everyone. For more braided options, explore beyond basic braids.

    Messy Top Knot

    The messy top knot is my go-to for those days when I just want my hair out of the way. It’s casual, cool, and seriously easy. I love how universally flattering it is. Plus, it works for so many occasions.

    The trick to a perfect messy top knot is embracing the imperfection. Don’t aim for smooth or sleek. Gather your hair on top of your head. Twist it loosely and secure it with an elastic. Then, gently pull out a few strands around your face. It gives that artfully disheveled look. It’s my favorite way to look put-together quickly. For more on buns, see beyond the messy bun.

    Fishtail Braid

    Okay, the fishtail braid is just beautiful. It has a unique texture that looks so intricate. But guess what? It’s surprisingly simple to do. I find it’s especially great for summer because it feels a bit more special than a regular braid.

    This braid works wonders on medium to long hair. To make it look extra full and textured, gently tug on the edges after you’ve braided it. It gives it that lovely, voluminous appearance. It’s a fantastic way to add a touch of bohemian flair to your look. For more braided styles, check out braids for days.

    High Ponytail with Scarf Accent

    Want to add a pop of color to your summer style? A scarf is your best friend! I love pairing a colorful silk scarf with a sleek high ponytail. It instantly elevates the look and adds a playful vibe. It’s like instant vacation hair!

    Choose a scarf that complements your outfit or your mood. You can tie it around the base of your ponytail like a ribbon. Or, wrap it around your head as a headband. It’s such a simple accessory, but it makes a huge impact. It’s a fun way to experiment with patterns and colors. For more accessory ideas, see bandana hairstyles.

    Low Bun with Face-Framing Strands

    For an effortlessly elegant look, try a low bun. I find this style so chic and sophisticated. It’s perfect for when you want to look polished without trying too hard. It works for the office, dinner dates, or even a summer wedding.

    The key here is those face-framing strands. Gently pull out a few pieces of hair from the front. You can leave them straight or give them a soft curl. This softens the look around your face and adds a romantic touch. It’s a subtle detail that makes all the difference. For more bun ideas, check out summer bun hairstyles.

    Bubble Ponytail

    The bubble ponytail is a fun, playful style that’s really trending. I think it’s so cute and surprisingly easy to achieve. It’s a great way to make a basic ponytail feel fresh and modern. Plus, it keeps your hair neatly contained.

    To create it, tie your hair into a ponytail. Then, add elastics down the length of the ponytail, spacing them a few inches apart. Gently pull out each section to create the “bubble” effect. It’s a simple trick that gives your ponytail a totally different look. For more bubble braid inspiration, see bubble braid hairstyles.

    Braided Crown

    A braided crown is pure romance! I love this style for its bohemian charm. It feels so whimsical and pretty. It’s perfect for special summer events, like outdoor weddings or festivals. But honestly, I wear it on regular days too!

    Start by creating two braids, one on each side of your head. Then, bring each braid up and over your head like a crown. Pin them securely in place. You can use bobby pins that match your hair color. It gives you a beautiful, ethereal vibe. For more braided styles, explore beyond basic braids.

    Half-Up, Half-Down with Braids

    This style is the best of both worlds. You get the casual feel of your hair being down, but with the neatness of it being pulled back. I love incorporating braids into the half-up section. It adds a lovely detail.

    You can do a simple braid on each side and pin them at the back. Or, try a small French braid leading into the half-up section. It adds texture and visual interest. It’s a great way to keep hair out of your face while still showing off your length. For more half-up styles, see updo hacks for medium hair.

    Dutch Braid Pigtails

    Dutch braids are like an inside-out French braid. They really pop and give a cool, edgy vibe. Pigtails are already fun, but Dutch braid pigtails? Even better! I find these are perfect for active days.

    They keep your hair super secure, whether you’re playing sports or just enjoying a busy day. To make them stand out, try to keep your tension even as you braid. This creates those really defined ridges. It’s a playful style that’s also incredibly functional. For more pigtail ideas, check out braided pigtails with bangs.

    Sleek High Bun

    For ultimate sophistication, nothing beats a sleek high bun. It’s polished, chic, and incredibly versatile. I wear this when I need to look sharp for a meeting or when I just want a clean, elegant finish to my outfit. It’s a true classic.

    To get that super smooth look, use a boar bristle brush. Brush your hair upwards into a high ponytail. Then, twist the ponytail into a bun and secure it. A little bit of hairspray or gel can help tame any flyaways. It’s a powerful look. For more bun styles, see beyond the basic bun.

    Braided Bun

    Combining a braid with a bun is pure genius. It’s secure, elegant, and adds beautiful texture. I find this style perfect for summer because it holds up so well. You don’t have to worry about it falling apart, even on a breezy day.

    Start by braiding your ponytail. A simple three-strand braid works great. Then, wrap the braid around the base of your ponytail to form a bun. Pin it securely. You can make the braid as tight or as loose as you like. It’s a stylish and practical choice. For more braided bun ideas, check out beyond basic braids.

    Frequently Asked Questions About Summer Hairstyles

    I get asked about summer hair all the time! Here are some quick answers to your most common questions. Let’s make styling simple and fun this season.

    How can I make my beach waves last longer in humidity?

    Humidity can be tricky! For longer-lasting beach waves, start with a good foundation. Use a volumizing mousse on damp hair before drying. A light-hold hairspray or a texturizing spray can also help. Try to avoid touching your hair too much, as this can break down the waves. I find a quick touch-up with dry texturizing spray works wonders. For more on humidity-proof styles, see hot weather hairstyles that refuse to frizz or fail.

    What are the best summer hairstyles for very hot weather?

    When it’s sweltering, you want styles that keep your hair off your neck. The braided bun, sleek high bun, or even Dutch braid pigtails are fantastic. They offer excellent heat protection. A chic ponytail with a scarf accent is also a great choice. These styles keep you cool and looking stylish. They are truly some of the best easy summer hair options. For more on hot weather styles, check out elegant hot weather hairstyles.

    Can I achieve these styles with different hair lengths?

    Absolutely! Most of these looks are quite adaptable. Shorter hair might need texturizing products to get grip for braids or buns. Longer hair can create fuller braids and more elaborate buns. Don’t be afraid to experiment! You can often adapt half-up styles or ponytails for bobs. It’s all about finding what works for your unique hair. For inspiration on different lengths, see medium hairstyles for over 50s.

    Your Go-To Summer Hair Guide

    There you have it! A dozen easy, beautiful summer hairstyles to try. I hope this inspires you to play with your hair. Remember, these looks are all about embracing your natural beauty and having fun. Go ahead and experiment with these styles. You’ve got this!