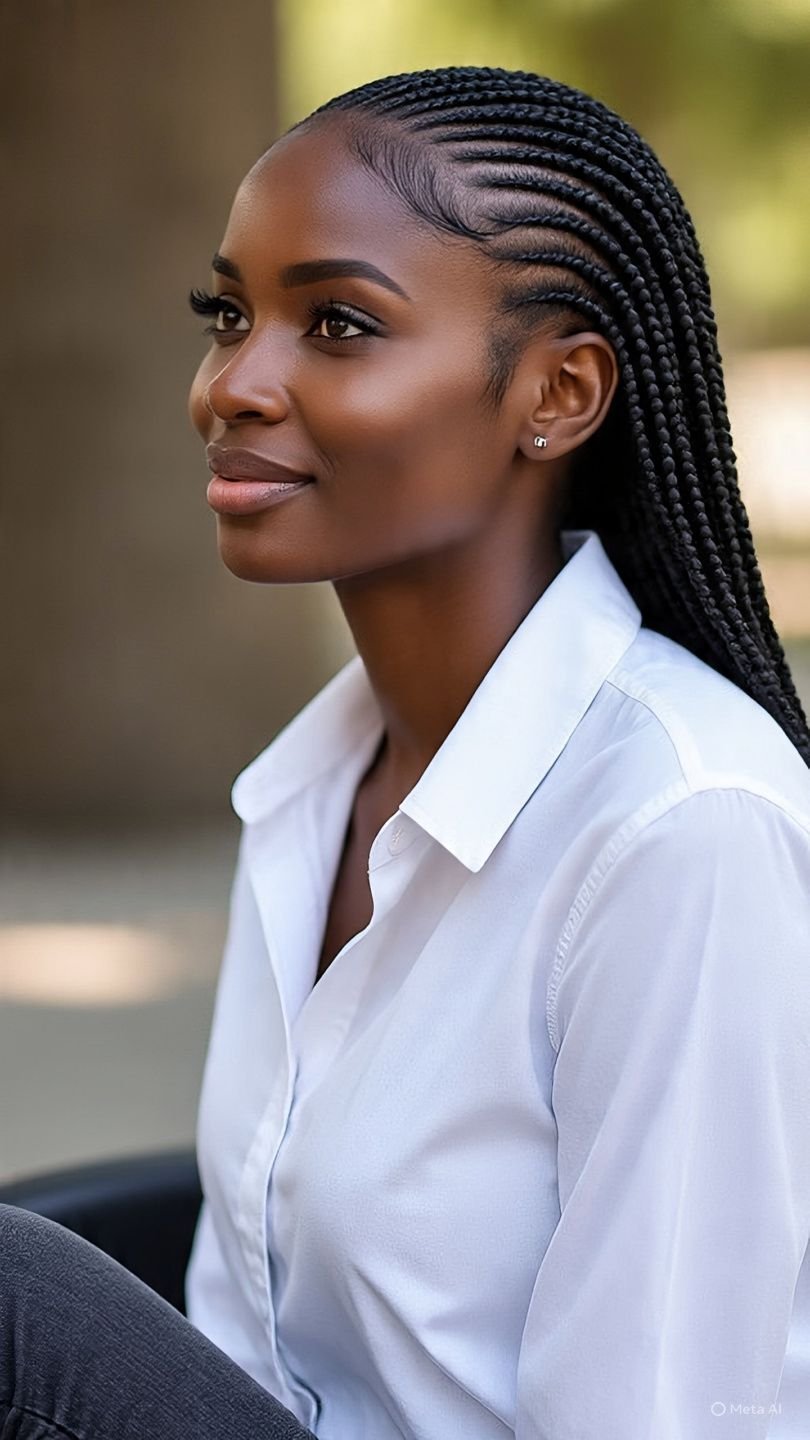

Protective hairstyles have always been a go-to for women who want to maintain healthy hair while still rocking versatile looks. One of the most popular protective styles is the braids with sew in in the back technique. This hairstyle combines neat cornrows or individual braids at the front and crown, with a sew-in weave installed in the back. The result is a flawless blend of natural braids and added volume or length, giving you the best of both worlds.
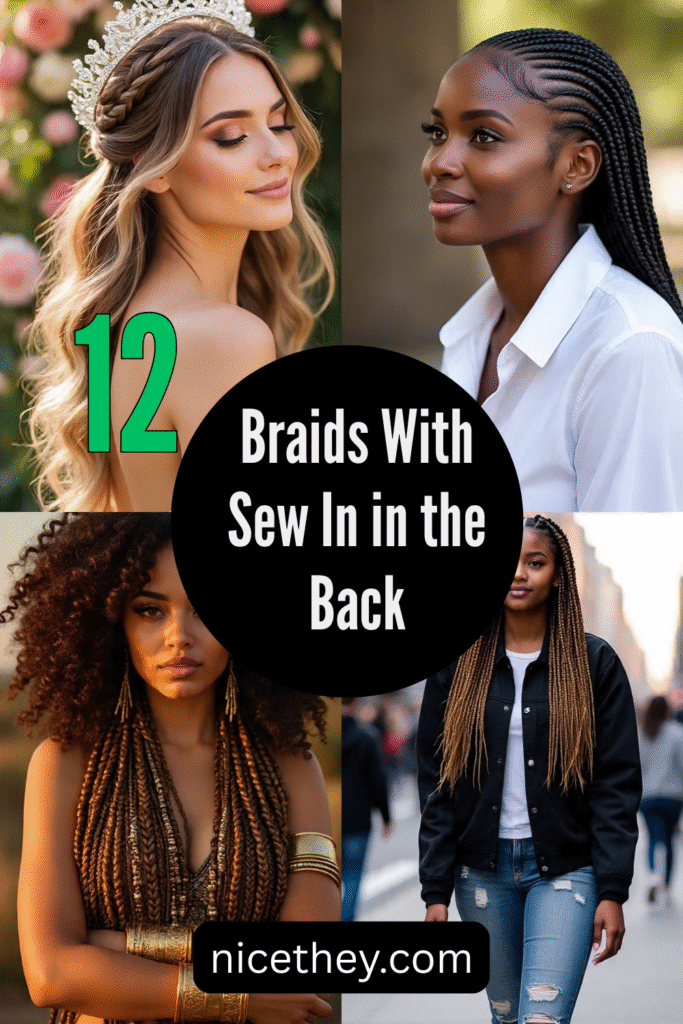
In this guide, we’ll break down 12 braids with sew in in the back hairstyle ideas, explain how they’re installed, and share tips for maintaining them so your look stays fresh and beautiful for weeks.
What Are Braids With Sew In in the Back?
The style is a hybrid: braids in the front or crown, and a sew-in weave in the back. The braids can be cornrows, feed-in braids, knotless braids, or even box braids, while the back is sewn with hair extensions to add length, thickness, or curls.
This style is popular because:
- It’s protective and low-maintenance.
- It allows for styling versatility.
- It blends natural braids with the volume of a weave.
- It works for casual looks, events, and even professional settings.
Benefits of 12 Braids With Sew In in the Back
- Protects natural hair – Braids and sew-ins reduce daily manipulation.
- Versatility – You can style the sew-in part in curls, straight, or waves.
- Time-saving – Once installed, the hairstyle requires minimal upkeep.
- Long-lasting – With proper care, it can last 4–8 weeks.
- Customizable – Choose braid patterns, hair textures, and parting styles.
1. Classic Cornrows in the Front with Straight Sew-In Back

This timeless look features straight-back cornrows on the crown, while the sew-in in the back is sleek, straight, and flowy. It’s professional and chic, perfect for everyday wear.
2. Tribal Braids With Curly Sew-In in the Back
For a bold, cultural-inspired style, go for tribal braids in the front and sew-in deep curls in the back. This creates volume and movement while keeping your edges braided neatly.
3. Half-Up Braids With Sew-In Ponytail in the Back
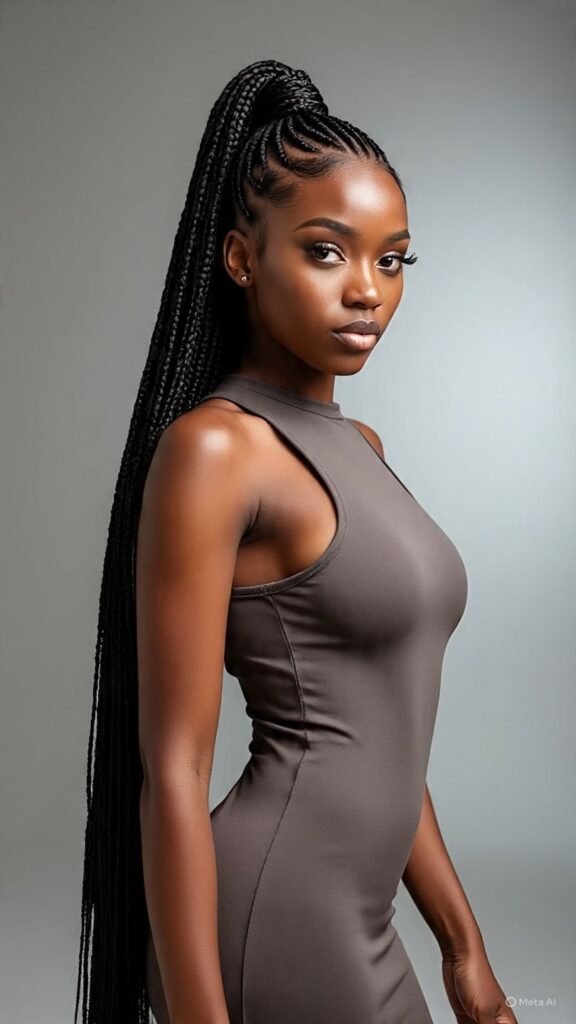
If you love ponytails, this style is for you. The front braids feed into a high ponytail, while the back is sewn in with extensions for length. You can wear it sleek or with body curls.
4. Knotless Braids With Wavy Sew-In Back
Knotless braids at the crown keep the front lightweight and natural-looking. The sew-in at the back can feature beach waves for a laid-back, effortless vibe.
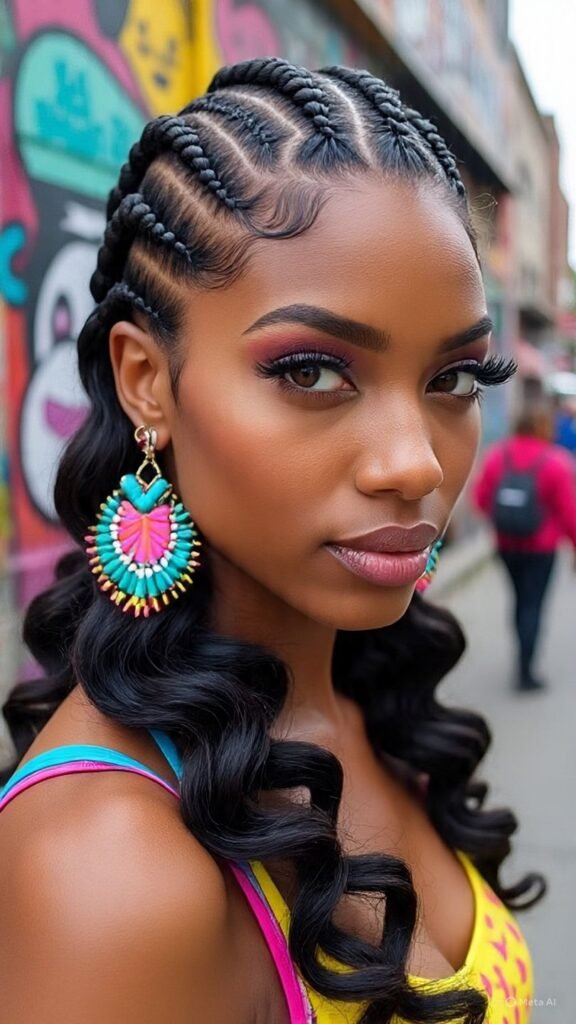
5. Side Part Cornrows With Body Wave Sew-In
This style uses side-swept cornrows with a deep part. The back is filled with body-wave extensions, creating a glamorous, red-carpet-ready look.
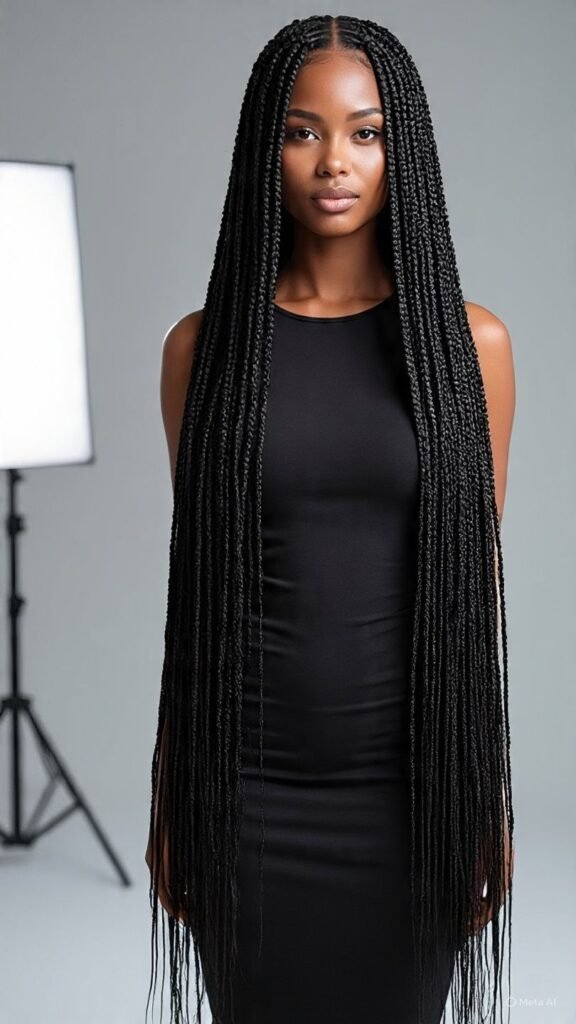
6. Box Braids in the Front With Straight Sew-In Back
Small or medium box braids at the crown combined with a silky straight sew-in in the back offer both edge and elegance.
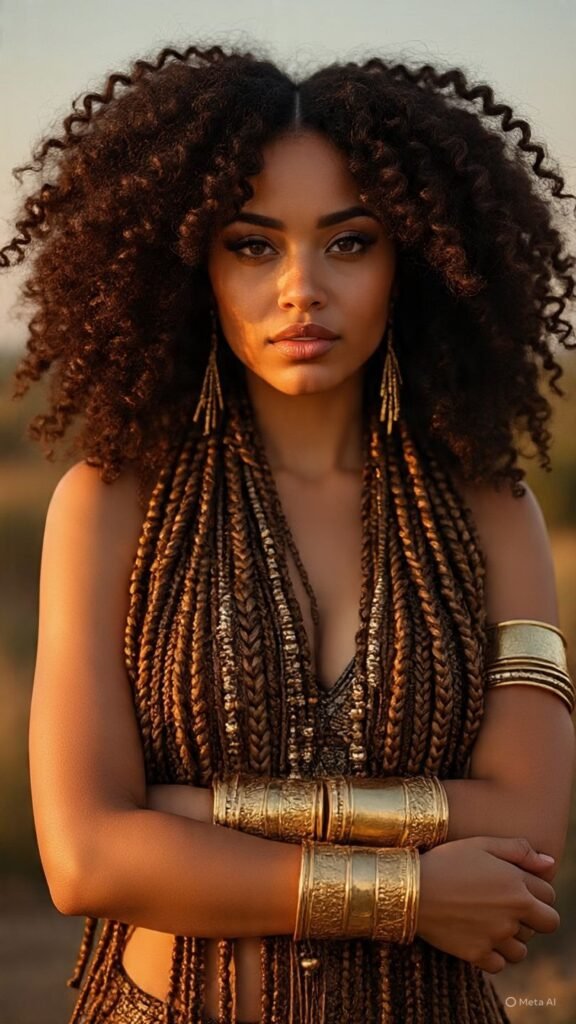
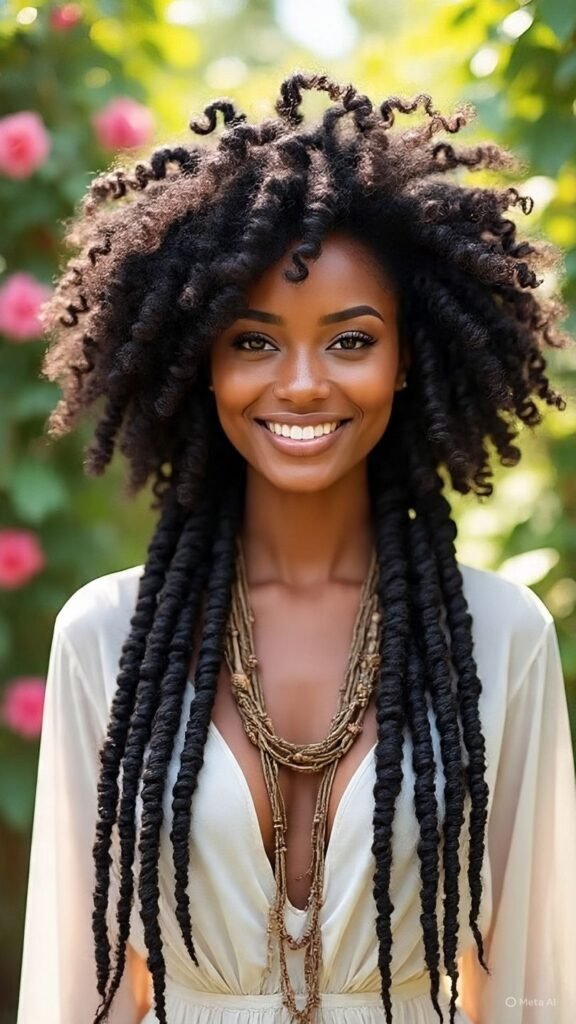
7. Feed-In Braids With Curly Afro Sew-In Back
For extra volume, pair feed-in braids at the front with a curly Afro-textured sew-in in the back. This mimics a natural blowout with added fullness.
8. Braided Crown With Sew-In Back
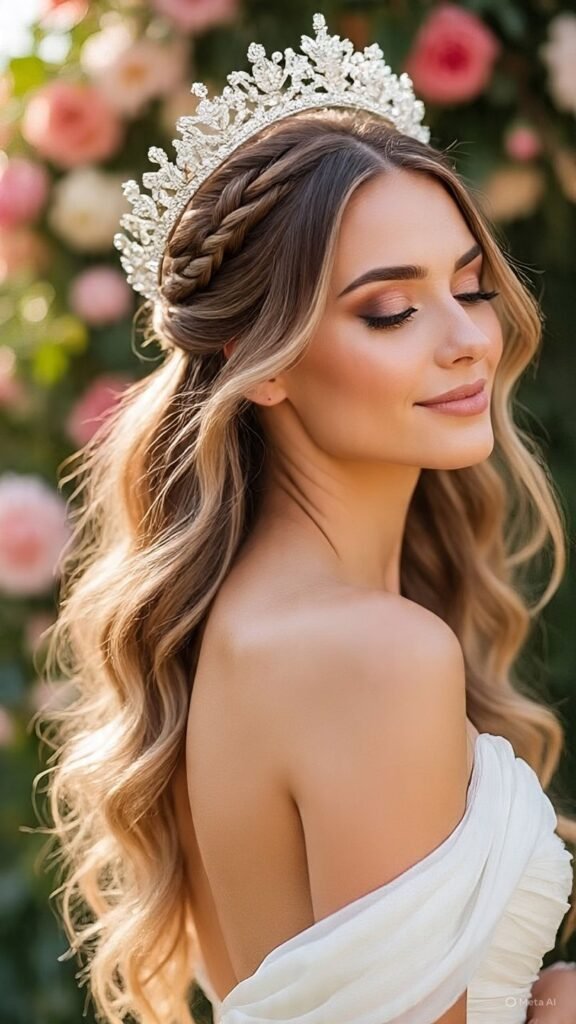
The crown braid circles the head like a halo, while the back is sewn with extensions. This regal style works beautifully for weddings or formal events.
9. Stitch Braids With Long Straight Sew-In Back
Stitch braids give sharp, clean lines at the front. Pair them with a long, silky straight sew-in for a modern, runway-inspired look.
10. Zig-Zag Cornrows With Wavy Sew-In
Switch up the parting by braiding in zig-zag or creative patterns, then add wavy sew-in hair at the back. This adds a playful twist to a classic style.
11. Goddess Braids With Sew-In Curls in the Back
Thicker goddess braids at the top or front add definition, while the back is sewn with bouncy curls for volume. This style is both bold and feminine.
12. Jumbo Braids With Layered Sew-In Back

Go big with jumbo braids in the front and layered extensions sewn in the back. This gives a striking, fashion-forward hairstyle with maximum impact.
How to Install Braids With Sew In in the Back
Here’s a simplified step-by-step installation guide:
- Prep your natural hair – Wash, condition, and blow-dry.
- Part the front section – Decide where the braids will go (crown, sides, or front).
- Cornrow or braid the front – Style with feed-in or knotless technique.
- Braid down the back base – Create flat cornrows to anchor the sew-in.
- Sew in the extensions – Using a curved needle and thread, secure wefts at the back.
- Blend the look – Ensure the braids and sew-in transition smoothly.
- Style & finish – Curl, straighten, or accessorize your braids.
Maintenance Tips for Braids With Sew In in the Back
- Moisturize regularly with a braid spray or light oil.
- Wrap at night with a silk/satin bonnet or scarf.
- Wash gently every 2–3 weeks to remove buildup.
- Avoid heavy products to keep the sew-in light and bouncy.
- Don’t keep too long – Remove after 6–8 weeks to avoid breakage.
Final Thoughts
The 12 braids with sew in in the back hairstyles offer versatility, beauty, and protection for your natural hair. Whether you prefer sleek straight styles, bouncy curls, or bold braids, this hybrid look can be customized to fit your personality and lifestyle.
By choosing the right variation and maintaining it properly, you’ll enjoy a gorgeous protective style that enhances your natural beauty while keeping your hair healthy.
Leave a Reply